

I did the project coz I gave up my hope of finding a brand new (NOS or maybe from Taiwan) tail lamp. Basically, Mazda 808 parts are very hard to find nowadays. Once found, it is much better if you can save it. As for me, I found the square version of the tailies. I rescued it from a scrapyard, and now, it is time for a treatment that the tailies deserve, a restoration.
This will be a long shot. Stay tuned.
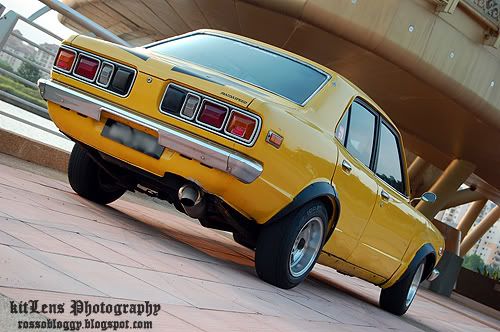
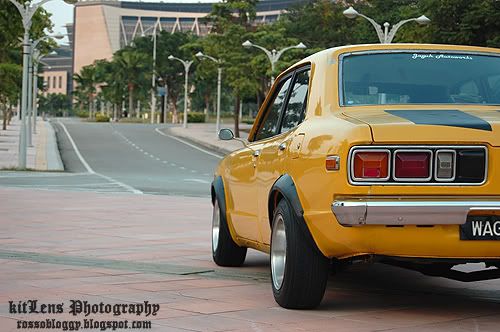
The test subjects. My current tailies and the square model.

The next step is to remove the cover from the lens. It was really hard as some of the screw had already in super rusty condition and some of em had no Philips head anymore. What did I do was cursed it, then try unscrew it. Failed, I cursed it again and pull it as strong as I can BUT be careful with the old plastic cover so that it didnt break. Some of em just broke into pieces some of em still attached to the cover.

Now, remove the lens. BUT please be extra careful especially if the lens is crack like this one. I had broke it anyway. Now it is in 2 pieces. Oh, shit happened sometimes. I had super glue it back.

Clean it up with a strong current water and some cleaning agent.

Once done, dried it up and it is ready to be painted.

And my second victim was..

This one was preety easy to be disassembled as most of the screw had been replaced.

Repeat the cleaning process and dried it up too.

Once dried, tape up the necessary parts and sand it so that some of the surface will be smooth.

I used the flat black spray can. Spray it a few layers and for a finishing, I used the clear coat so that it will be scratch resistant.

While waiting for it to dried up, focus on the polishing job.

And AutoSol-ing the emblem. From this:

To this!

Bee now has a black eye! Looks like she was punched.

Once everything had finished, time to reassemble everything back. Lens were ready to be fitted with the housing.

To make sure the lens is protected from outside moist, use the silicone as a sealant. If you messed up, dont worry. Once the silicone had dried, it becomes a rubber seal. Just pull the spoilt area.

And for the final touch up, the paint marker. Why? This is to make a 'fake' chrome lining to replace the orginal chrome lining that had fade away. This is the hardest part. Take your time, do it slowly, and try your best not to f**k it up.

Once done, spray it with a few clear coat so that the 'fake' chrome didnt fade away.

Once done, assembled everything back and congratulations! You just got yourself a new tail lamp and helping the old relics to be preserved!

Tara...
This will be a long shot. Stay tuned.
The test subjects. My current tailies and the square model.
The next step is to remove the cover from the lens. It was really hard as some of the screw had already in super rusty condition and some of em had no Philips head anymore. What did I do was cursed it, then try unscrew it. Failed, I cursed it again and pull it as strong as I can BUT be careful with the old plastic cover so that it didnt break. Some of em just broke into pieces some of em still attached to the cover.
Now, remove the lens. BUT please be extra careful especially if the lens is crack like this one. I had broke it anyway. Now it is in 2 pieces. Oh, shit happened sometimes. I had super glue it back.
Clean it up with a strong current water and some cleaning agent.
Once done, dried it up and it is ready to be painted.
And my second victim was..
This one was preety easy to be disassembled as most of the screw had been replaced.
Repeat the cleaning process and dried it up too.
Once dried, tape up the necessary parts and sand it so that some of the surface will be smooth.
I used the flat black spray can. Spray it a few layers and for a finishing, I used the clear coat so that it will be scratch resistant.
While waiting for it to dried up, focus on the polishing job.
And AutoSol-ing the emblem. From this:
To this!
Bee now has a black eye! Looks like she was punched.
Once everything had finished, time to reassemble everything back. Lens were ready to be fitted with the housing.
To make sure the lens is protected from outside moist, use the silicone as a sealant. If you messed up, dont worry. Once the silicone had dried, it becomes a rubber seal. Just pull the spoilt area.
And for the final touch up, the paint marker. Why? This is to make a 'fake' chrome lining to replace the orginal chrome lining that had fade away. This is the hardest part. Take your time, do it slowly, and try your best not to f**k it up.
Once done, spray it with a few clear coat so that the 'fake' chrome didnt fade away.
Once done, assembled everything back and congratulations! You just got yourself a new tail lamp and helping the old relics to be preserved!
Tara...
