A couple of quick updates, after raya touch up's...
So, 'Kermit' has been sent in again to get some touch ups done. Some little details that needed to be addressed. Anyway, these arrived in the mail...
The blacked out side signals in LED. These have the 'black jack' theme on them. I might replicate this theme on the roof of the car.
Also, the rear fog light came. Pre-Facelift R53's had their reverse lights here. Changing this to the fog light completes the the whole facelift look.
Recently, these came too but I have yet to fit them.
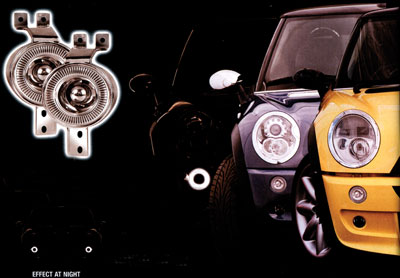
These are the front daytime running lights as well as the signal lights.
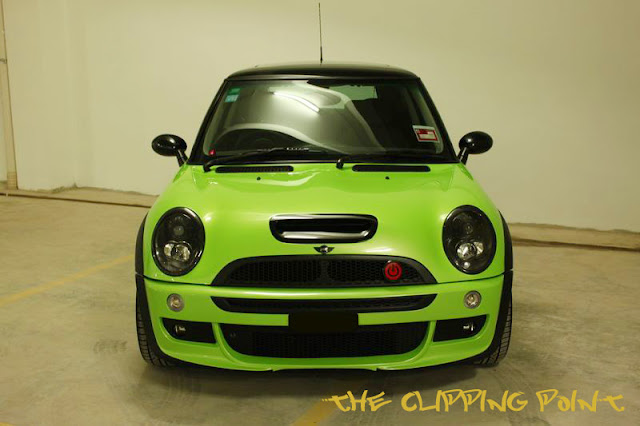
They're suppose to give the whole 'angel eye' effect. When fitted, they look like this...
All that's left is to get rid of the current chicken mesh lower grill on the bumper and replace it with a proper JCW one. I've ordered one already so it should be arriving any day now...


 Awesomest to the maximus!!!