

:wavey: Once upon a Saturday, I was kinda bored and was playing with my dog while also stared at my car. Got licked by my dog and then ideas pop in my mind...and my DIY mode is switched on. I was thinking of adding some red strips to my car, since its kinda dull originally. Not only that, I saw something special and would like to give it a try...
My DIY kungfu isnt that great, so please dont bomb me for hurting my car with such a bad workmanship :rolleyes:
So one day ~ its always one day...give a good bath to my car and dry it, thus its time to get dirty !
..........................................................................................................................
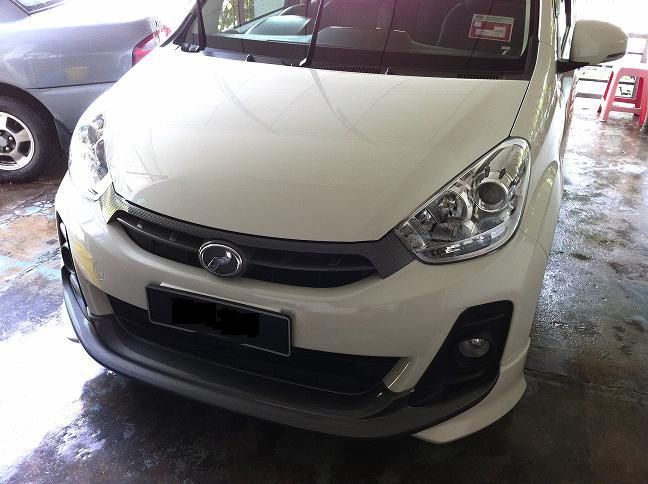
1. After bathing and let dry...original look of a Myvi Extreme.
2. This is the item for the special thing that I would like to try. BodyArt Paint !

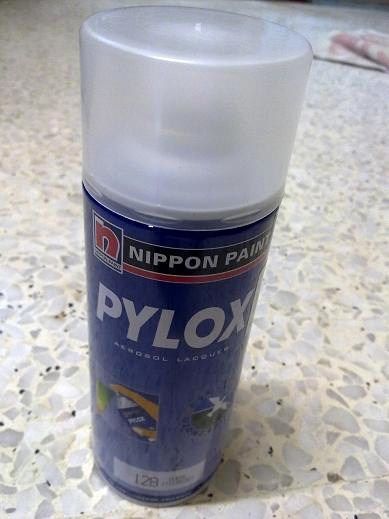
3. And also not to forget, something to hold the paints and protect as well. A clear paint, easily available at the hardware shop near you. Nippon paint ~ nippon paint ~
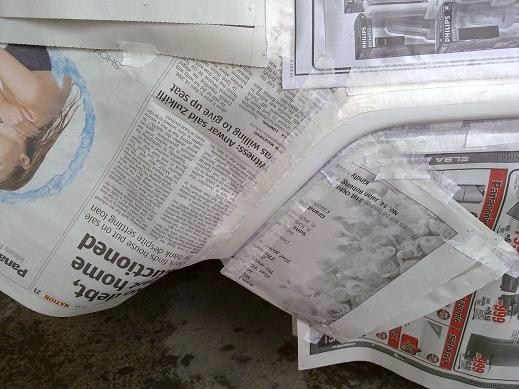
4. Lets start taping...bit by bit...slowly...carefully...
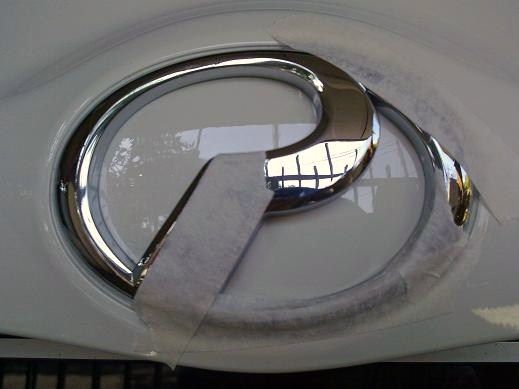
5. Making a strip with corners...how hard could it be? Well, kinda difficult cost you have to make it smooth and round. Tap it bit by bit to make the curve. Using 1 piece of tape for the whole curve...kinda impossible to me. Tape every inch of places you dont wana paint, apparently...
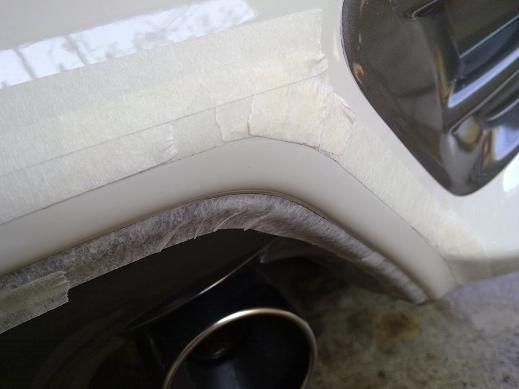
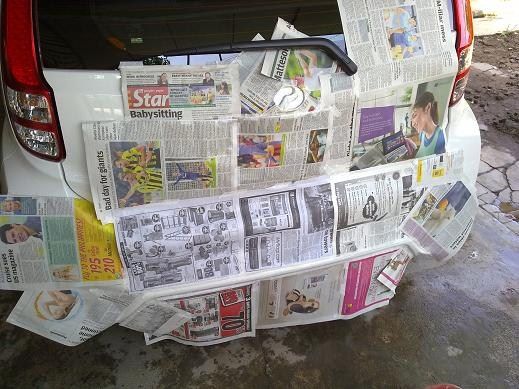
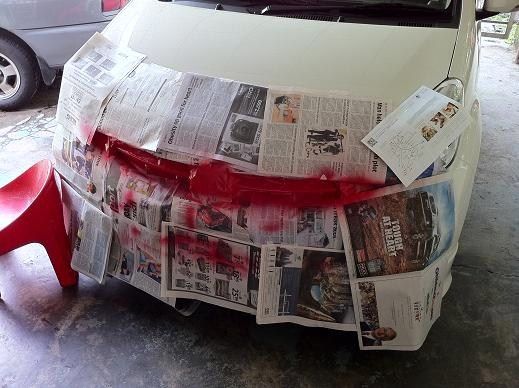
6. Tape the other side as well and use some newspaper to cover the rest...
7. Done. Finally. (Took me 30 god damn minutes). So before spraying, I made sure the tapes are all tight.
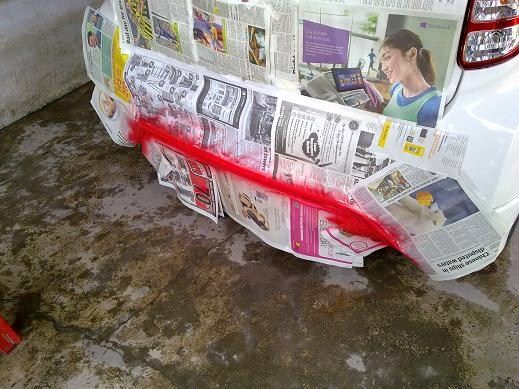
8. Yeah, time to sprayyyyyy!!! Spray the body smoothly. Spray from left to right, and then from right to left. That's good enough for the first coat. Let it dry for 15 minutes and check the paint. If it smells good, you might have used your mom's hair spray. The paint should dry in about 15-20 minutes. But it is just touchable. It is not completely dry yet. It will need around 4-5 hours to dry (correct me if i'm wrong) to a solid state.
For subsequent coating, I spray in every 2 hours for 3 coats in total, then end with the clear paint.
9. Arghhh stupid cheap tape. Bought the wrong tape. It came off easily. But no worries, as I made a few layers of tape. There's an inner layer which marks the borderline.
10. Front part as well
11. Ok. Time to try the bling bling. Put some on the body and spread it with brush...
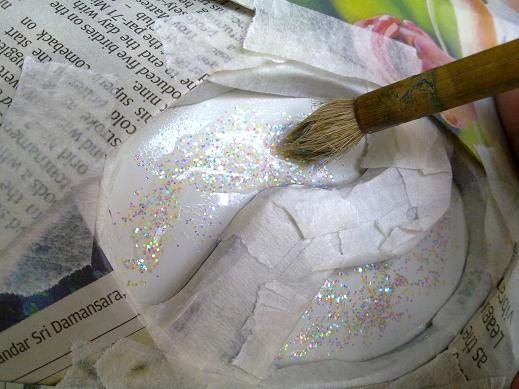
12. Done. Then let it dry before the next step, which is spraying a clear coat to it to make it stick and covered in a clear coat. Must let it completely dry as the sparkling dust actually in slime..like mucous in our nose...erk...
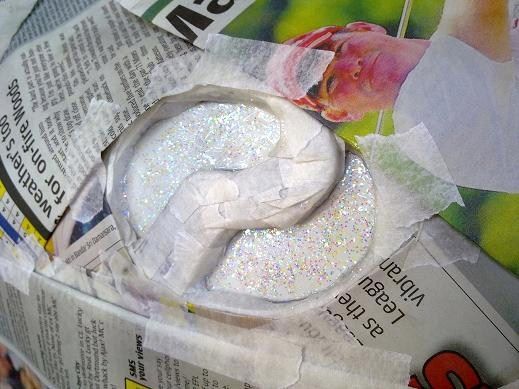
13. After the 3rd pass, I can strip off the newspaper already and leave only the marking tapes.
14. It worked! Hiak hiak hiak ~
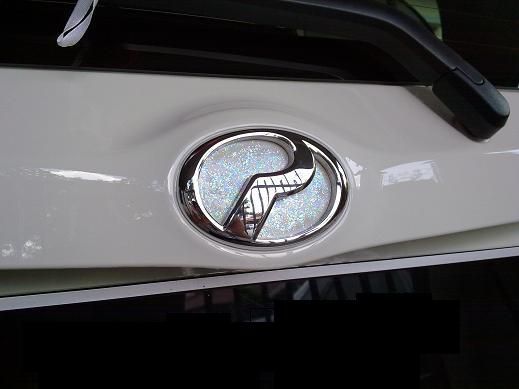
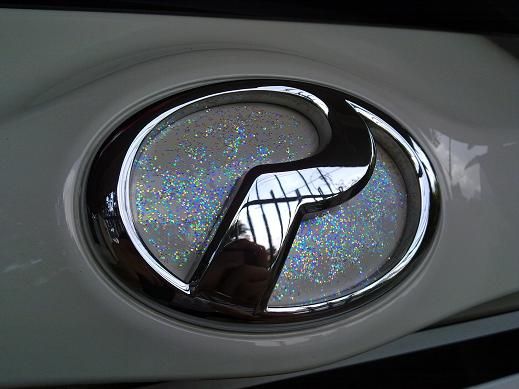
15. Closer look...Hmmm...the dust are not evenly spread. But still looks ok though, for me.
16. Alright, 3-4 hours had passed. And unfortunately I gotta remove the tape before letting it really really dry, I guess about 5-6 hours. It was raining that day and I estimated wrongly. But never mind, went ahead with it still.
Oh My Lady Gaga !! Out of my expectation, the paint went offset to the other side of the road. I believe this is why many people would be afraid to do DIY like this i.e. spraying the car.
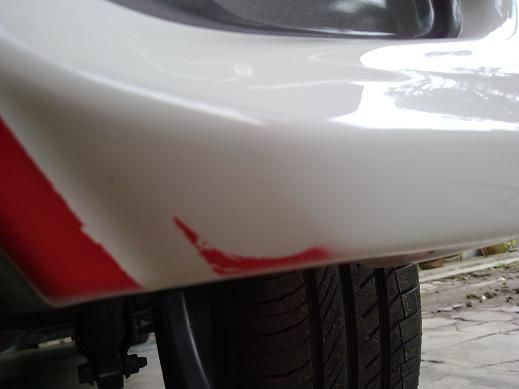
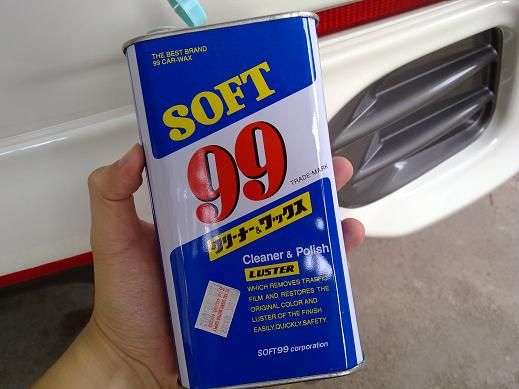
17. Shit happens..so no worries as I'm prepared for it. Paint need around 2-3 months to cure and really stick on the surface. Thus it is still pretty much liquid and soft. Since it is soft, I treated it softly using only your friendly wax SOFT99.
18. Yeah...removed the naughty paint without much difficulties.
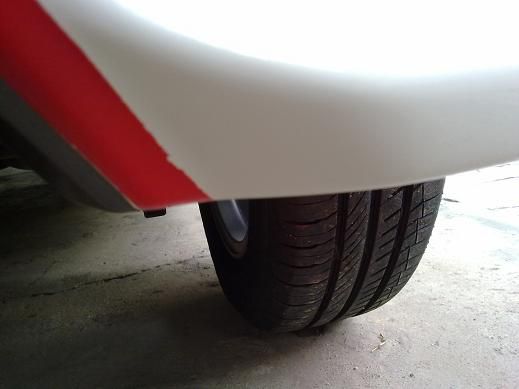
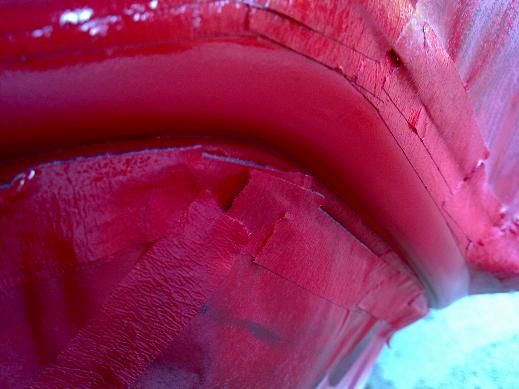
19. Ups..caused by the rubbish marking tape which doesnt stick much and my impatience of removing the tape earlier than I should. But again, treat it softly with a piece of cloth and wipe off everything I dont like to see.

20. Not a perfect straight line, sorry for the crappy workmanship
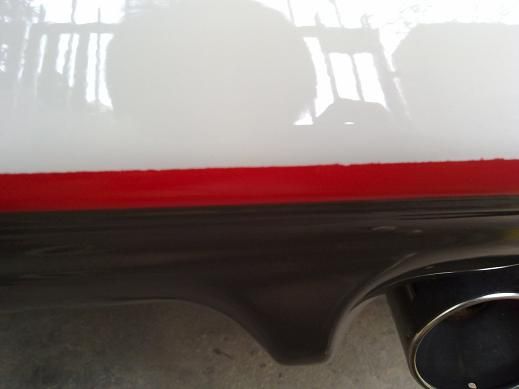
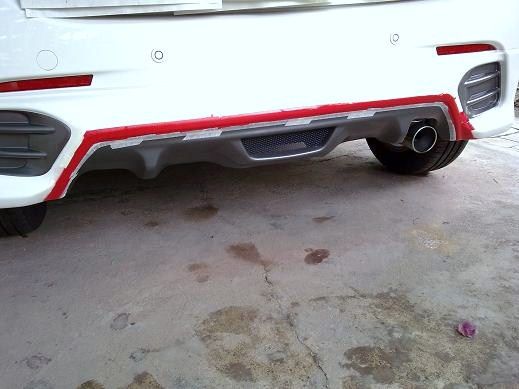
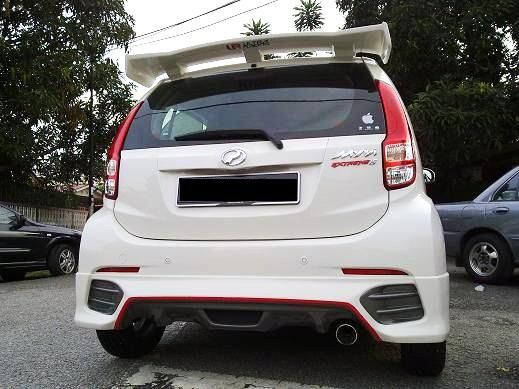
21. The result. I'm quite satisfied with it...but not 100% as there's room for improvement. But this is where we gain experience, eh?
22. The front part.
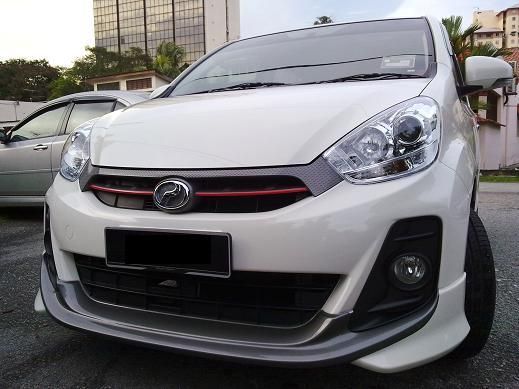
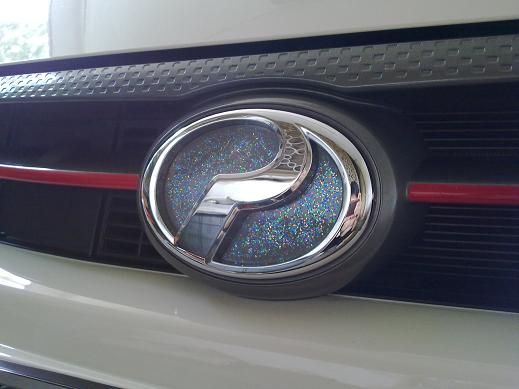
23. Closer look at the bling and red stripe. Hmm the workmanship at the front is actually better.

24. Close up look at the front.
Thanks for viewing :wavey:
My DIY kungfu isnt that great, so please dont bomb me for hurting my car with such a bad workmanship :rolleyes:
So one day ~ its always one day...give a good bath to my car and dry it, thus its time to get dirty !
..........................................................................................................................
1. After bathing and let dry...original look of a Myvi Extreme.
2. This is the item for the special thing that I would like to try. BodyArt Paint !
3. And also not to forget, something to hold the paints and protect as well. A clear paint, easily available at the hardware shop near you. Nippon paint ~ nippon paint ~
4. Lets start taping...bit by bit...slowly...carefully...
5. Making a strip with corners...how hard could it be? Well, kinda difficult cost you have to make it smooth and round. Tap it bit by bit to make the curve. Using 1 piece of tape for the whole curve...kinda impossible to me. Tape every inch of places you dont wana paint, apparently...
6. Tape the other side as well and use some newspaper to cover the rest...
7. Done. Finally. (Took me 30 god damn minutes). So before spraying, I made sure the tapes are all tight.
8. Yeah, time to sprayyyyyy!!! Spray the body smoothly. Spray from left to right, and then from right to left. That's good enough for the first coat. Let it dry for 15 minutes and check the paint. If it smells good, you might have used your mom's hair spray. The paint should dry in about 15-20 minutes. But it is just touchable. It is not completely dry yet. It will need around 4-5 hours to dry (correct me if i'm wrong) to a solid state.
For subsequent coating, I spray in every 2 hours for 3 coats in total, then end with the clear paint.
9. Arghhh stupid cheap tape. Bought the wrong tape. It came off easily. But no worries, as I made a few layers of tape. There's an inner layer which marks the borderline.
10. Front part as well
11. Ok. Time to try the bling bling. Put some on the body and spread it with brush...
12. Done. Then let it dry before the next step, which is spraying a clear coat to it to make it stick and covered in a clear coat. Must let it completely dry as the sparkling dust actually in slime..like mucous in our nose...erk...
13. After the 3rd pass, I can strip off the newspaper already and leave only the marking tapes.
14. It worked! Hiak hiak hiak ~
15. Closer look...Hmmm...the dust are not evenly spread. But still looks ok though, for me.
16. Alright, 3-4 hours had passed. And unfortunately I gotta remove the tape before letting it really really dry, I guess about 5-6 hours. It was raining that day and I estimated wrongly. But never mind, went ahead with it still.
Oh My Lady Gaga !! Out of my expectation, the paint went offset to the other side of the road. I believe this is why many people would be afraid to do DIY like this i.e. spraying the car.
17. Shit happens..so no worries as I'm prepared for it. Paint need around 2-3 months to cure and really stick on the surface. Thus it is still pretty much liquid and soft. Since it is soft, I treated it softly using only your friendly wax SOFT99.
18. Yeah...removed the naughty paint without much difficulties.
19. Ups..caused by the rubbish marking tape which doesnt stick much and my impatience of removing the tape earlier than I should. But again, treat it softly with a piece of cloth and wipe off everything I dont like to see.
20. Not a perfect straight line, sorry for the crappy workmanship
21. The result. I'm quite satisfied with it...but not 100% as there's room for improvement. But this is where we gain experience, eh?
22. The front part.
23. Closer look at the bling and red stripe. Hmm the workmanship at the front is actually better.
24. Close up look at the front.
Thanks for viewing :wavey:


