Hello Guest! Log in or Sign up for a full experience & ad-free!

Photos Of My 93' Corolla

  • See what others are reading now! Try Forums > Current Activity
  • Search function more powerful with google results! Try Search
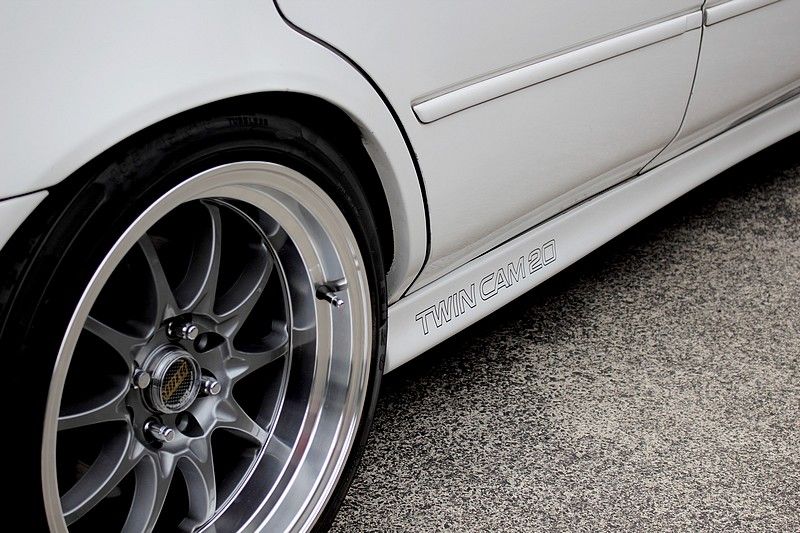
Yup! For me, this is the perfect set of wheels for your ride!

Cool!:adore:

Thanks!! I really like them, so I'm glad you do too! :biggrin:


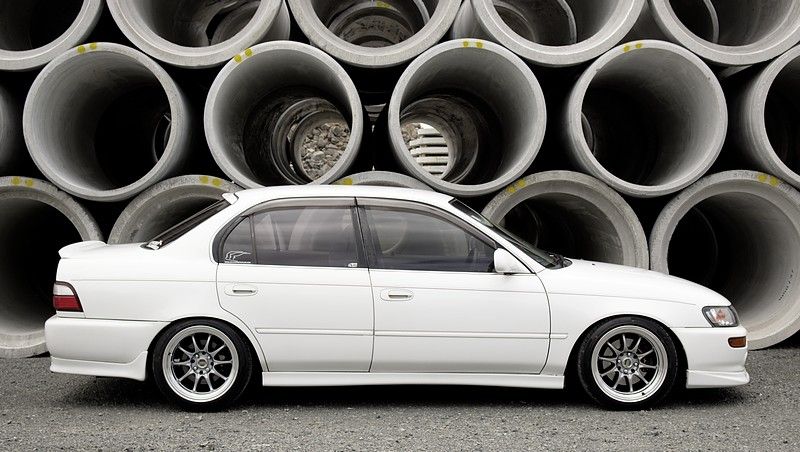
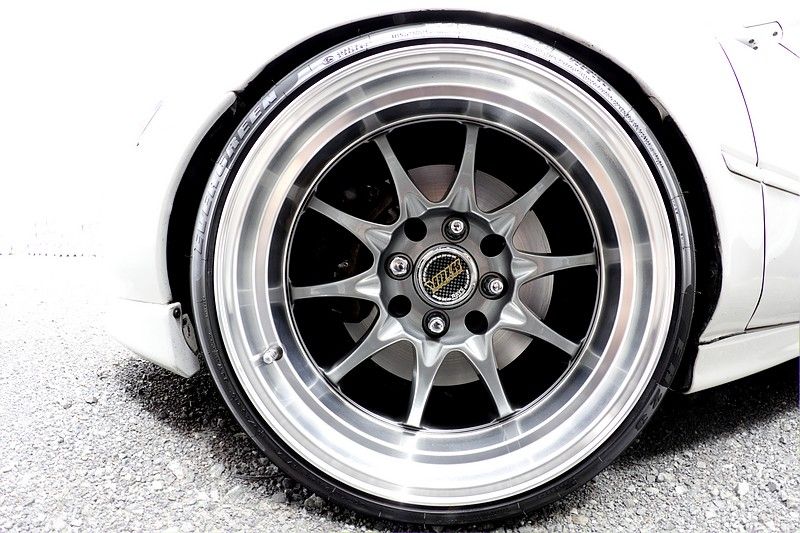
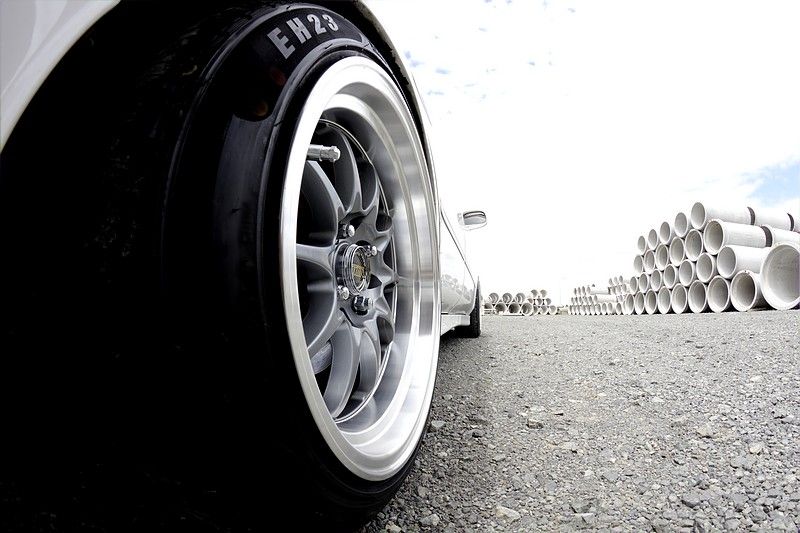
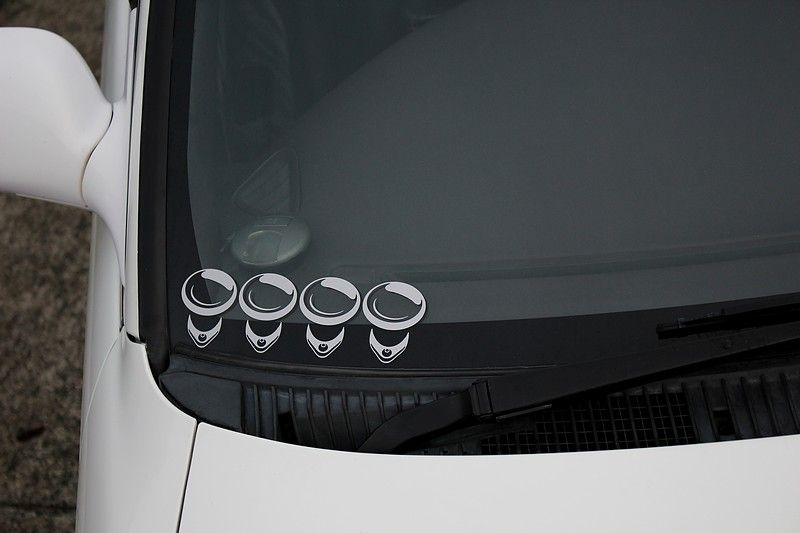
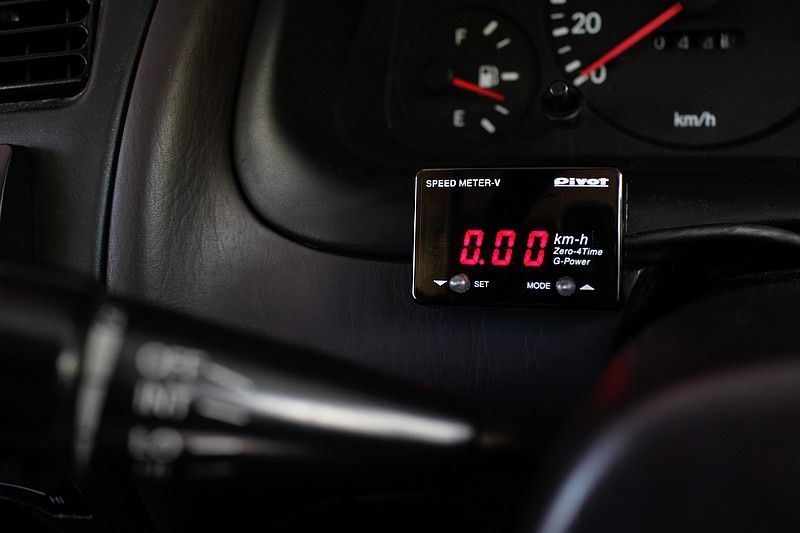
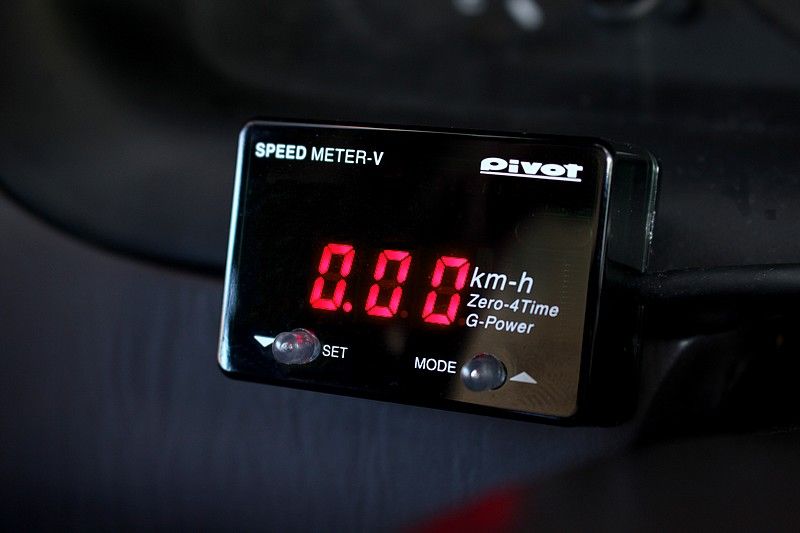
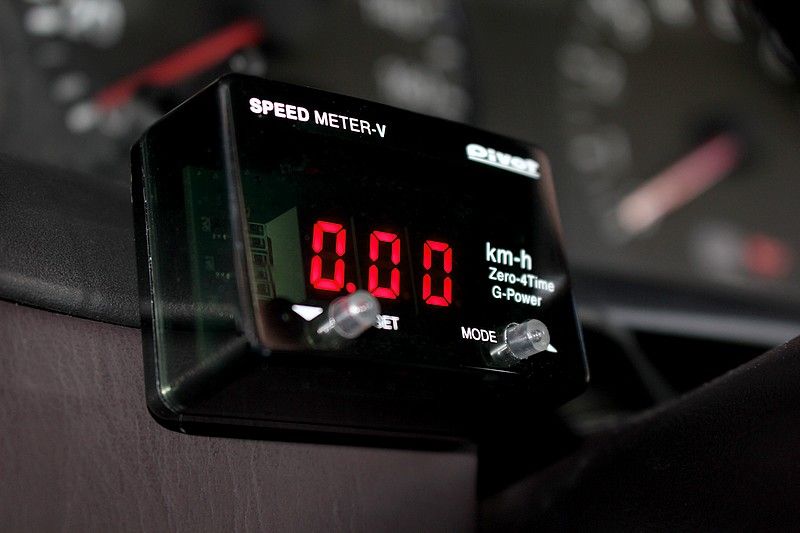
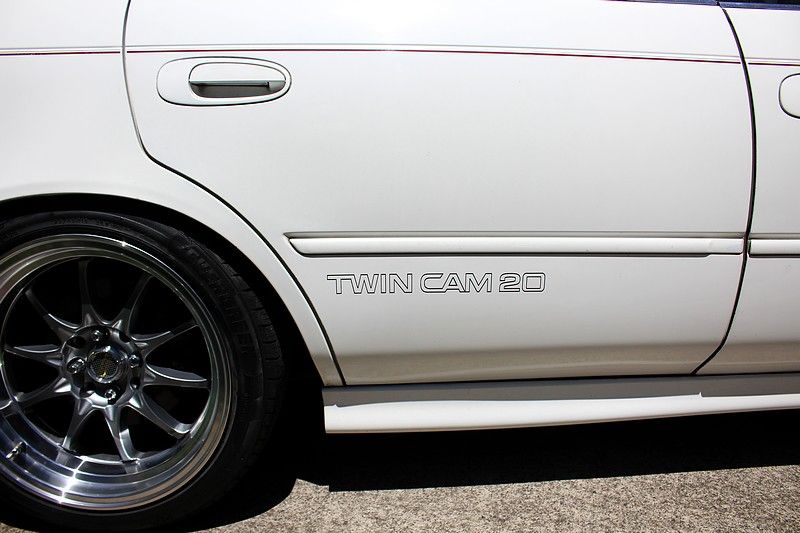
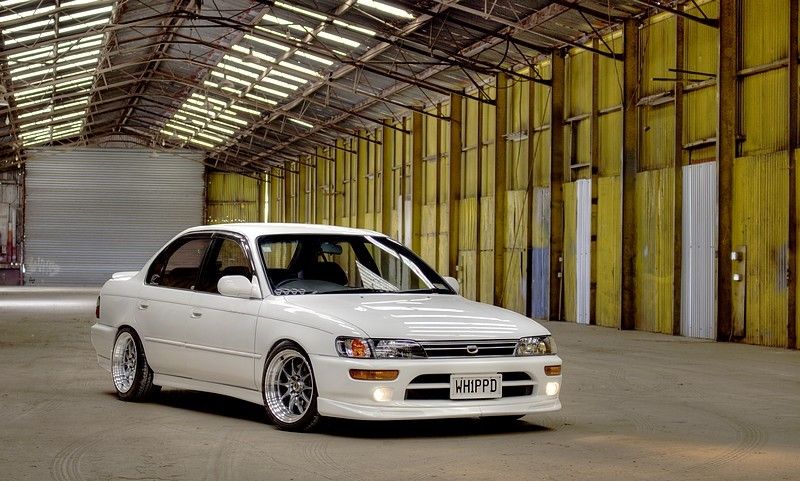
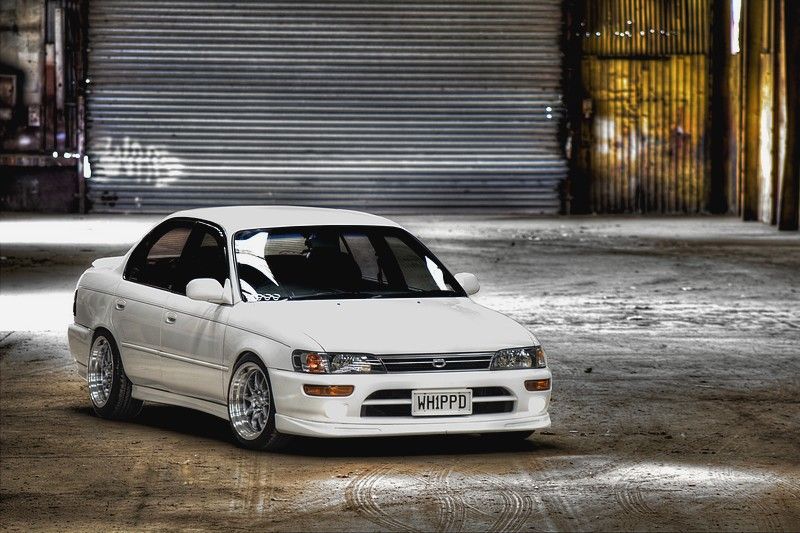
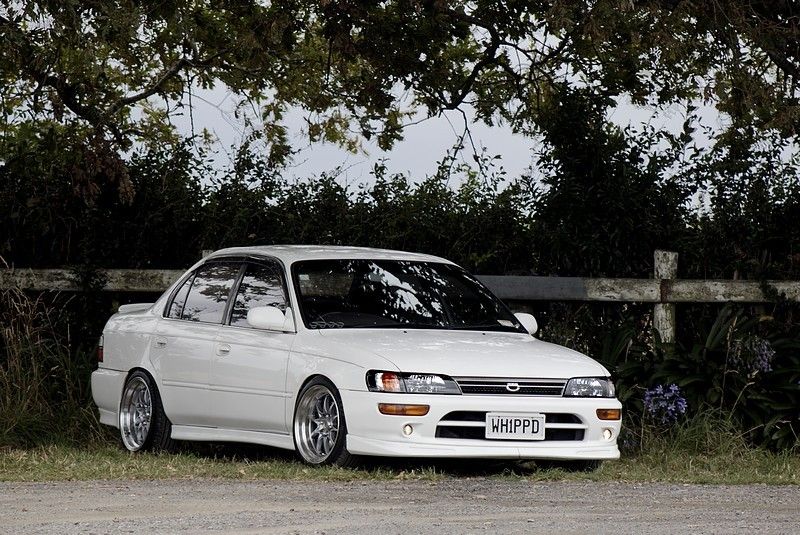
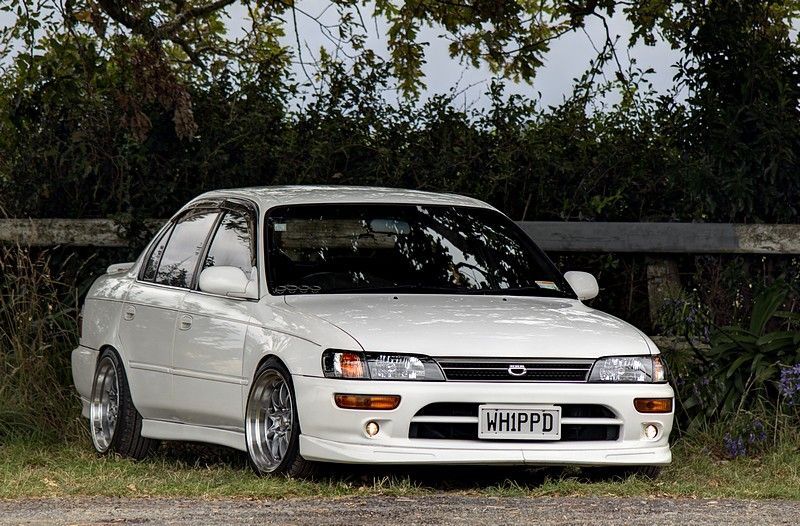
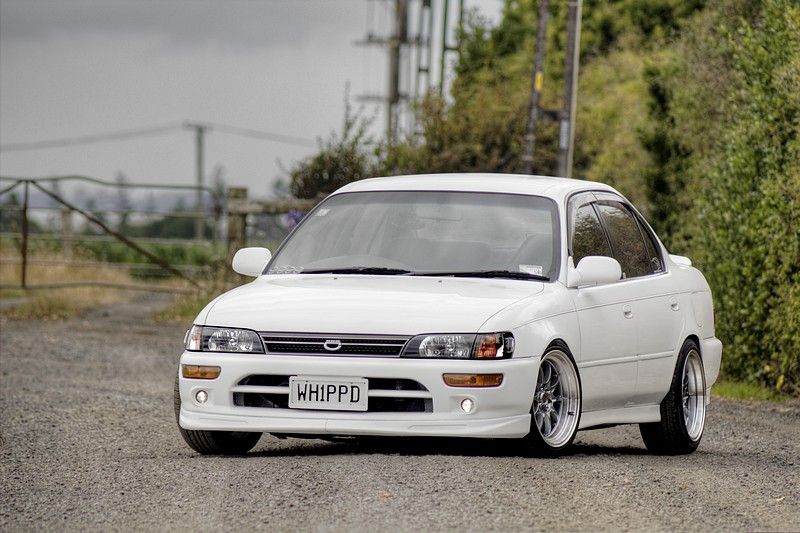
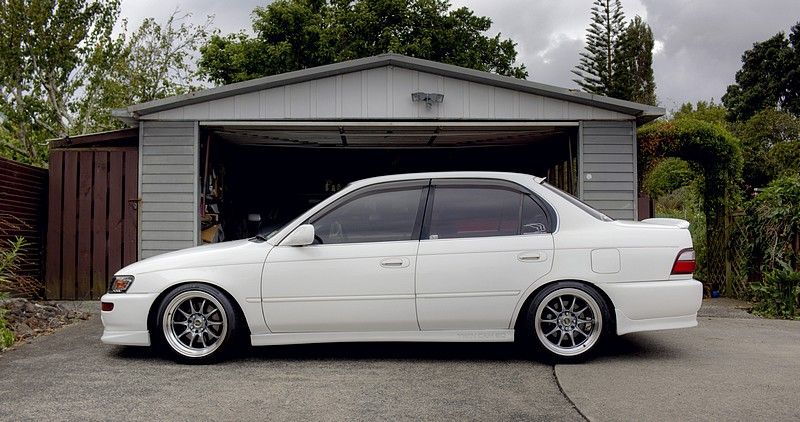
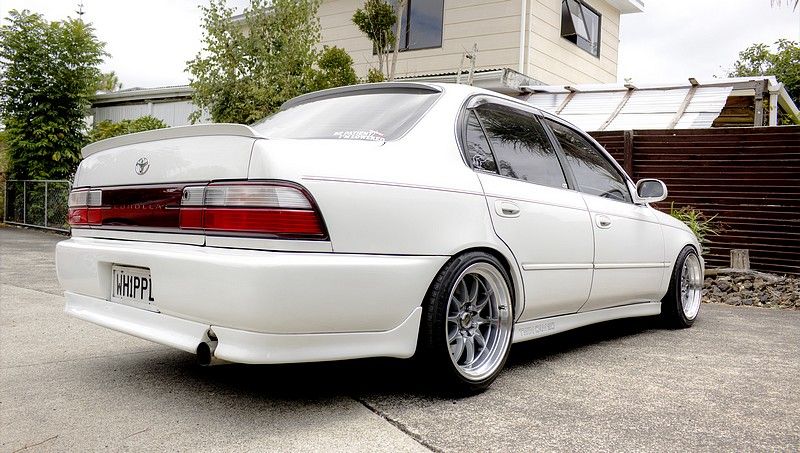
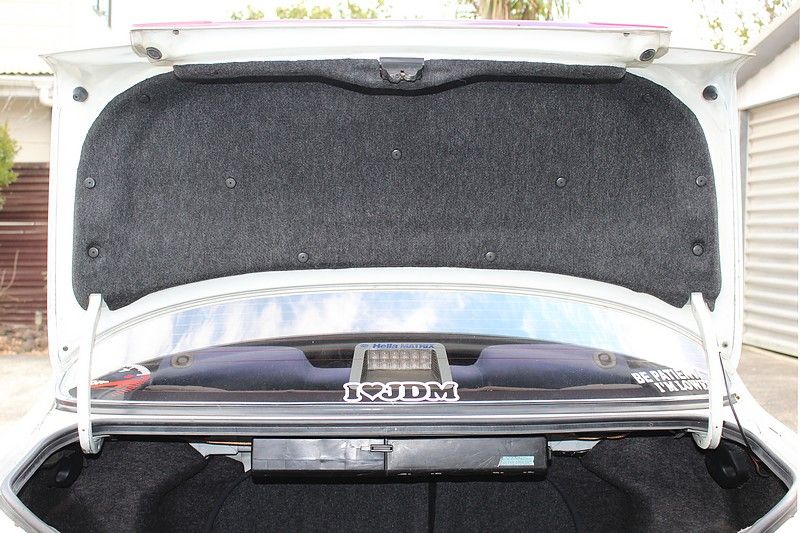
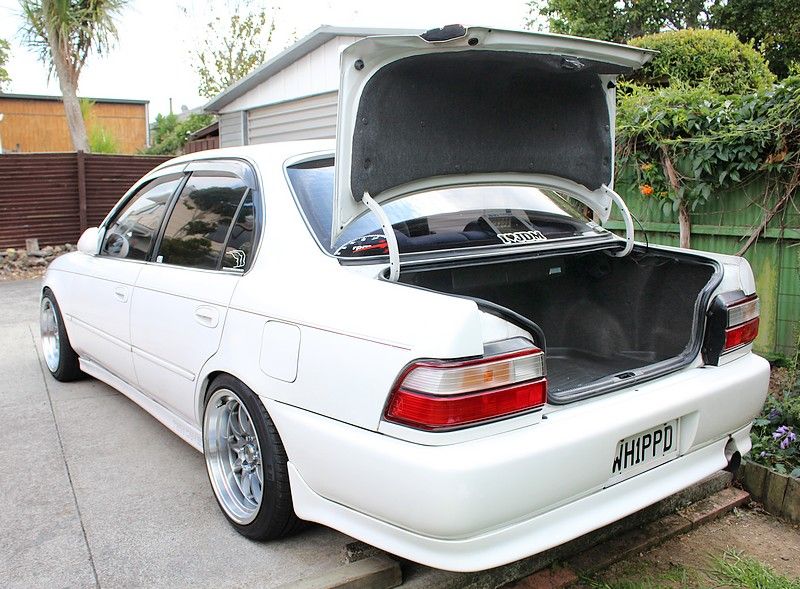
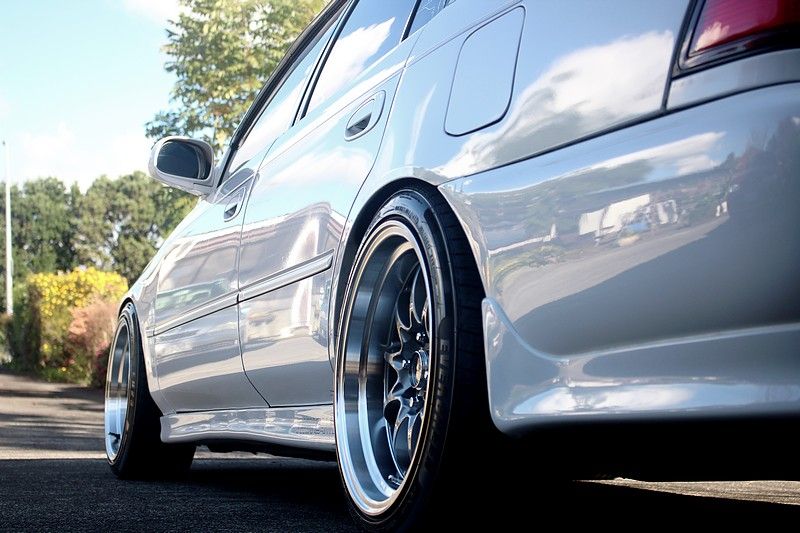
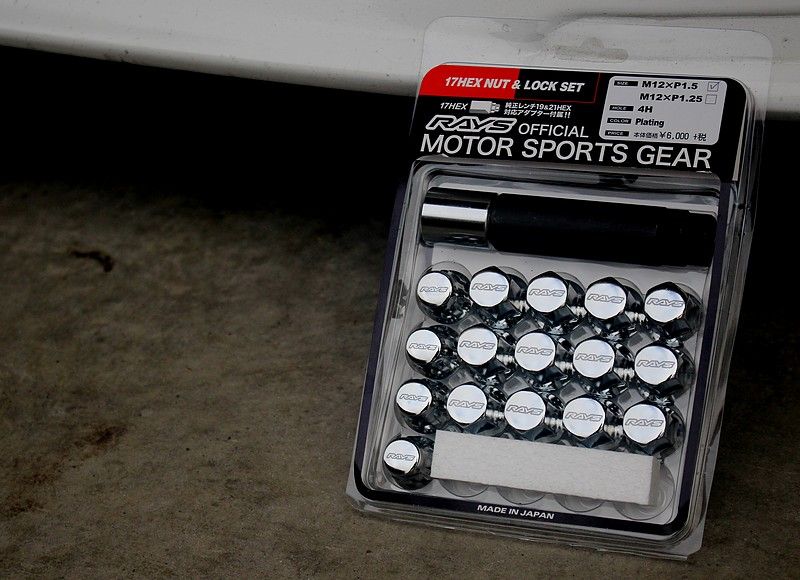
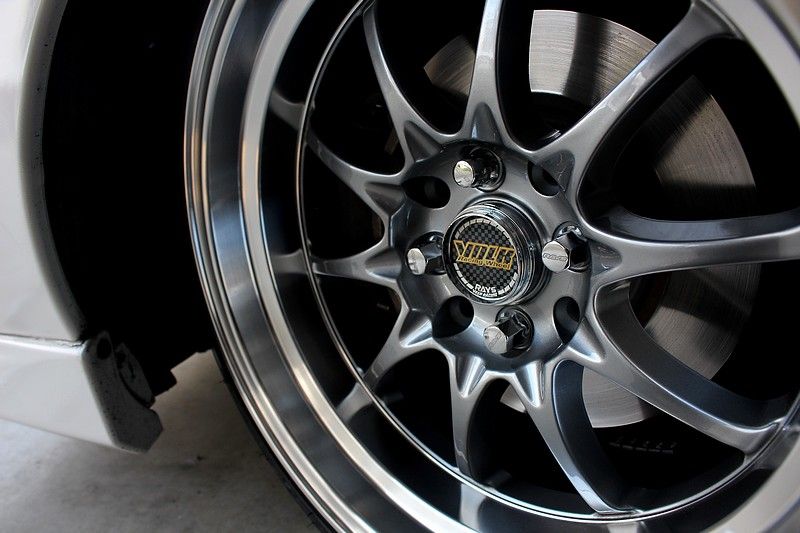
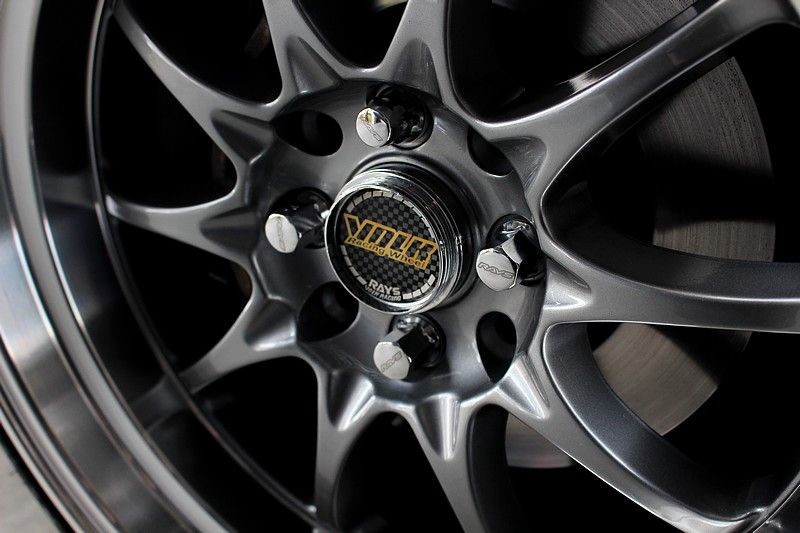
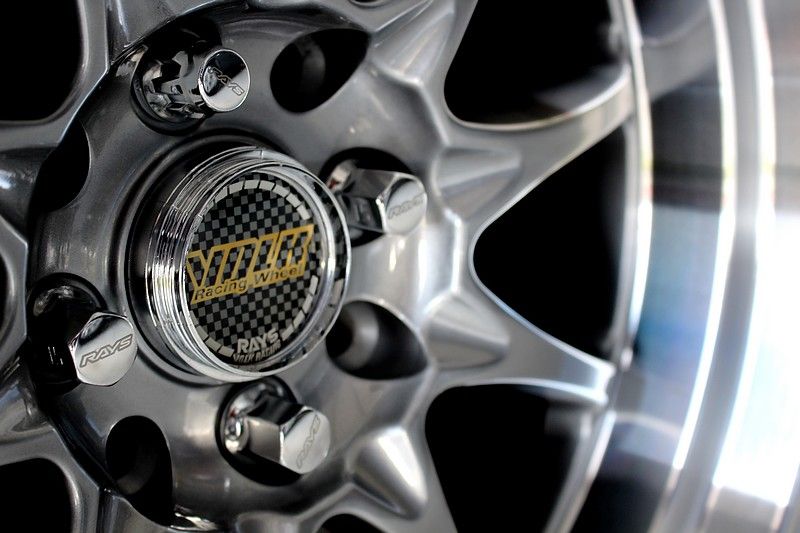
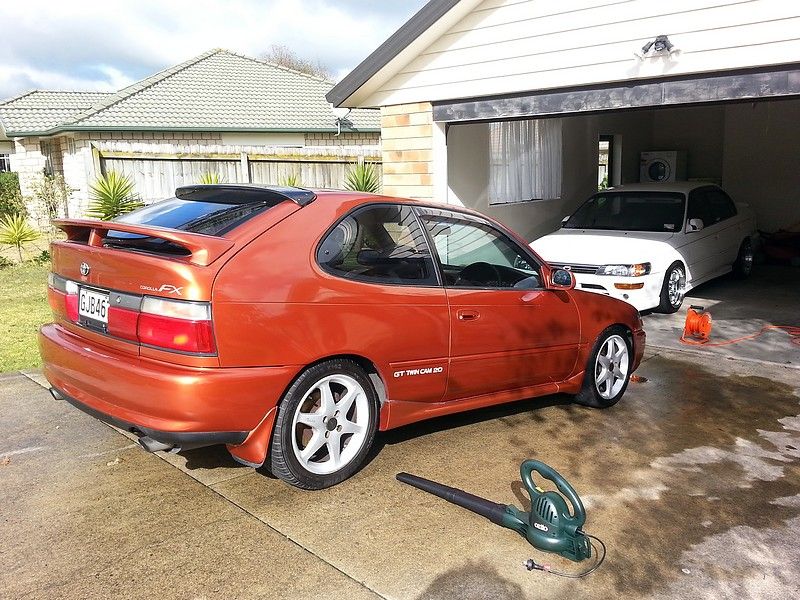
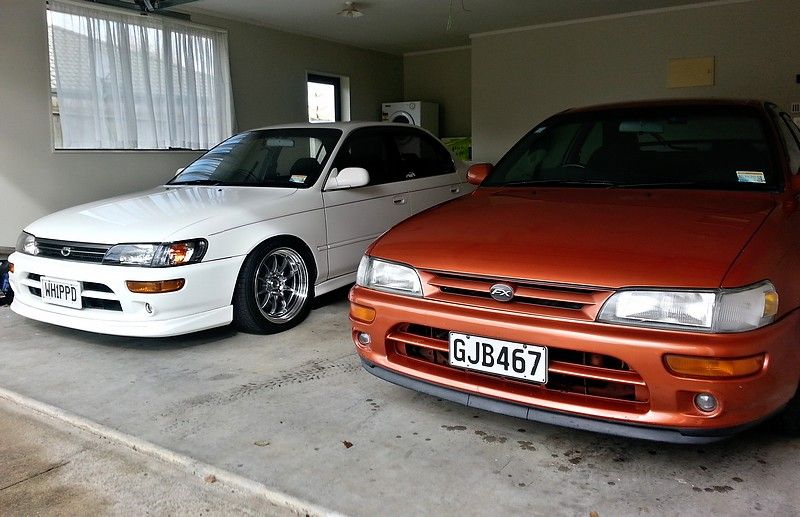
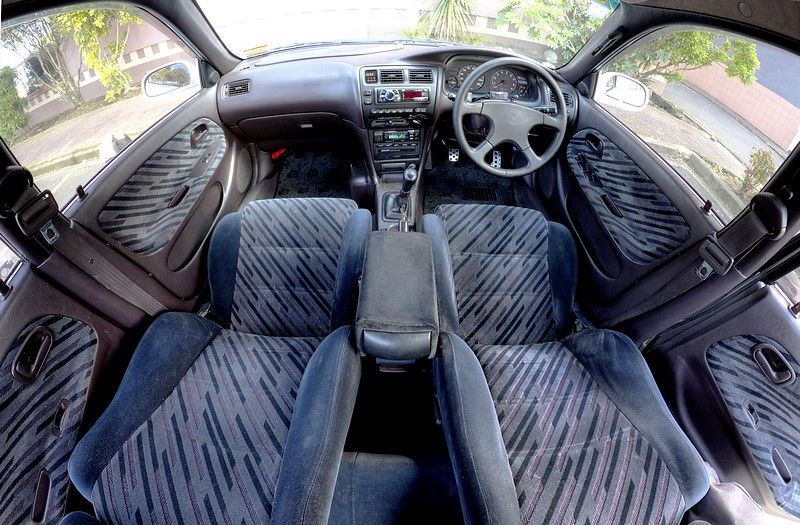
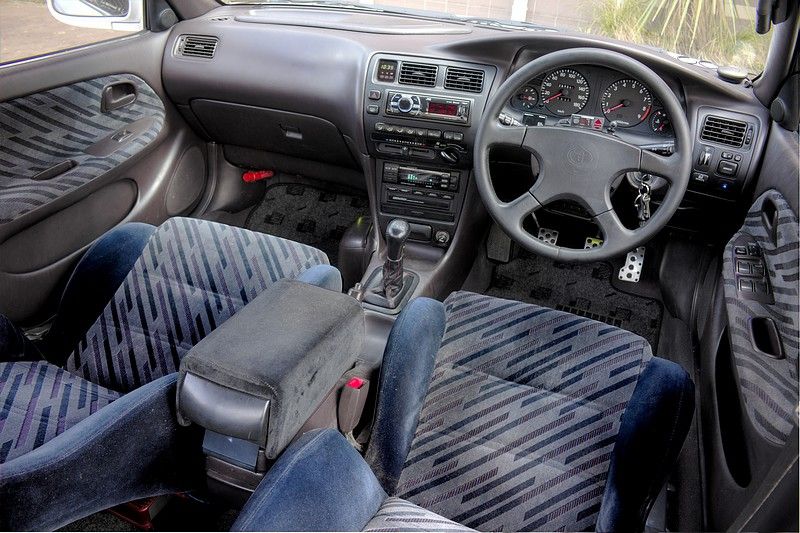
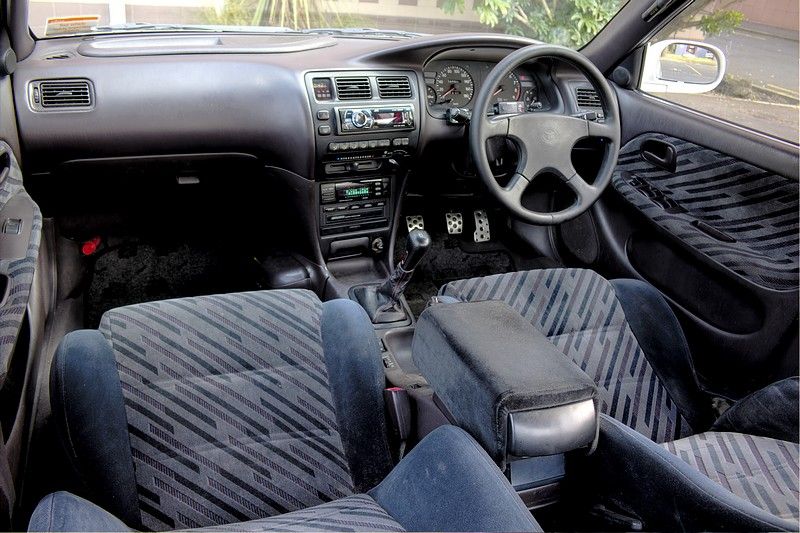
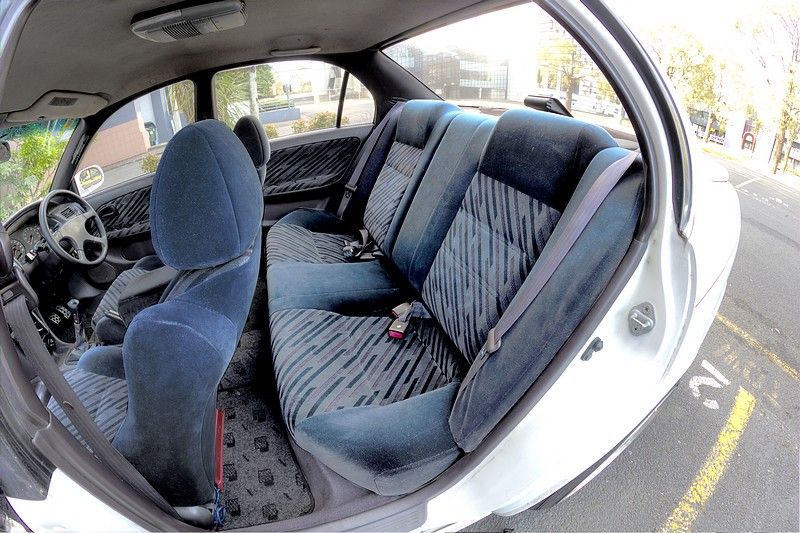
I went for a bit of a photoshoot a few hours ago. Been really enjoying these wheels since I got them a couple of days ago so thought I'd take some decent photos:

IMG_7384_5_6-resized.jpg


IMG_7447_8_9-resized.jpg


IMG_7420_1_2-resized.jpg


IMG_7248_49_50-resized.jpg


IMG_7484_5_6-resized2.jpg


IMG_7463-resized.jpg


IMG_7473-resized.jpg
 
My latest addition are these sweet looking velocity stack stickers I got sent over from Australia. I find they give the car a little bit more character and are a subtle way of indicating what's under the hood:

IMG_7555-resized.jpg


IMG_7574-resized.jpg
 
That car is indeed in a pretty pristine condition. Love it. Very nice location you chose to have those pictures clicked. keep posting stff like that.
 
Nice ride ....very impressive..
 
Thank you both!! :biggrin:

A few small updates from the past few days:

* I had the timing belt, water pump + rear hose, VVT pulley, tensioner, idler pulley and both drive belts replaced on Friday. The timing belt had been done in the past but when I got the engine there was nothing more than a faint outline of where the sticker used to be on the cam cover, so rather than lose sleep at night I decided to get it replaced and did the VVT pulley at the same time (no more rattly diesel noise at idle!). It was a pretty pricey exercise but for the peace of mind alone it was definitely worth it.

* On Friday I fitted some 'TWINCAM 20' stickers that arrived from Australia. After putting them on I immediately regretted not putting them up a little bit higher, so being as fussy as I am, I ordered some more and will have another crack at it once they arrive. All in all I definitely like the look though.

* Last but not least, today I installed a Pivot Speed Meter. This little device gets hooked up to the ECU's speed signal to remove the factory speed limiter and digitally displays your current speed, with the ability to measure the G-force under acceleration/deceleration and your 1/4 mile time.

IMG_7666-resized1.jpg


IMG_7662-resized.jpg


IMG_7657-resized1.jpg


IMG_7638-resized.jpg


IMG_7645-resized.jpg
 
I took advantage of the public holiday here and the overcast weather and went out to take some more photos:

IMG_7689_90_91-resized4.jpg


IMG_7704_5_6_tonemapped-4th-resized1.jpg


IMG_7823_4_5-resized1.jpg


IMG_7856_7_8_fused-resized2.jpg


IMG_7868_69_70_resized.jpg
 
After not being happy with my initial 'TWIN CAM 20' sticker placement a few weeks ago I decided to give it another crack when some more arrived from overseas. It took me a week to decide on the most appropriate placement, and in the end I came to the conclusion that they'd look good on the sideskirts. It's a little bit out of the ordinary, but I like it much better than when they were on the rear doors.

IMG_8087-resized.jpg


IMG_8091_2_3_tonemapped2-resized.jpg


IMG_8106_7_8_tonemapped-resized.jpg
 
My latest addition is this rather rare USDM carpeted trunk lid liner. This was only available for the American market, so being the huge fan of factory options/accessories that I am I just had to have it, even if it wasn't an original JDM item. A good friend in the US kindly sent it over to me and I installed it a few minutes ago.

The bare skin of the trunk lid is no longer visible, creating a more elegant and luxurious look, usually reserved for higher spec'ed cars such as the Lexus range. One unexpected bonus is that the trunk now closes easily on it's own when you drop it from the top due to the extra weight of the carpet, whereas previously it would require a helping hand to latch in properly.

It's certainly not the most exciting optional extra in my collection, but it's simple and effective, just how I like it :)

IMG_8376-resized.jpg


IMG_8382-resized.jpg


IMG_8381-resized.jpg


IMG_8363-resized1.jpg
 
I got these "Slammed Corolla" stickers in the mail from Iceland today, so I was quick to slap them on:

IMG_8619-resized.jpg


IMG_8626-resized.jpg


IMG_8628-resized.jpg


I also snapped this photo yesterday:

15907342-5-resized.jpg
 
my jaws just dropped! I would say give all the love to it!
 
Thanks!! :biggrin:

I recently bought a Dual Action polisher and decided to test it out yesterday by giving the Corolla a good polish. I used Meguiar's Ultimate Polish, followed by Meguiar's Deep Crystal Carnauba Wax. Took a couple of hours from start to finish but I was very happy with the result :)

IMG_8768-resized.jpg


IMG_8765-resized.jpg
 
I'm very proud to announce that my Corolla is featured in the 'Daily Driven' section of this month's NZ Performance Car magazine :biggrin:. It's available in stores nationwide here in New Zealand and read by hundreds of thousands of people, so when I saw that it had come out a day early yesterday I immediately bought two copies. I've scanned the page and uploaded it below. The quality isn't 100% due to the scanner but still easily readable. To view it, simply click on the image below and press the zoom button (magnifying glass symbol) in the bottom right hand corner and then once more when the image pops up:

 
I got my car certified last week and it's now 100% legal :D. You only have to get a cert done if you install coilovers or do an engine swap etc, so when I had mine done I got the engine, coilovers, brakes and a couple of other things put on the cert plate to avoid any trouble with the cops in the future.

I also scored a genuine TRD fuel cap yesterday. I've always wanted one but had other things to spend money on for the car instead, so when I managed to get my hands on this one for free I was pretty happy:

IMG_8998-resized.jpg


IMG_9018-resized.jpg


IMG_9019-resized.jpg
 
Cheers guys! :biggrin:

A few small updates from me:

I installed these aftermarket Denso Japanese "J Horn Power'd" horns. Here's a video/sound clip comparing them to my original OEM dual horns:
http://vid32.photobucket.com/albums/d2/tokeitup/tokeitup180/MyMovie.mp4

These Rays wheel nuts turned up yesterday from Japan:

IMG_9084-resized.jpg


IMG_9098-resized.jpg


IMG_9101-resized.jpg


IMG_9110-resized.jpg


Annnnd I bought a leaf blower to dry the cars after washing. Turns a half hour job into a 5-minute job and gets into all of the cracks and crevices, leaving the car bone dry. Wish I had started doing it years ago!

20140731_112157-resized.jpg


20140731_113628_HDR-resized.jpg


20140731_113847_HDR-resized.jpg
 
I took the sedan for a bit of a drive today, before stopping off for a few obligatory photos on the way home:

IMG_9161_2_3_tonemapped-3-4-resized.jpg


IMG_9181_2_3_tonemapped-highlight1-resized.jpg


IMG_9184_5_6_tonemapped-1-resized.jpg
 
I didn't have a whole lot to on Sunday so when I realized that it had been 3-years since I had taken some actual interior photos I decided to whip out my camera and post a much needed update. It was quite tricky getting even lighting inside the cabin, without the use of any studio lighting etc, but these photos didn't come out too bad :)

IMG_9278_79_80_tonemapped3-resized.jpg


IMG_9257_8_9_tonemapped1-resized.jpg


IMG_9260_1_2_tonemapped1-resized.jpg


IMG_9272_3_4_tonemapped1-resized.jpg
 
I just finished installing these pillow ball spherical bearings into the stock shifter cables and after a road test, the difference is very noticeable. Previously the gears used to slop into place due to the factory rubber bushings, but now the gears have a much tighter feeling, clicking into place during each shift. The benefit of using spherical bearings over solid brass bushings or skateboard bearings is that the natural twist of the cable as it's going through the range of motion isn't lost, so you get the same effect as the solid bushings except without any of the additional effort required to change gears.

Earlier today I also removed the original rubber shifter base bushings from inside the car, along with the metal sleeves, and bolted the shifter housing directly to the floor. This also gave the gears more of a "snik-snik" feeling, with no more mushiness at the end of each shift or when hitting the shift gate to go into 1st or 2nd.

As a result of both modifications there is no longer a squishy, sloppy, floaty feeling when changing gears, but instead something that really makes you feel more connected to the car and improves the overall driving experience :)

IMG_9385-resized.jpg


IMG_9387-resized.jpg
 
After running 110mm velocity stacks (trumpets) for almost 2-years I decided it was time to try a set of 100mm stacks instead, in an effort to gain more clearance between the clutch master cylinder and gain slightly more top-end power. So after a short wait these shiny new billet velocity stacks arrived from Australia, made by SQ Engineering. Let me start by saying that the build quality of these are AMAZING. They're machined from a single piece of aluminum alloy and this set is designed especially for the 20v Blacktop. For anyone who'd like to watch a set getting made (50mm shown in the video) check out this YouTube video: Machining of Billet Velocity Stacks - YouTube

I now have more clearance between the #1 stack and the clutch master cylinder, the sound they emit doesn't sound so raspy like my old ones due to the much thicker alloy construction (spun vs billet) and the pull from 6,000rpm-8,500rpm is noticeable stronger than my previous 110's. You sacrifice a little bit of earlier/low-end power due to being 10mm shorter in length, but it more than makes up for it in the top-end. As an added bonus, these new stacks are incredibly shiny and resist scratches and fingerprints really well. If anybody wants a set, contact SQ Engineering on Facebook or through the website as they do a number of different sizes for both the Silvertop & Blacktop engines, and also offer an equally impressive spun/rolled type for slightly less $$$.

IMG_9400-resized.jpg


IMG_9402-resized.jpg


IMG_9403-resized.jpg


IMG_9418-resized.jpg


IMG_9429-resized.jpg
 

A Post Every 5 Mins

Guys, I have installed a set of HID my self last 2 months or so but surely less than 6 months. Then starting last month the (L) side HID sometimes won't turn. I've to switch off the lights and switch it back on again so that both side lights up. Some times, I've to repeat the same sequence 2~3 times then only it will light up. I gave the seller a call since its a new set, he promise he can change for me but he told me to use this method see whether it can solve this problem or not.

He told...

Online now

Search

Enjoying Zerotohundred?

Log-in for an ad-less experience
Top Bottom