
- Joined
- Nov 18, 2003
- Messages
- 880
- Points
- 3,063
If any of you have been following me and my journey from the very beginning (if you have not, go to my blog in my signature), this is my 3rd time dealing with single stage paint.
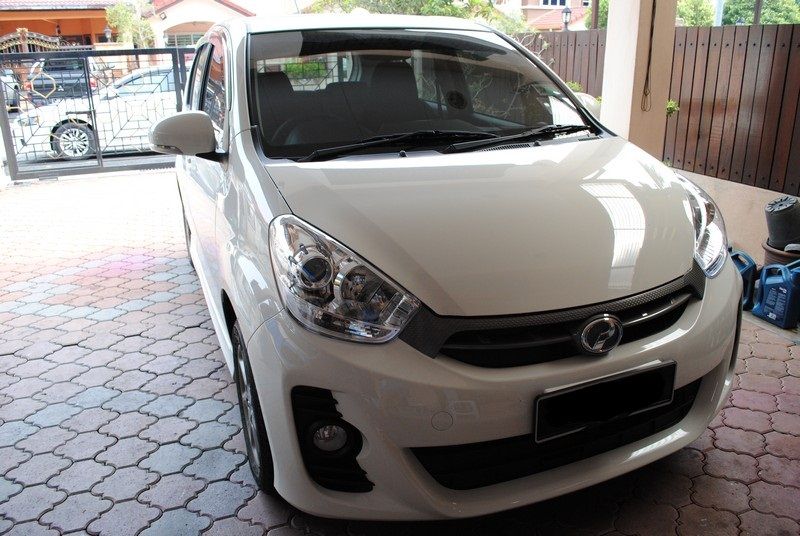
My patient this time is an almost 2 months old Perodua Myvi 1.5 SE Solid White. This detailing confirms my suspicion. Perodua solid white.... is single stage paint.
What is single stage?
All sifu please correct me if I am wrong here, but single stage paint is paint to combines the color and gloss together. Which makes it Metal > Undercoat > Color+Gloss coat. Whereas our newer paint which has clearcoat is Metal > Undercoat > BaseCoat > ClearCoat. So polishing a single stage coat = removing part of your color.
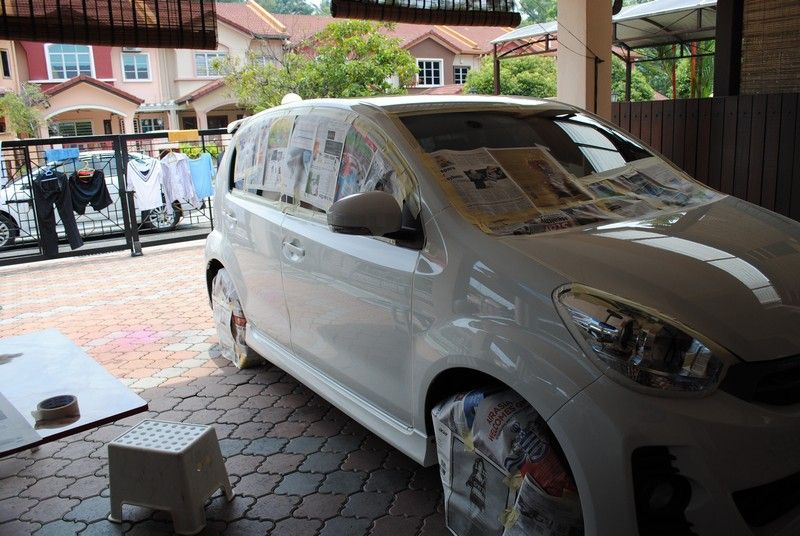
Without further delay, lets see how the car looks like at arrival.
Looks.... decent enough.
Or is it? Upon closer inspection
This car has murdered lots of bugs
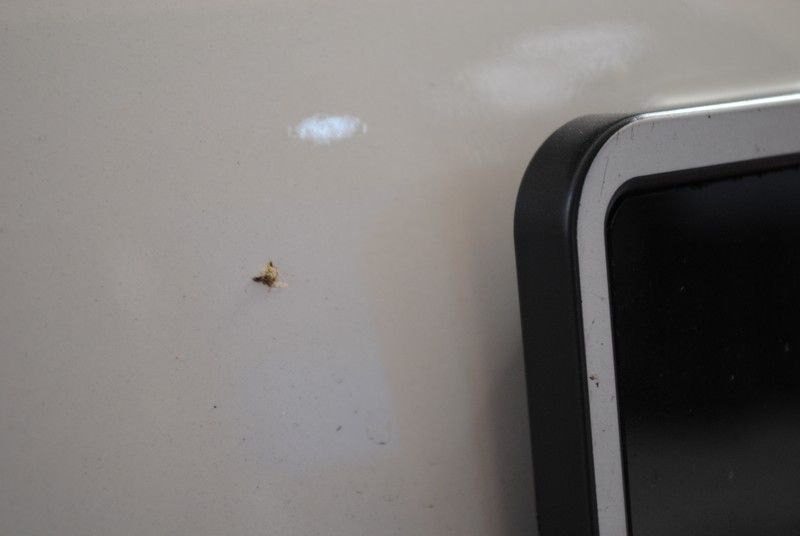
Even crushing them beyond recognition
Dust all over......
The car is mostly parked in covered parking lot *owner stays in a condo* hence the dust but fortunately not wet by water.
Dust everywhere
Grease mark from manufacturing?
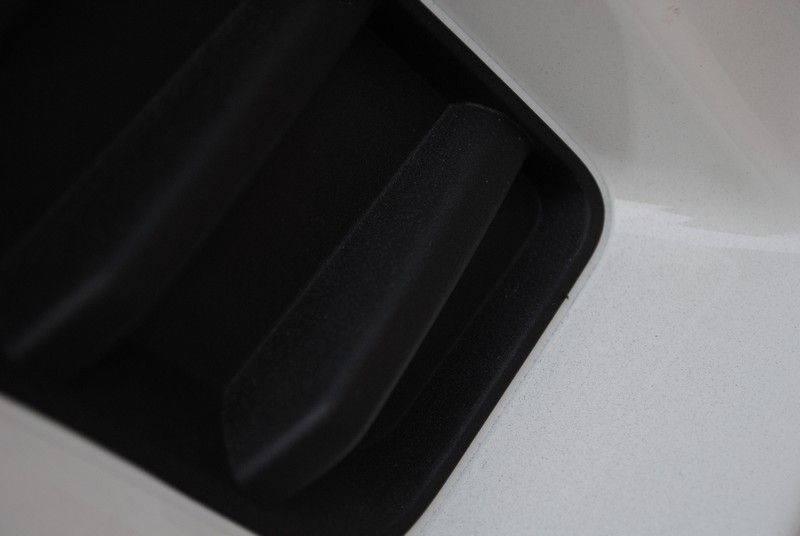
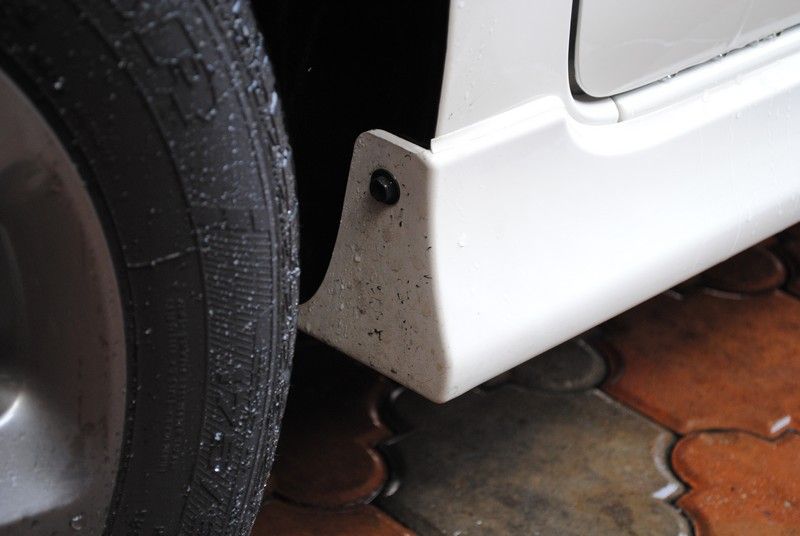
Dust at lower bumper
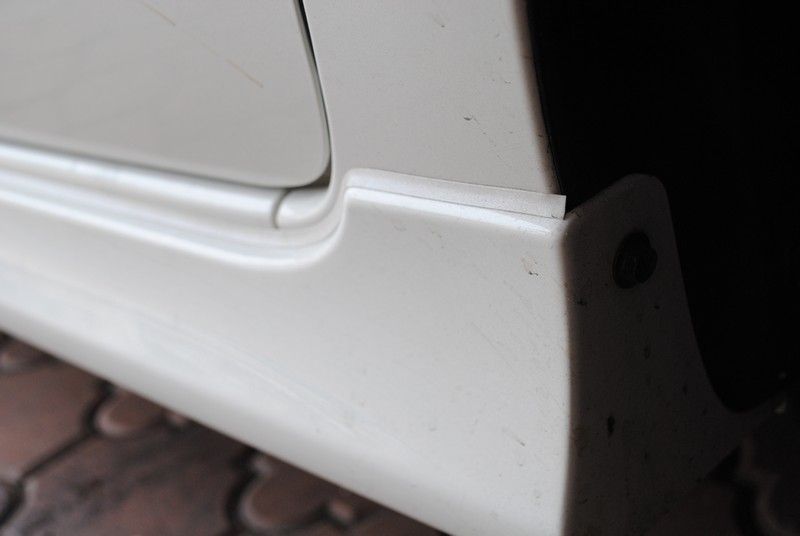
Rubber mark from rear boot cover
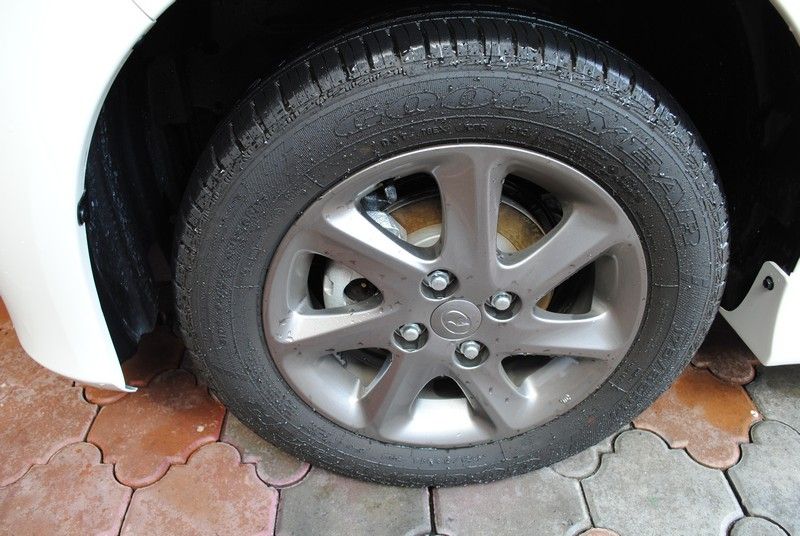
Lots of dirt kicked up y this 15 inch rims
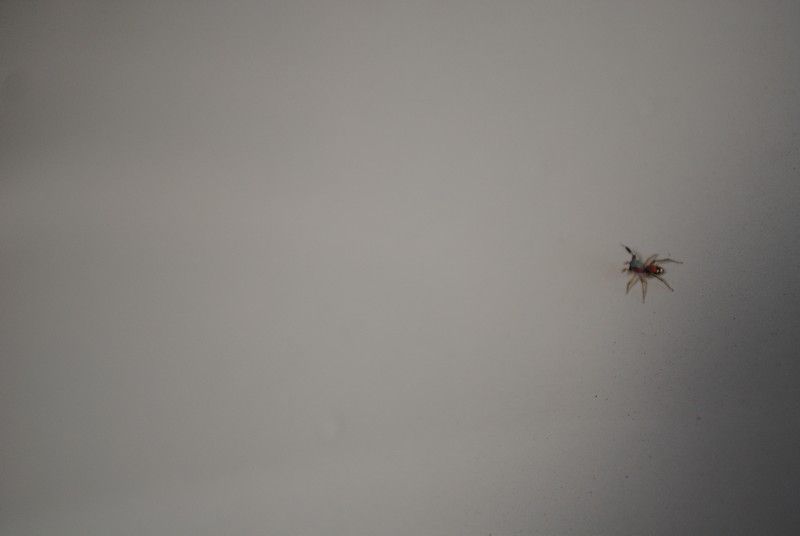
Last I did a silver myvi.... this spider has two hands. So proven that this white myvi took one of its hand away.... actually its a different random spider,
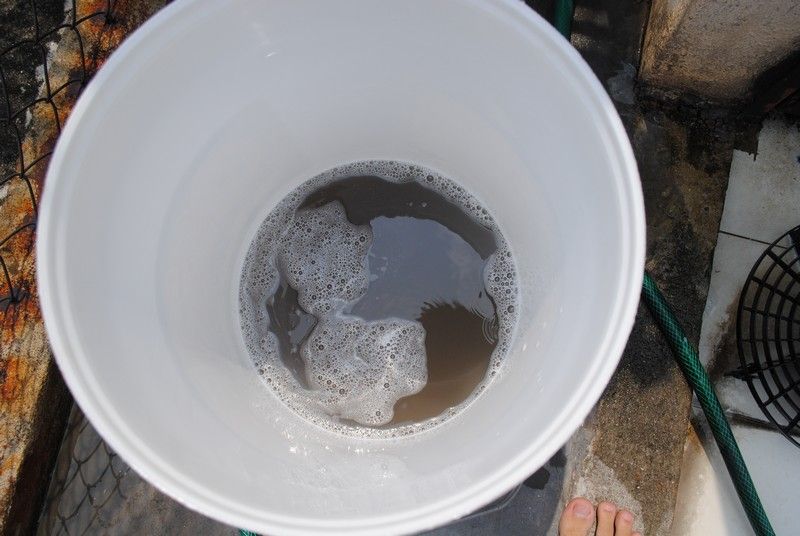
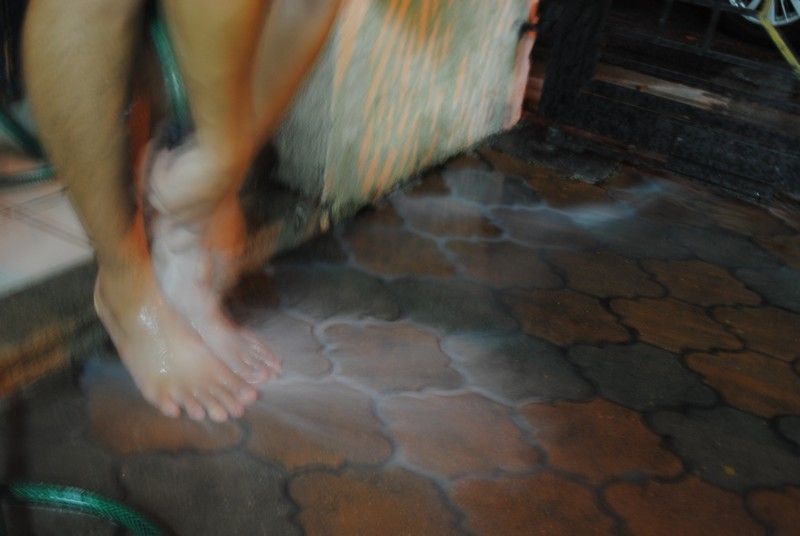
OKAY, a quick bath with Osren Bubble and Wax
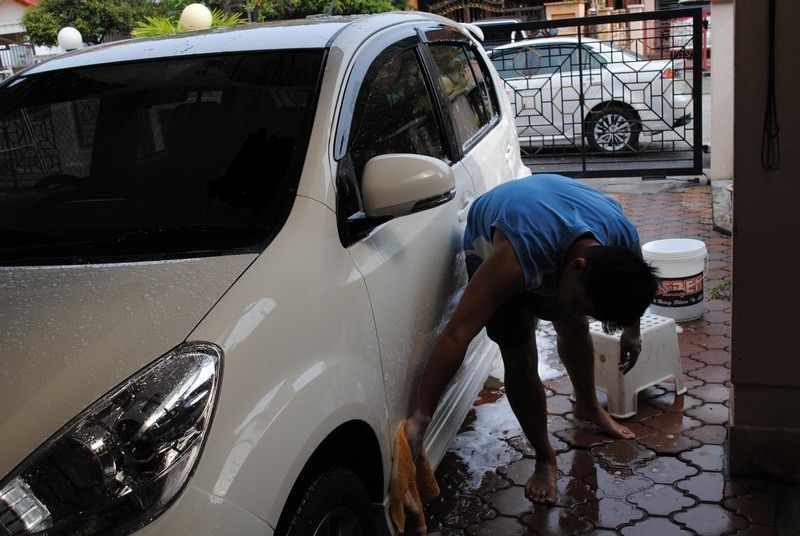
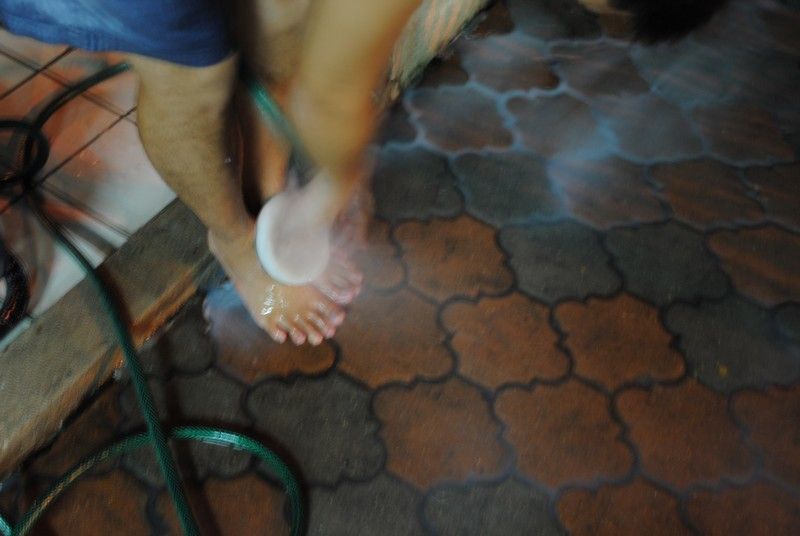
A quick rinse with water.... i am short hence the stool
You get clean car
Almost look decent enough to just pack up and go home
Wait a minute..... normally not washed area.....
Look at the corner of the picture and you know that part is cleaned..... with secret weapon as it has lots of tar stains
Even the rear wheel arch is cleaned
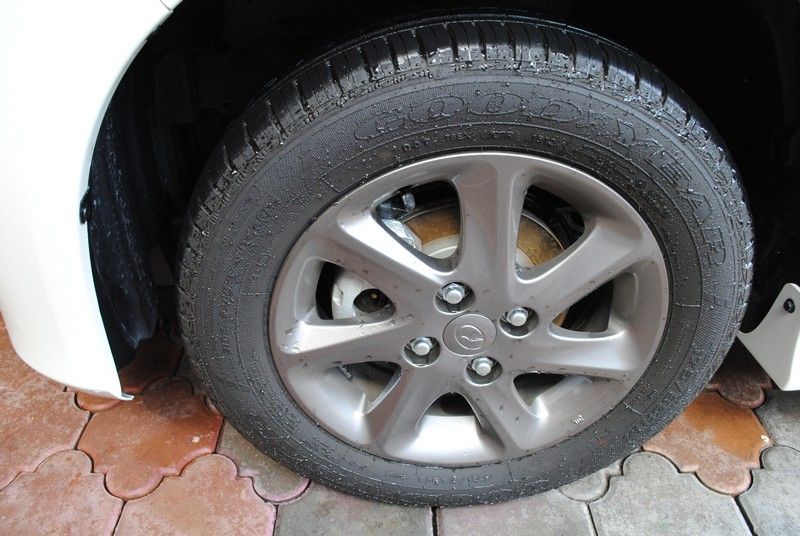
Ohh... how dirty this rim is...
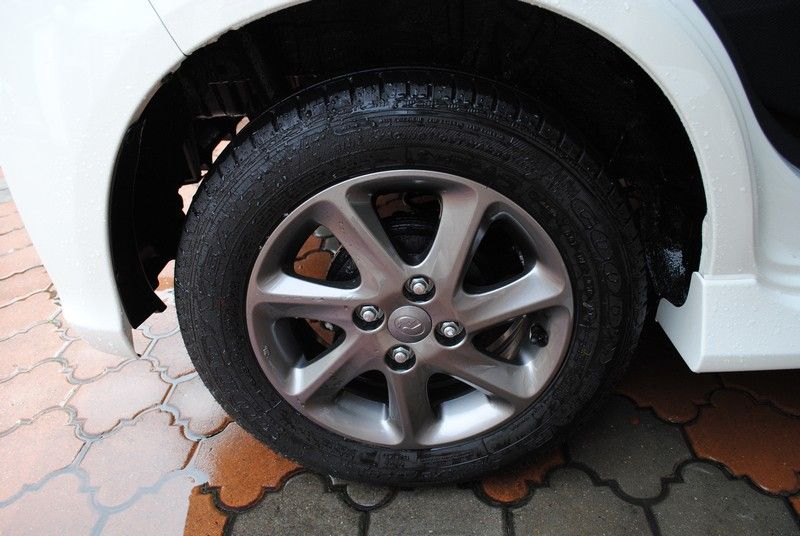
Tyre at least looks clean.....
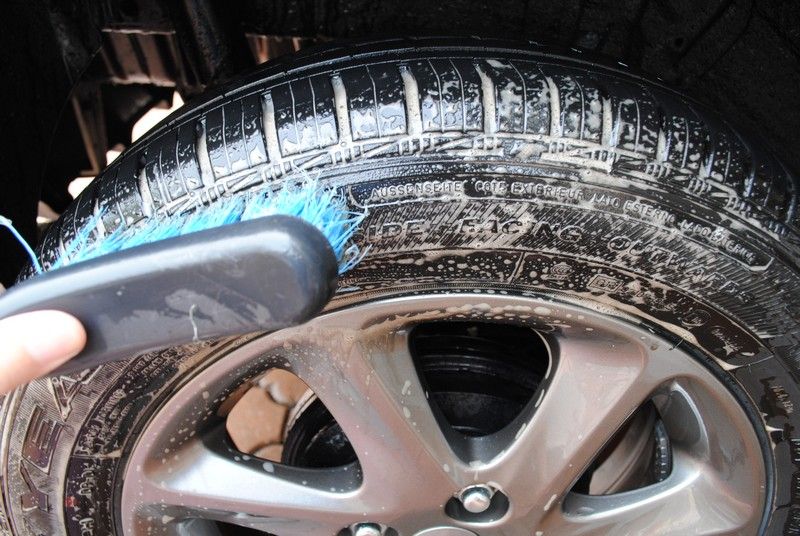
Or is it?..... see for yourself the amount of dirt brushed out of the tyres alone with OPC 1:3
Which side of the rims is cleaned and which side isn't....
LORRY SAMPAH DATANG.... this was when i took shelter inside the house as the garbage man takes my rubbish away
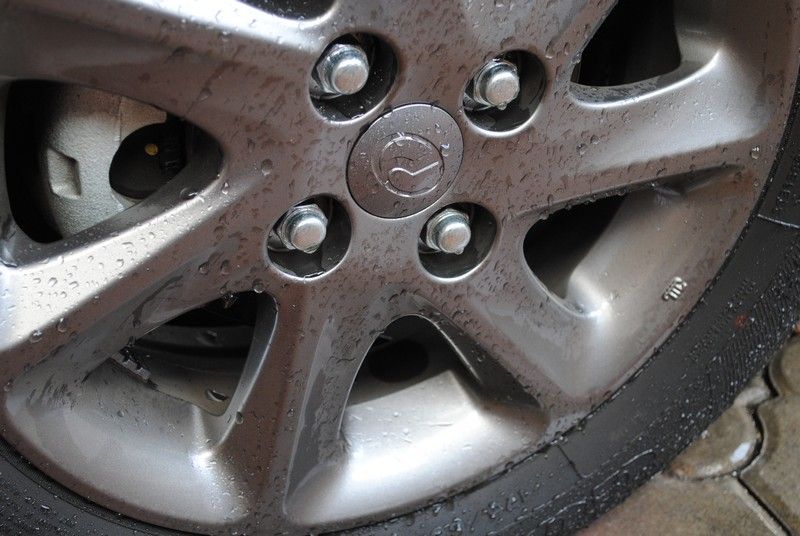
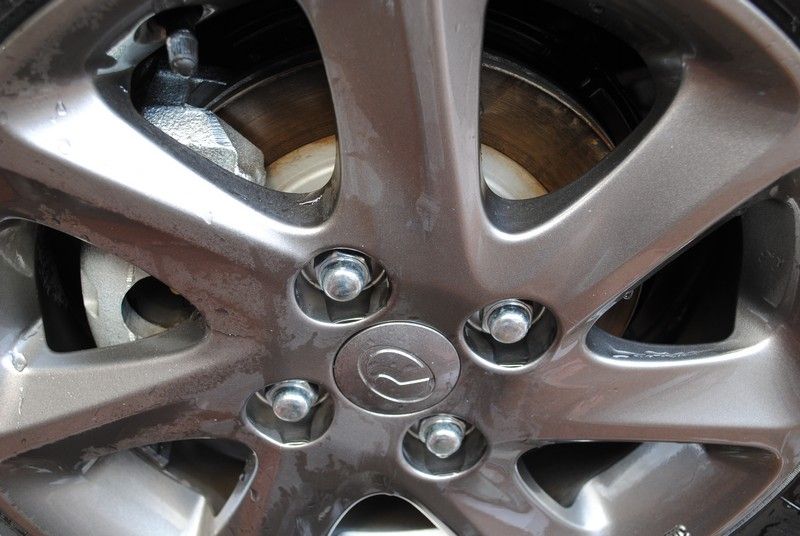
Lug nut area that is seldom to never clean ordinary.
Again OPC 1:3 + 1 inch nylon brush is enough

Clean......... or is it....
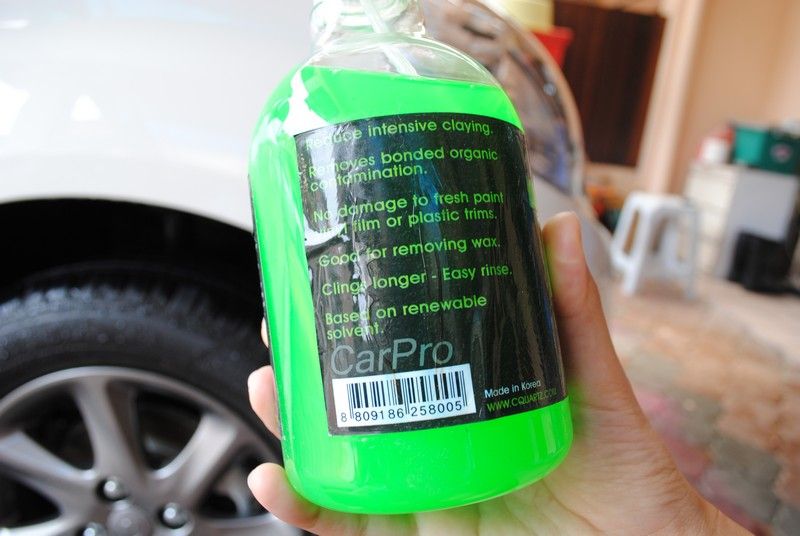
Time to bring out something i just got my hands on....
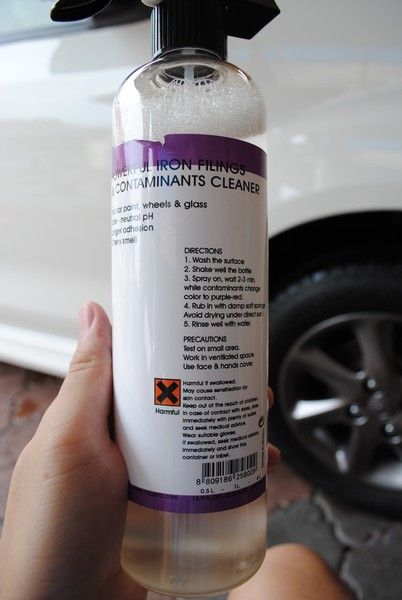
IronX which is said to remove all iron not cleaned from wherever you sprayed it.
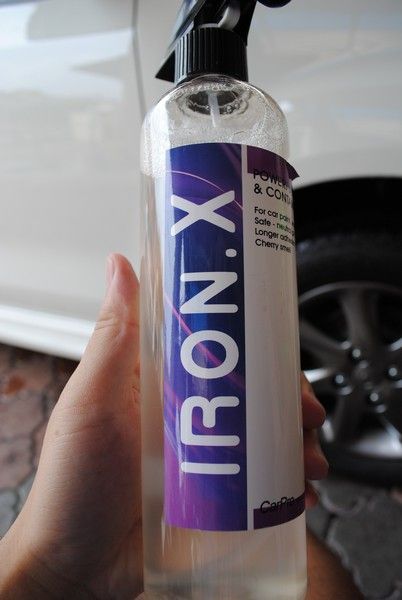
TarX which is said to remove....... tar like magic
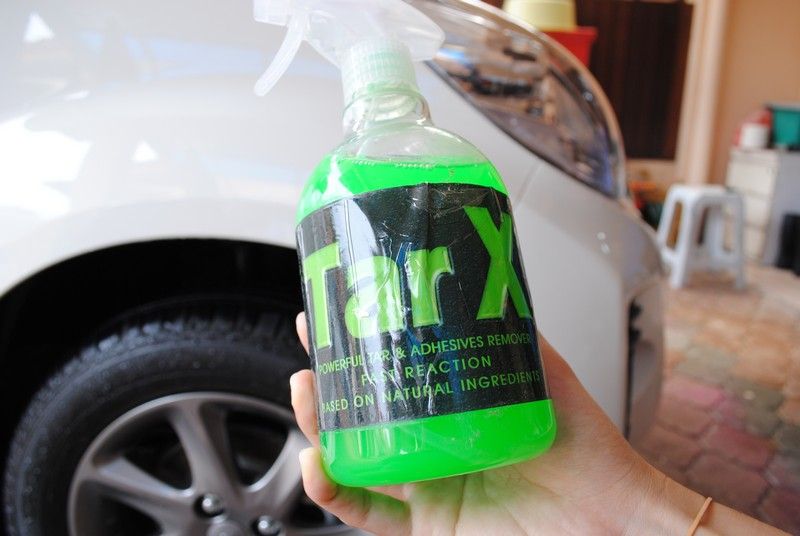
Even supposingly unseen tar
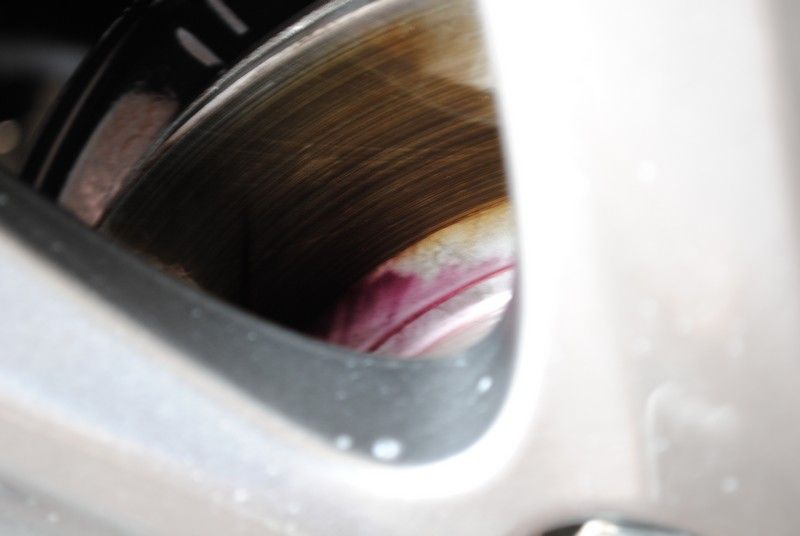
Sprayed on and...... nothing happen???? Did I just got conned by these two seemingly miracle product?
Okay, its working well..... the disc at the back is turning purplish which means it came in contact with iron. So this means..... I AM PRETTY GOOD AT CLEANING THE WHEELS!!!
Car was later OPC 1:5 to remove anything not washed away by Osren Bubble and Wax.
I skipped the photos for claying else this detailing would have more than 200 photos......
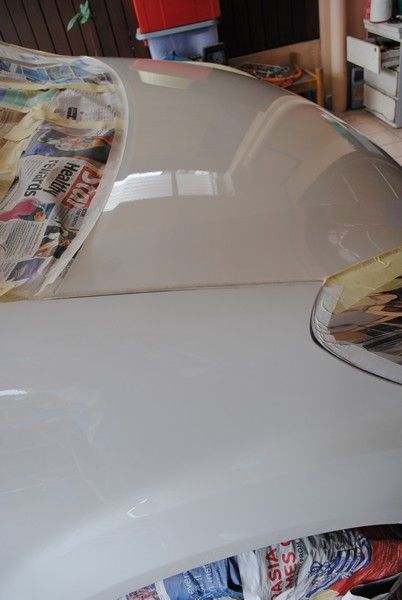
Time to inspect the paint....
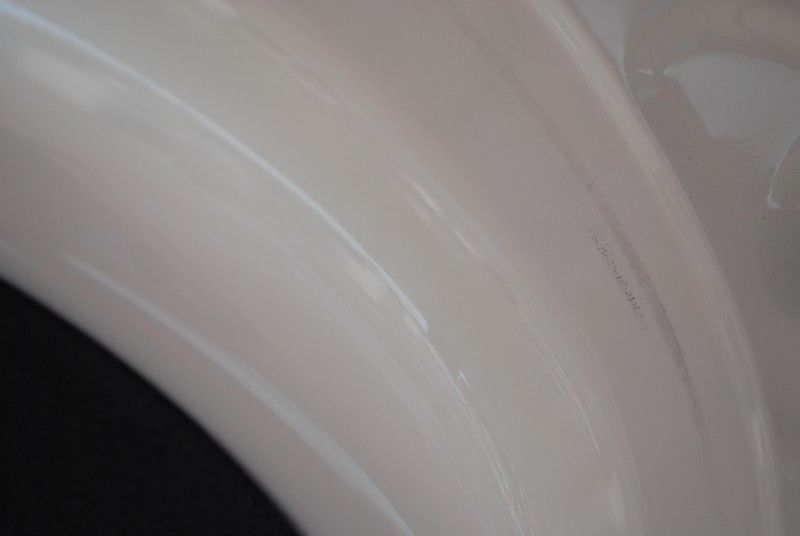
Some water mark
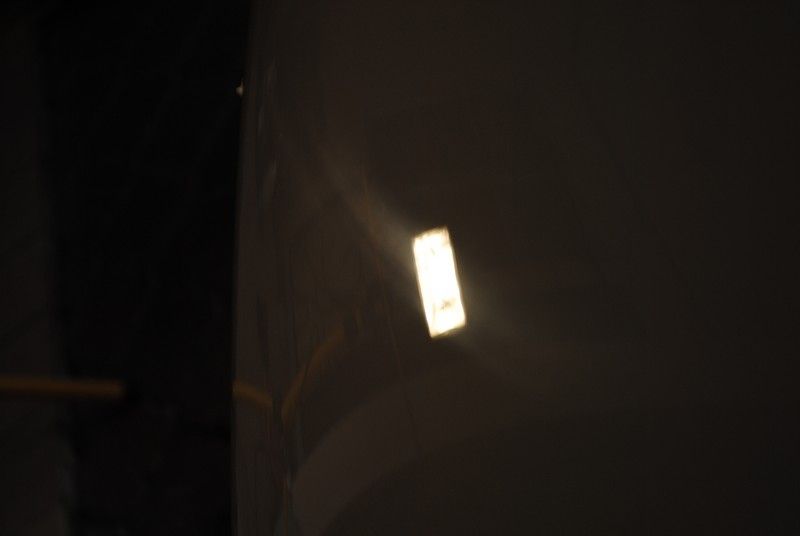
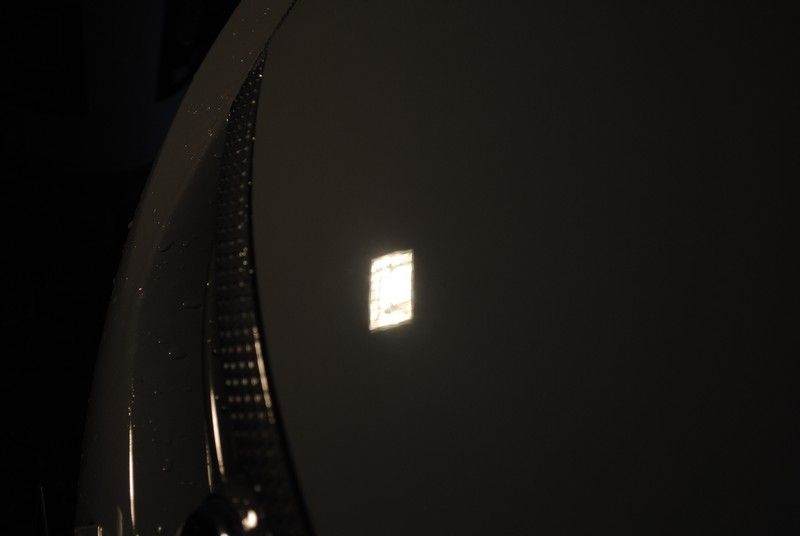
Some holograms..... wait a minute, why got hologram..... owner never sent the car for polishing at all...... factory issued holograms? It will remain a mystery
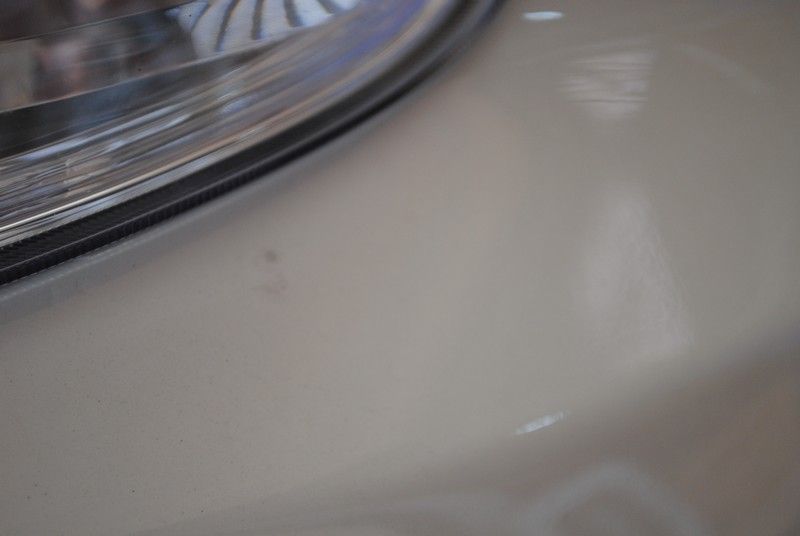
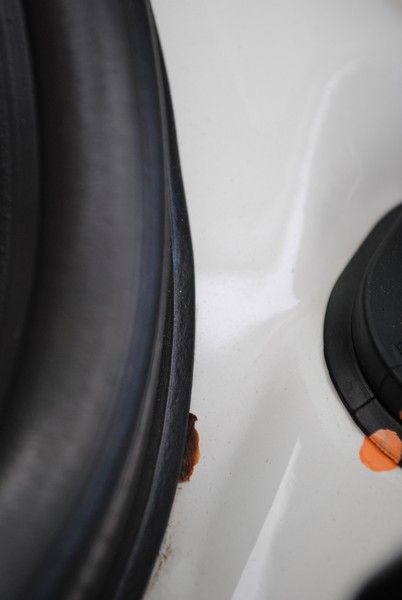
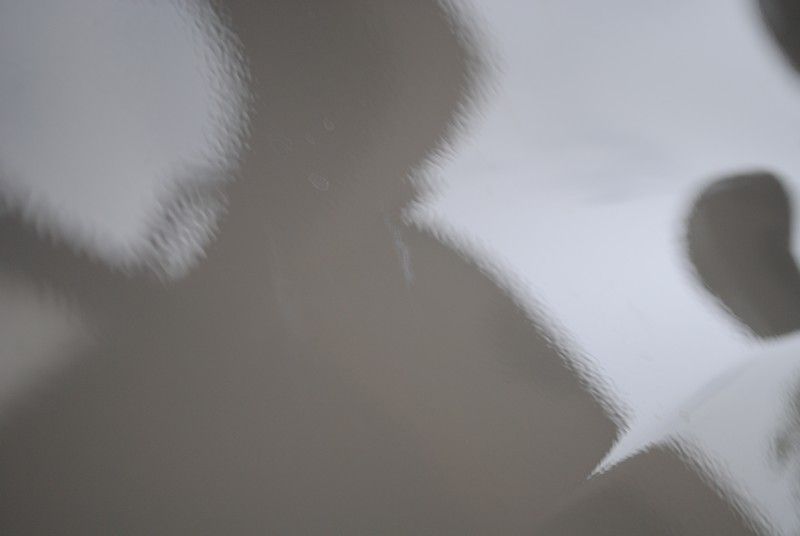
The front bonnet and fender has these little black dots that is not tar, cannot be clayed and cannot be felt by finger nail....
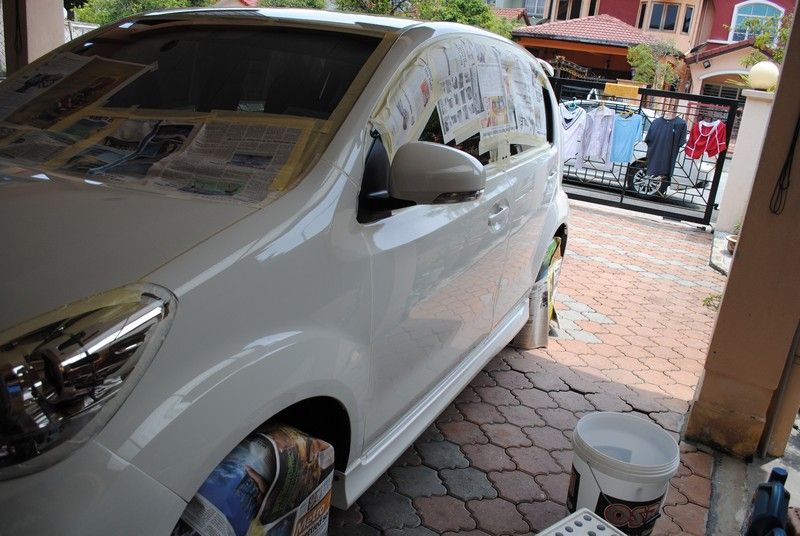
Wrapping up the car.... right side... checked
Left side checked
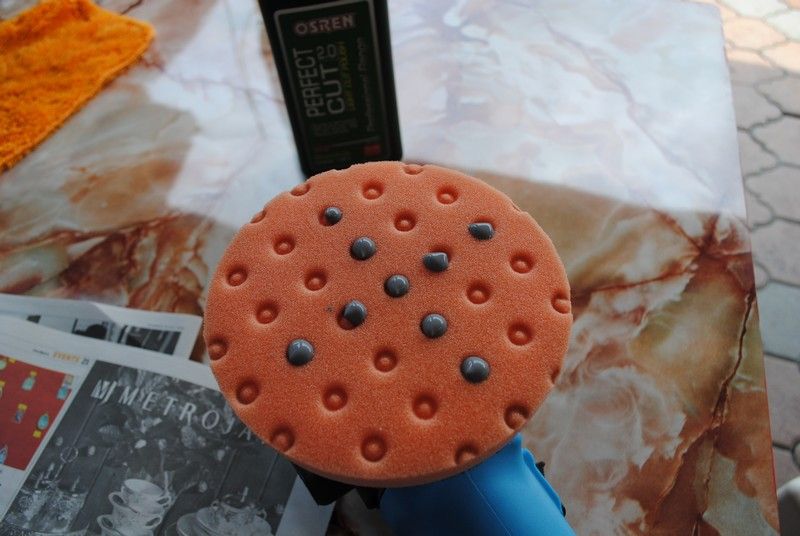
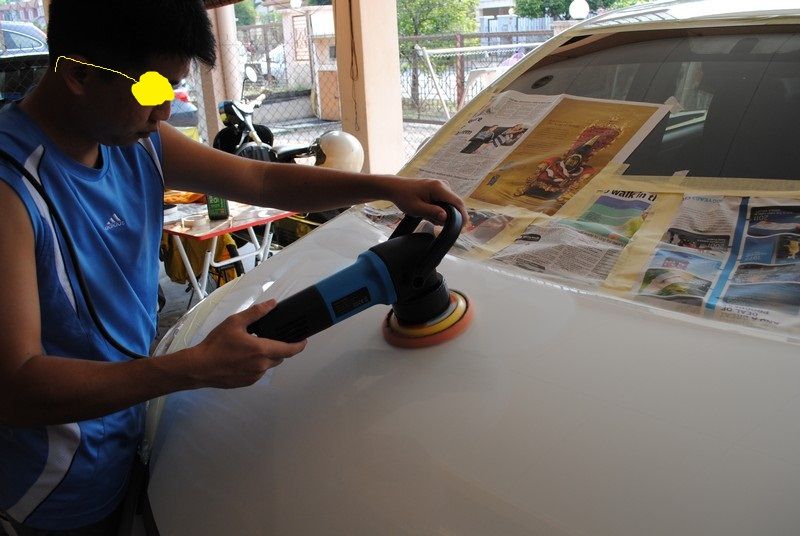
Prep the pad. Product used was Osren Perfect Cut 2.0 with CCS Orange Foam pad on a Ultramate Dual Action Polisher (always start with the less aggresive method)
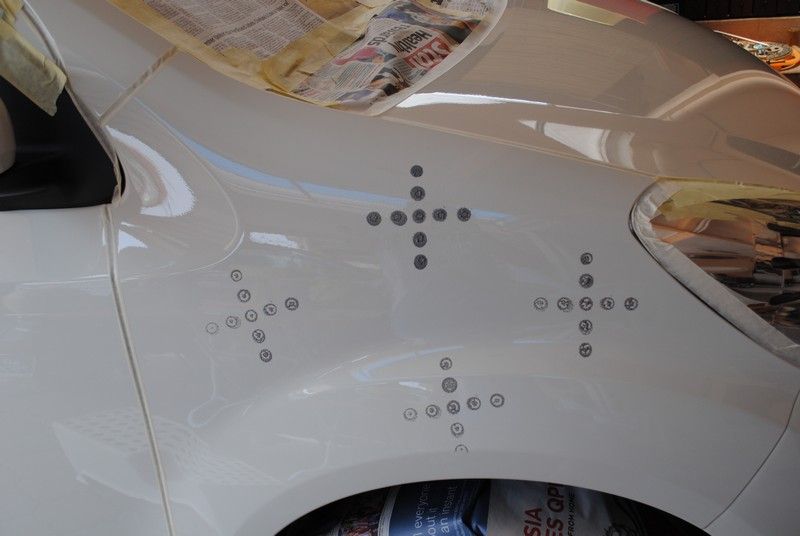
Getting ready for some stamping
After one pass..... looks decent...
Or is it?

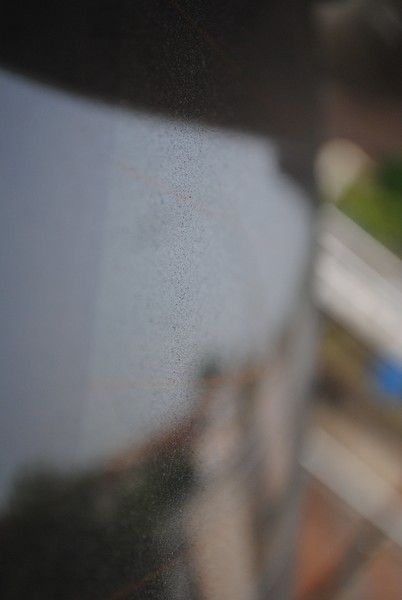
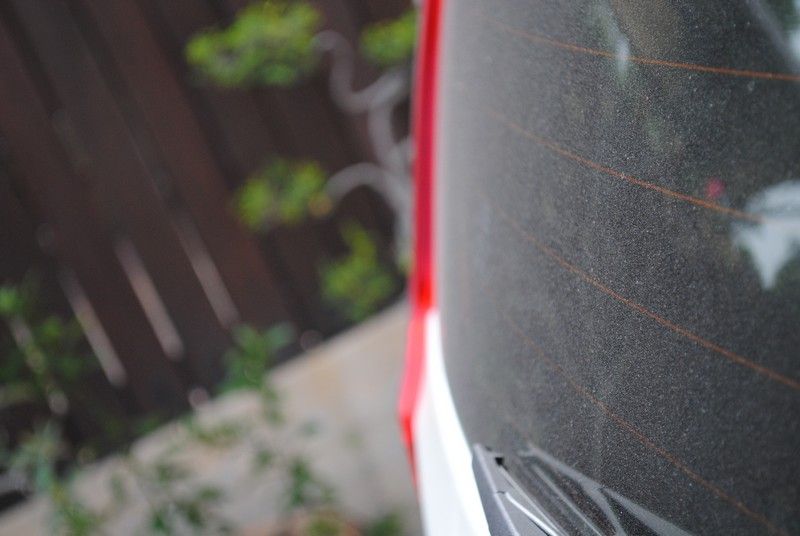
RIDS all over the car that I dun even call them random anymore
Lots of water and weird stains
Etching by bird poo or tree sap?
Try again with another pass on the bonnet...
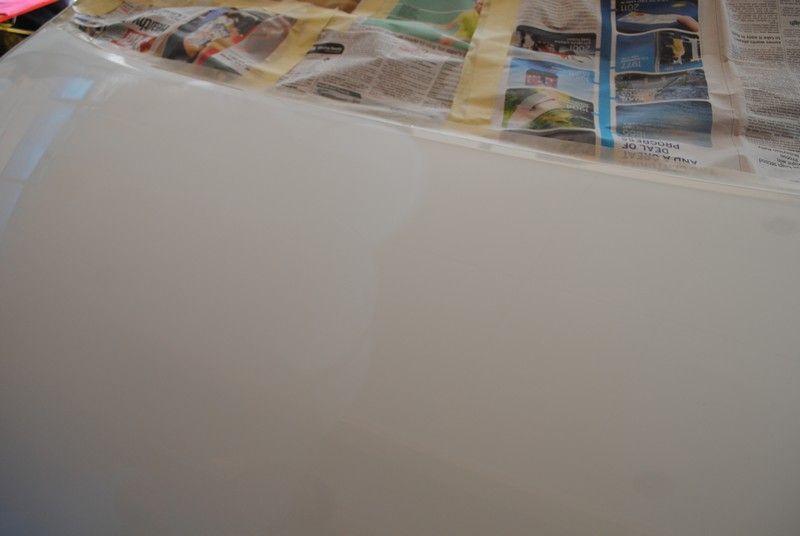
Color looks ok but the swirls and rids and everything else refuses to come out
So I bring in the big guns. Makita with Optimum Double Sided Wool Pad + Optimum Hyper Compound.

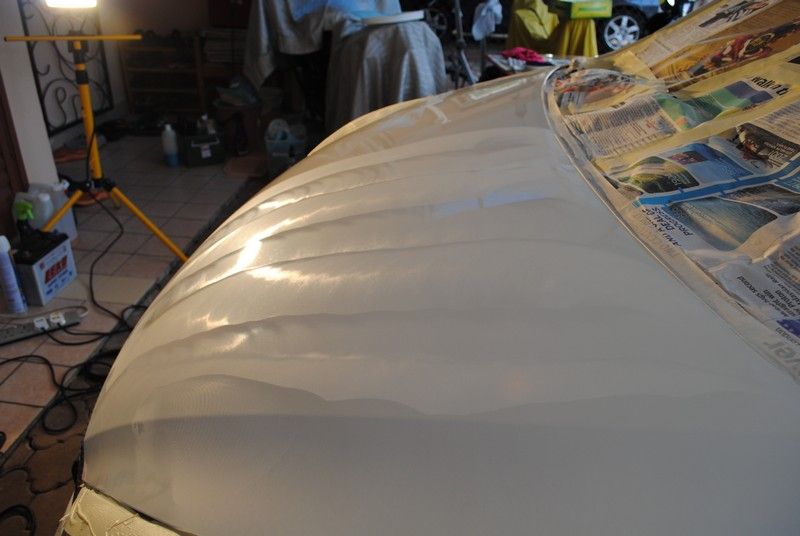
Went two long passes and manage to create..... hologram haven
Then went with Ultramate Dual Action Polisher + Osren Crystal Cut 3.0 + CCS Orange Pad to remove the hologram.
After refining with Ultramate Dual Action Polisher + Osren Perfect Cut 2.0 and LC White polishing pad... you get sweetness...
Then I clean the pad.... after each pass.... OKAY wert, not much removed.....
Or was it just "a bit"?
Oh yeah, that white thingy that looks like milk is the single stage paint being polished off..... so when people tell you that a car should be polished once a year... tell them to go fly kite OK.
http://i1197.photobucket.com/albums/aa436/DarkAccoon/Myvi56.jpg
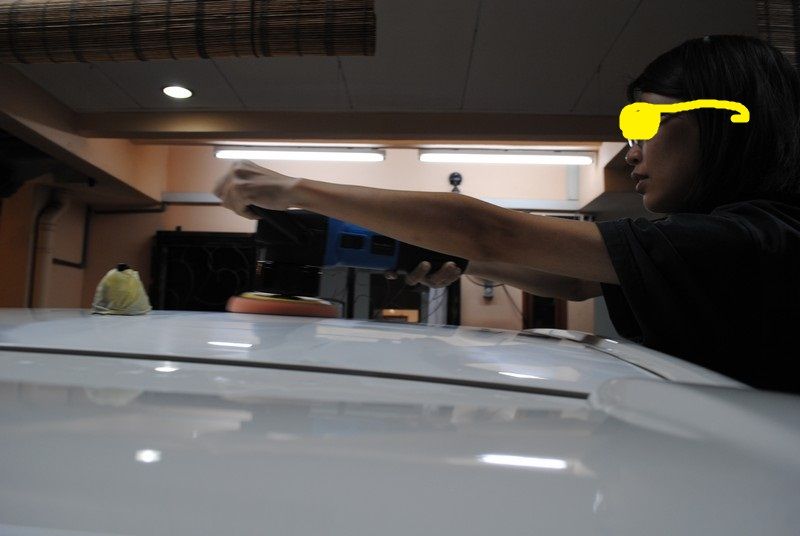
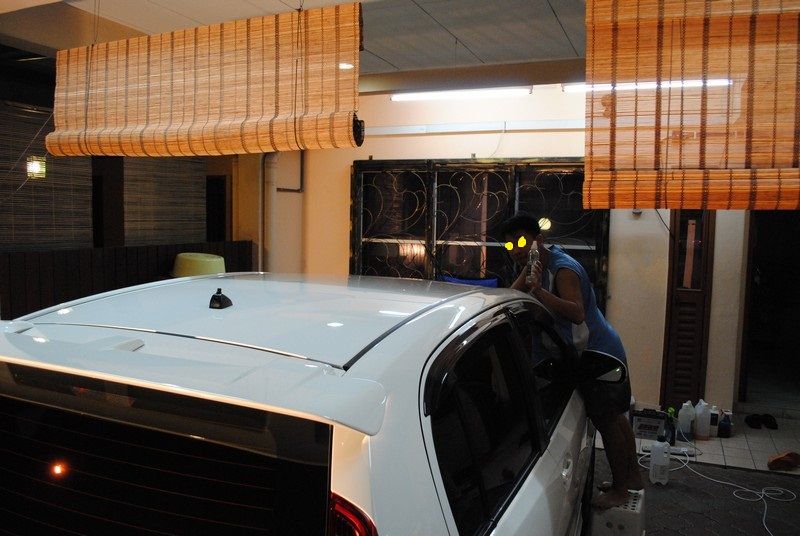
My lovely assistant decided to give me a helping hand as the Ultramate Dual Action vibrates decent but over long period of time, my hands were getting numb.
After the entire car was 90% corrected.... its time to remove the wrappings and see what kinda mess we created...
Messy indeed.....
Glue mark from the masking tape and polish/compound residue
Oh yeah, its everywhere
This picture makes my arm look big and muscular... in actual fact... i am a weakling
After giving the entire car an Osren bath again, its time to detail all the gaps to ensure nothing is left unclean
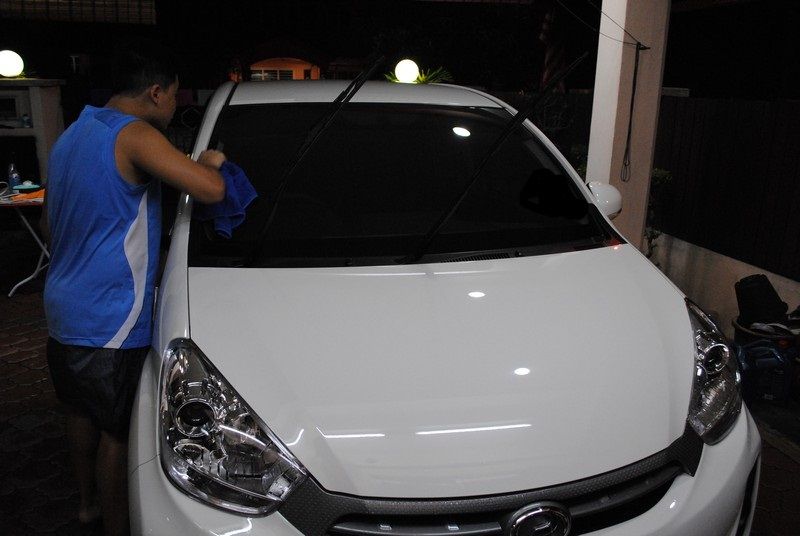
Is it ready for coating.... I said YES, after wiping off all the water lar.
Coating from the top.
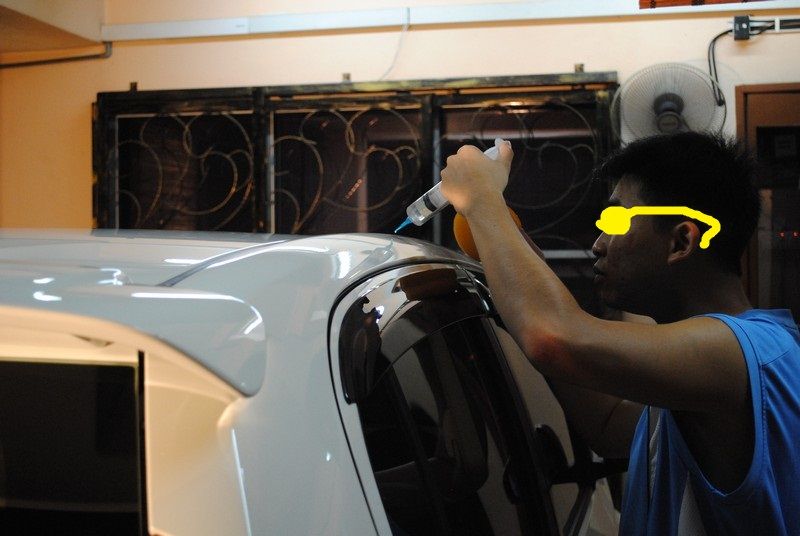
If you see properly... its not evening night, but halogen light as its already 2am in the morning.... yes, it was FREAKING 2AM. Btw, I am posing as instructed by my photographer
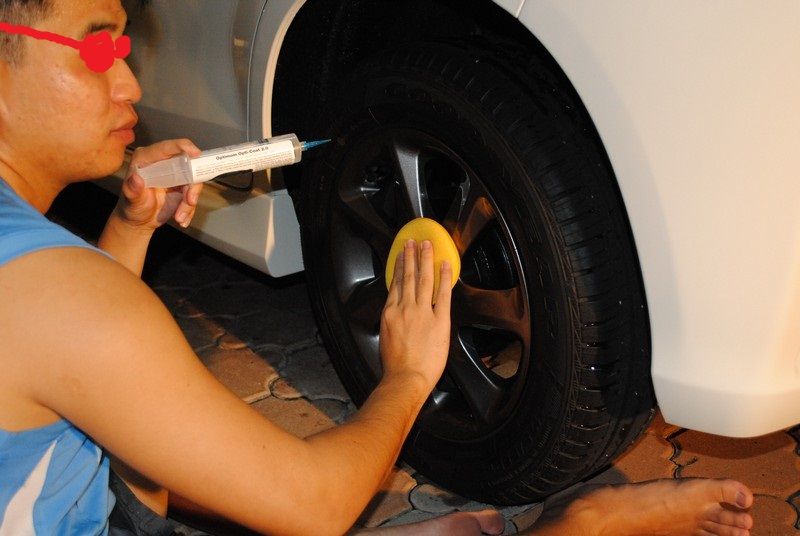
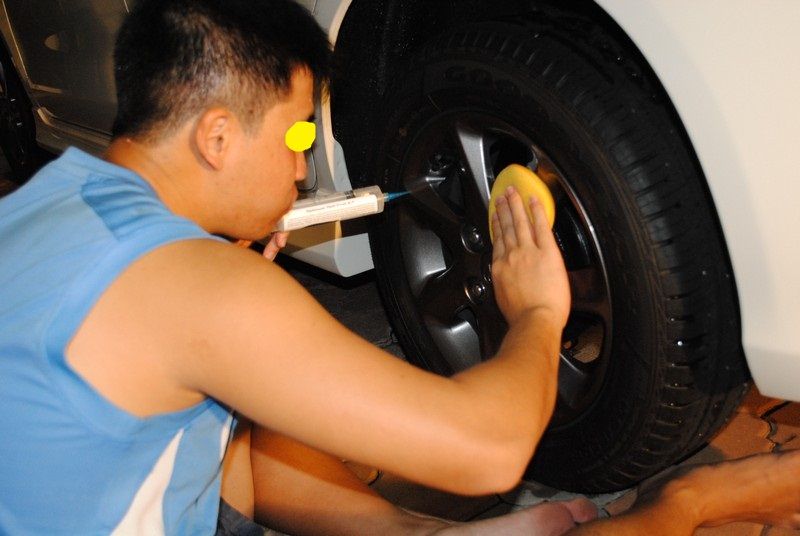
Then its back to serious mode with the rims coating.
Fully coated..... have not cured
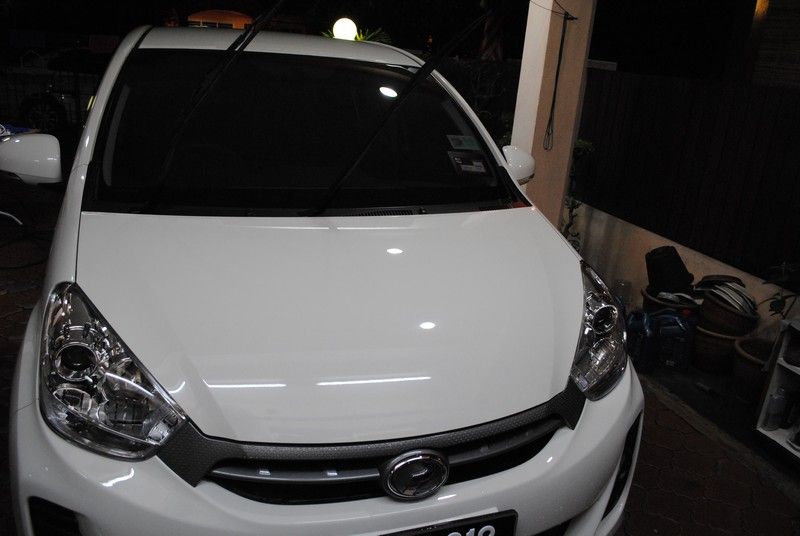
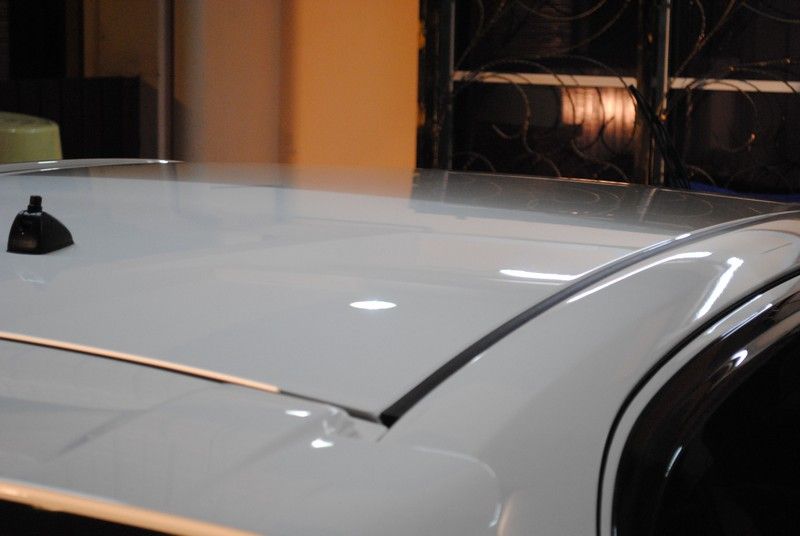
Looks pretty glossy already
No, your monitor is not broken, this is the hood.
Coated rims taken with flash = a galaxy of stars seem on the rims.
yet look classy with halogen lights

Myvi 1.5 SE.... the dream of all Myvi 1.3 owners.

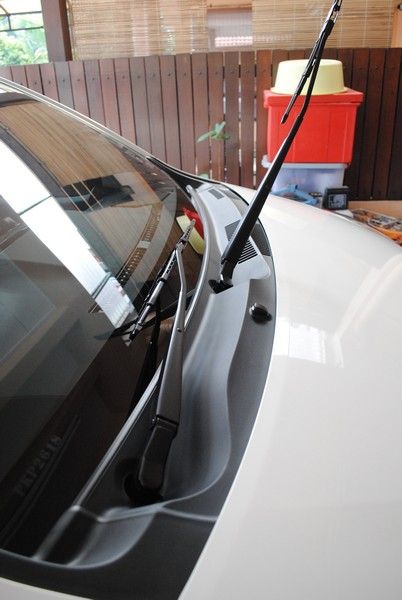
Coating done.... not close shop and sleep ka? Of course not, its now time to Opti Seal the Windscreen and all glass surface (Opti Coat 2.0 cannot be used on glass... or so I been told)
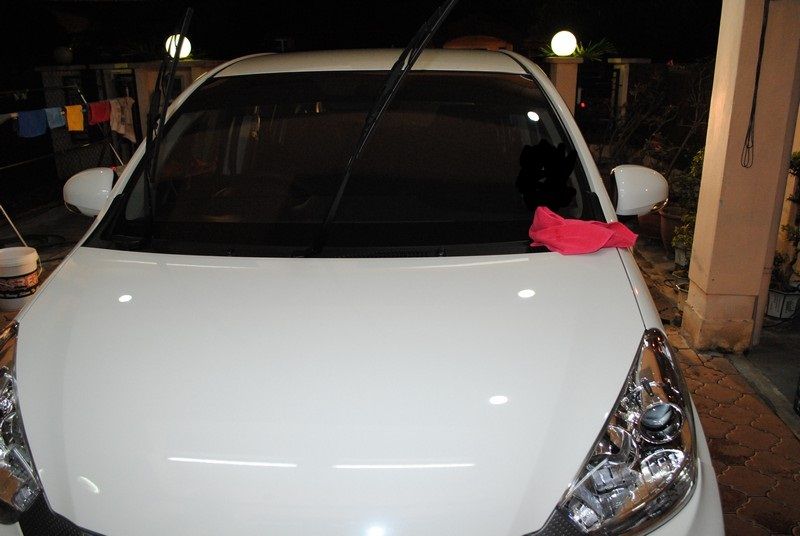
Some final night shots
After Opti Coating and Opti Sealing
Final touch up
Next morning...... this greeted me at my porch
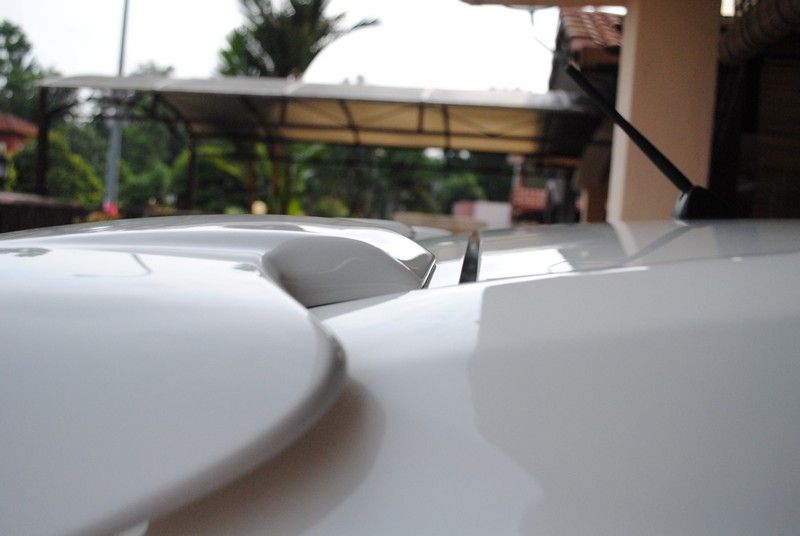
Sweet gloosyness
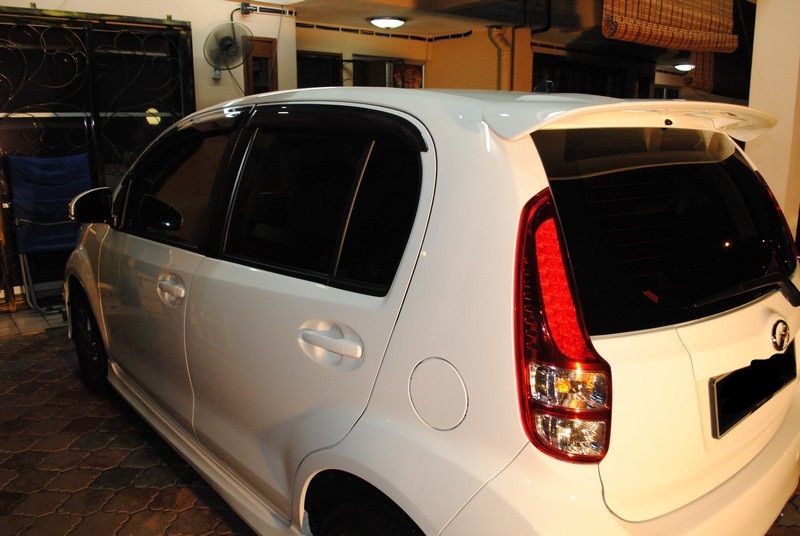
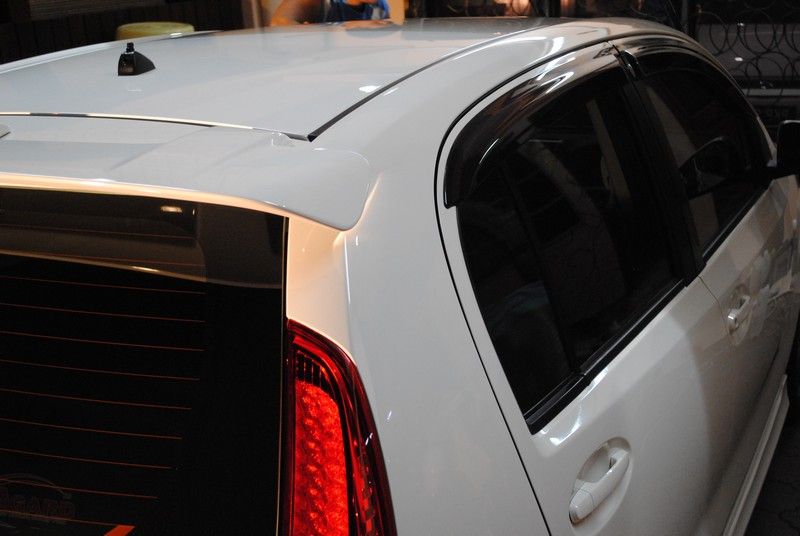
Rear view.... actually the rear cannot be fully corrected.... to be explain on the Notes after this
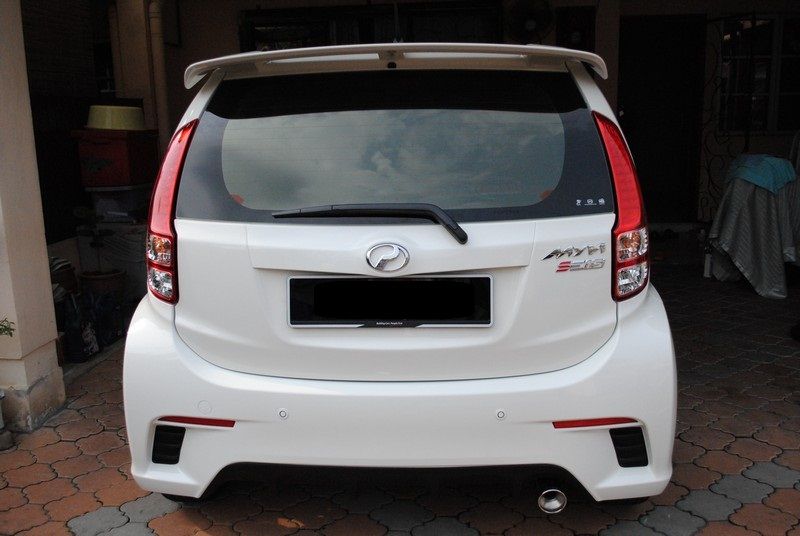
Not fully corrected but still looking awesome.....
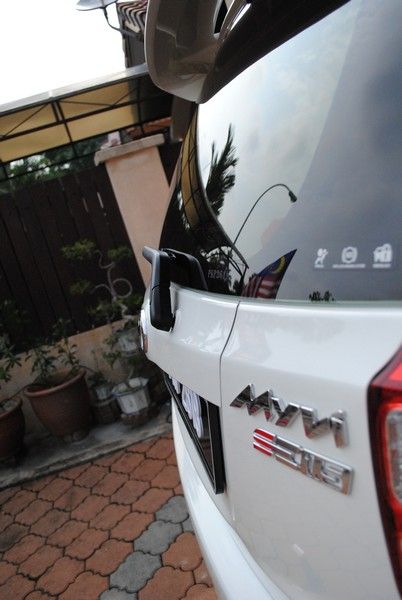
Spoiler has clear coat..... weird....
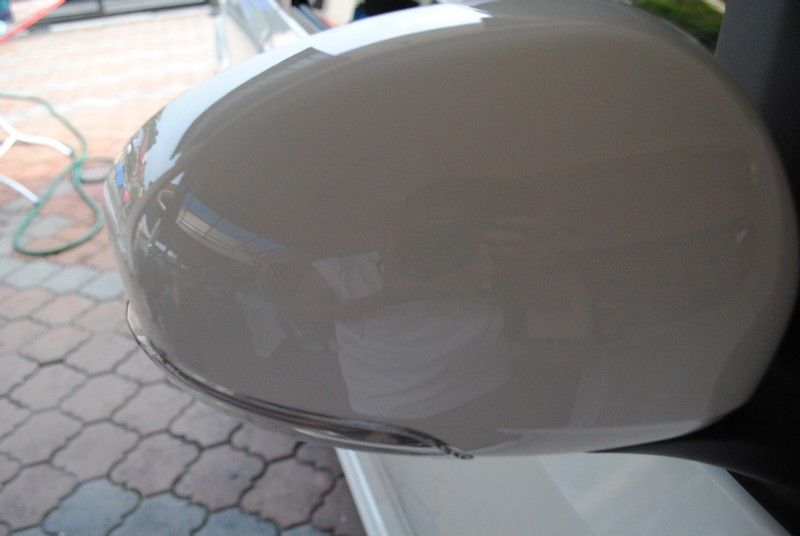
Side mirror is awesomeness
Somehow this picture makes me think of the car giving the "Internationally Recognized Hand Gesture"
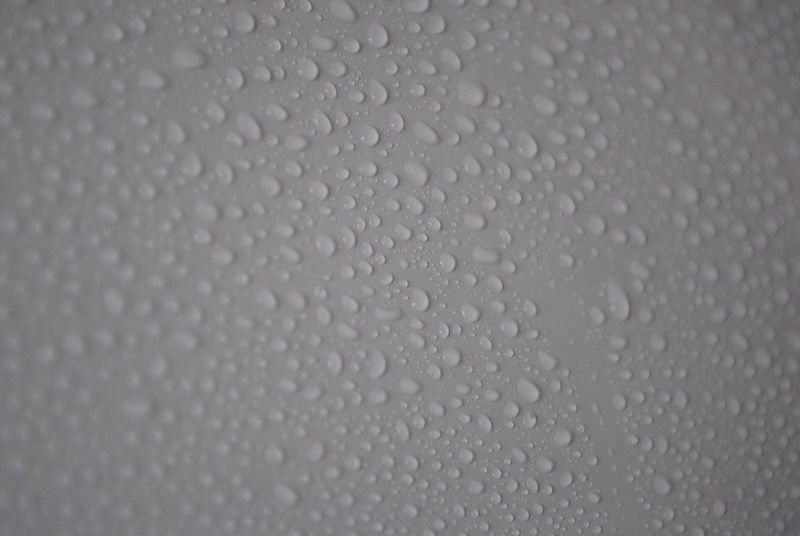
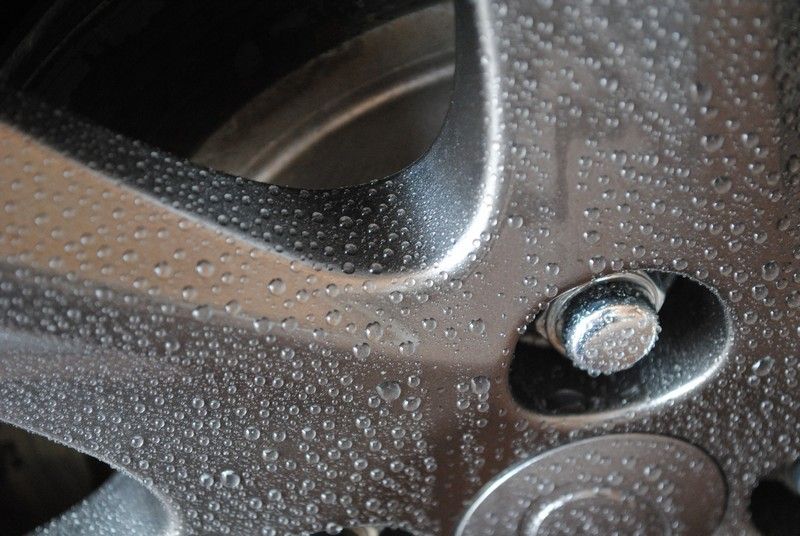
Now for some water beading test after 7 hours of curing
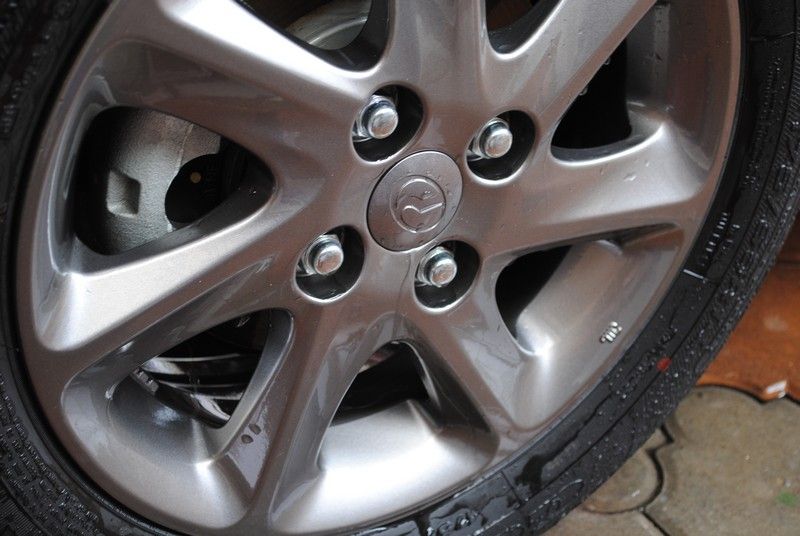
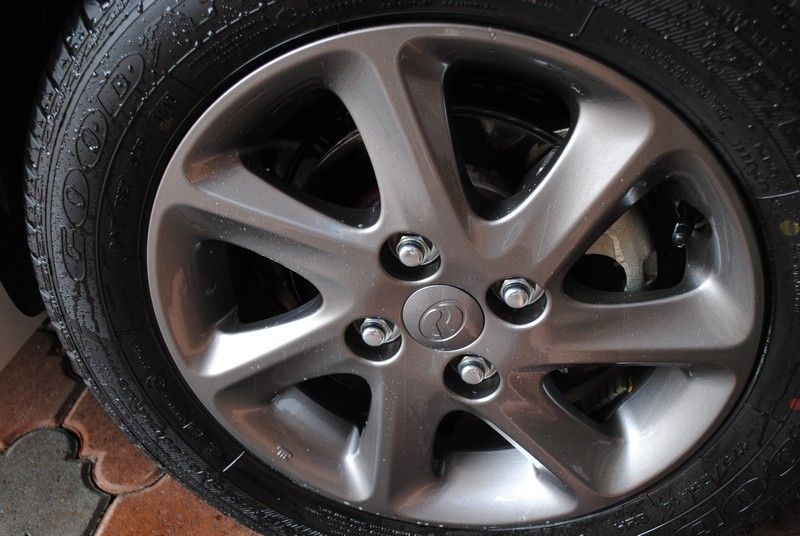
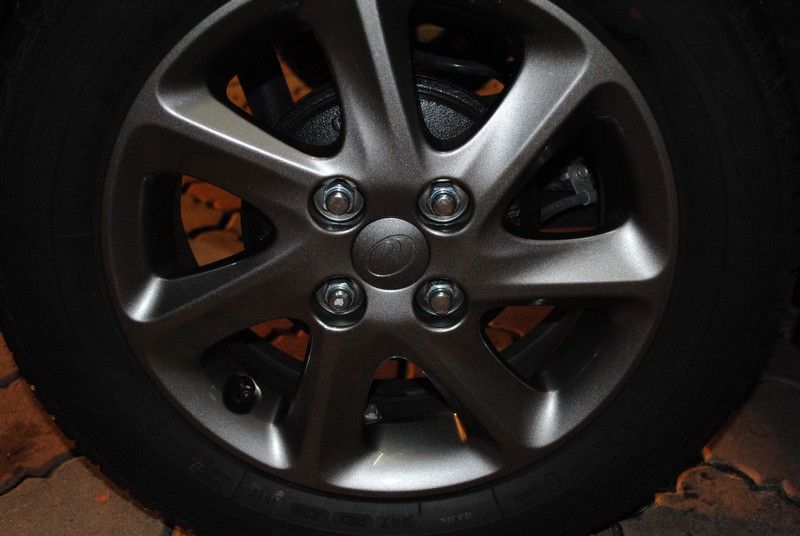
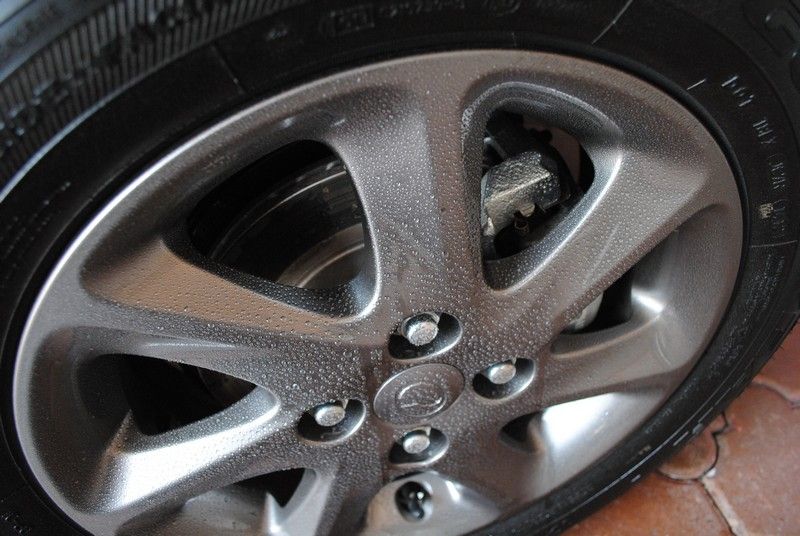
Rims... awesomeness
Coated rims = easier clean up in the future and less contaminant sticking to it.
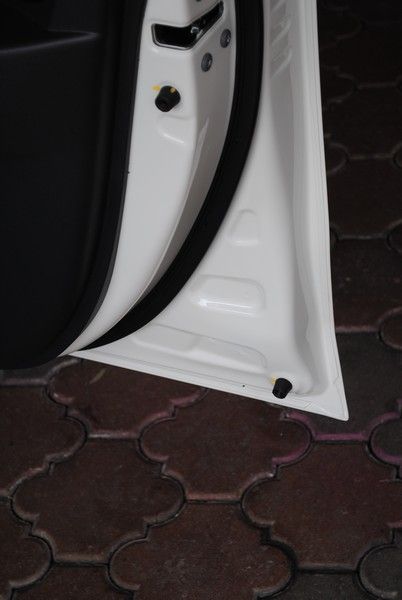
Door... CLEAN
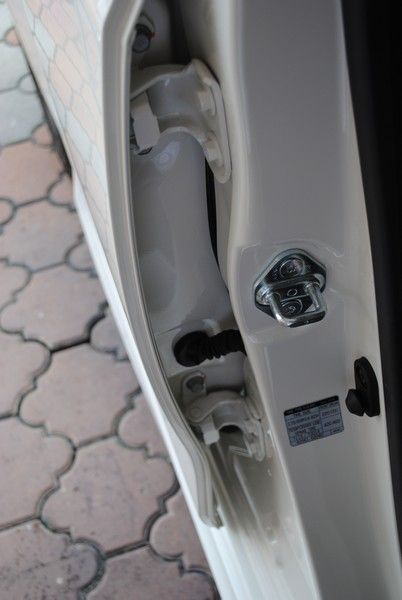
Door hinge.... cleaned
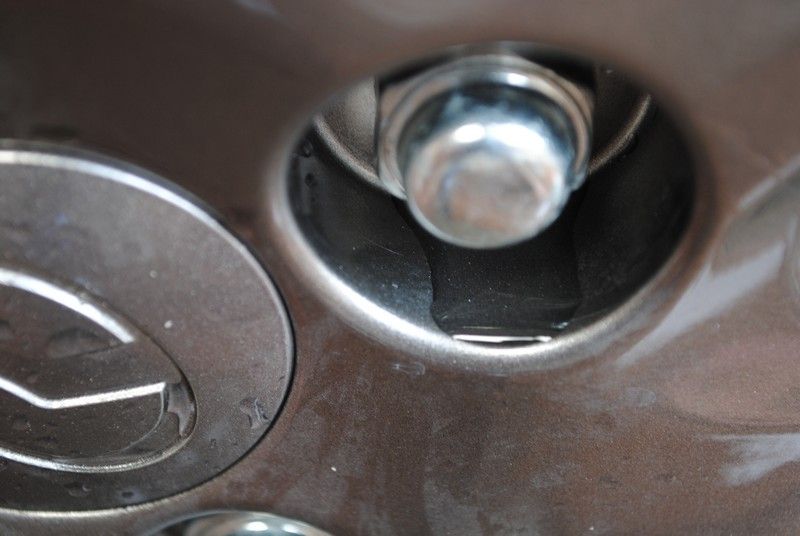
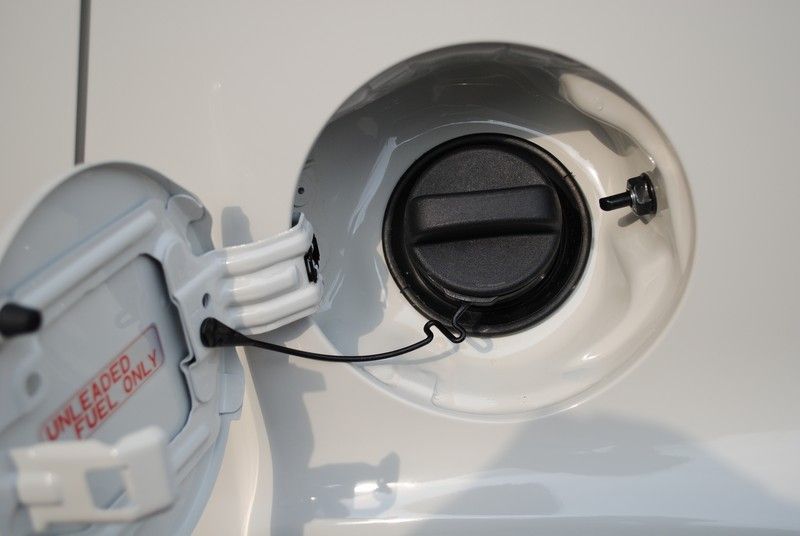
Fuel cap area... CLEANED
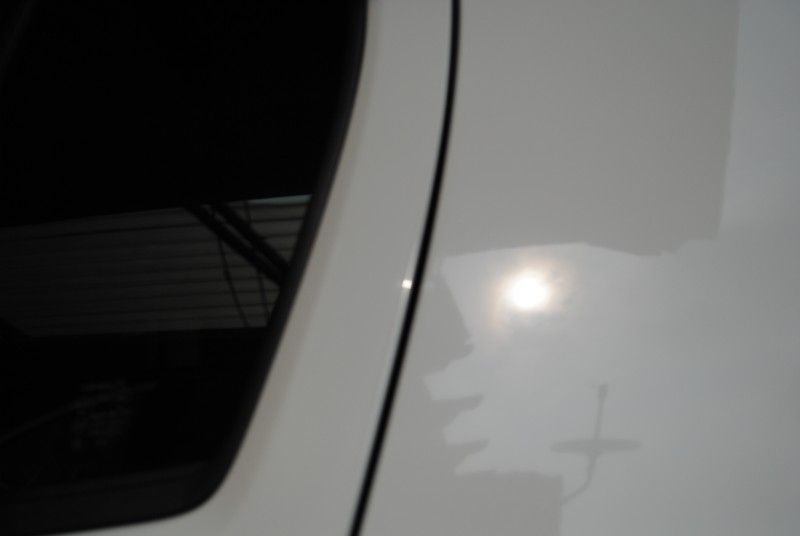
Earlier seen hologram... GONE
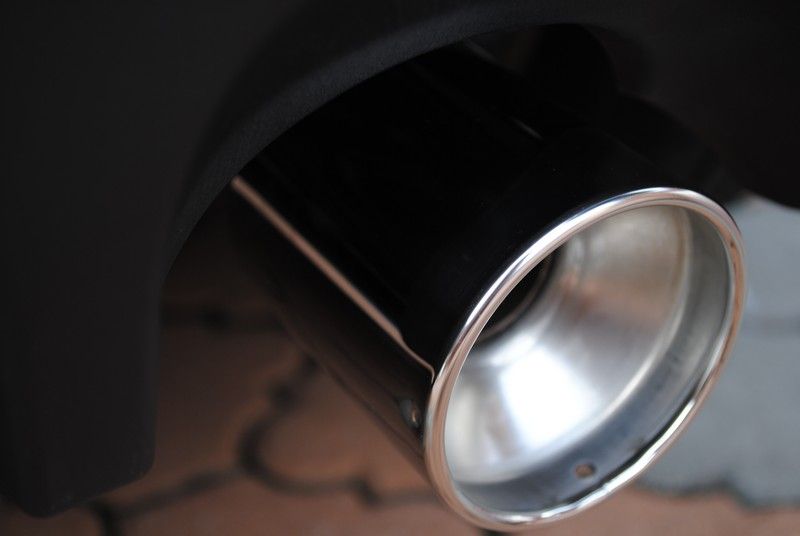
Exhaust tip... sorta given a quick detail
So... sometime ago someone asked me, how many pieces of cloth I use per detailing.....
Answer.... depending on what needs to be done and achieved.... but for this detailing... i used
AND THIS
Notes:
- Please inspect your car paint properly during delivery.
- According to the owner, this car has never been polished and only hand waxed by the owner using some off the counter spray on wax (sorry, i forgot the brand)
- However, when put under the halogen, there were a lot of swirls and RIDS. Some of them especially the rear was so deep that it could not be removed 100% without risking over thinning the single stage paint.
- Most of the car was corrected by 2X Hyper Compound with Wool Pad, 2X compound with CCS Orange Foam Pad, 2X Polish with LC White Polishing Pad. Rear was given an additional 2X of the Wool Pad.
- Overall, a pretty decent amount of paint has been removed. As a detailer, we should know when we should stop instead of continue towards perfection and risk the owner's new ride's paint. Think long term. But for those with paint thickness gauge.... its better as they know how much more they can continue removing.
- Wear gloves when Opti-Coating a car..... my hands were feeling weird... my mistake.
- TarX smells nice
- IronX smells like crap.
- After the car is coated, it does not mean its Godlike.... you still gotta maintain it.
Total hours spend: 16 hours non-stop detailing.
Satisfaction level: Awesomeness level Godlike.
Products used: Optimum Power Clean, Opti-Coat 2.0. Optimum Hyper Compound, Optimum Double Sided Wool Pad, Optimum Car Wax, Osren Bubble and Wax, Osren Perfect Cut 2.0, Osren Crystal Cut 3.0, LC CCS Orange Cutting Pad, LC White Polishing Pad, Makita 9227C, Ultramate Dual Action Polisher and etc....
Please leave your comments (good, bad, gibberish) as it is much appreciated.
My patient this time is an almost 2 months old Perodua Myvi 1.5 SE Solid White. This detailing confirms my suspicion. Perodua solid white.... is single stage paint.
What is single stage?
All sifu please correct me if I am wrong here, but single stage paint is paint to combines the color and gloss together. Which makes it Metal > Undercoat > Color+Gloss coat. Whereas our newer paint which has clearcoat is Metal > Undercoat > BaseCoat > ClearCoat. So polishing a single stage coat = removing part of your color.
Without further delay, lets see how the car looks like at arrival.
Looks.... decent enough.
Or is it? Upon closer inspection
This car has murdered lots of bugs
Even crushing them beyond recognition
Dust all over......
The car is mostly parked in covered parking lot *owner stays in a condo* hence the dust but fortunately not wet by water.
Dust everywhere
Grease mark from manufacturing?
Dust at lower bumper
Rubber mark from rear boot cover
Lots of dirt kicked up y this 15 inch rims
Last I did a silver myvi.... this spider has two hands. So proven that this white myvi took one of its hand away.... actually its a different random spider,
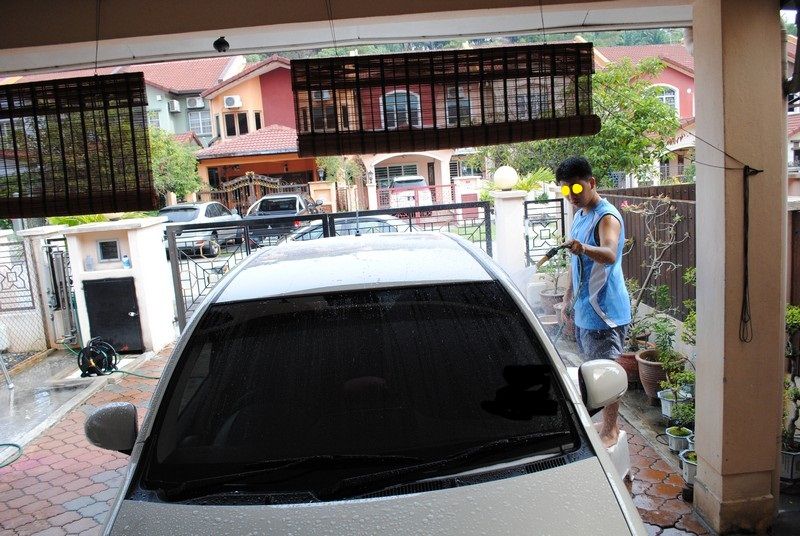
OKAY, a quick bath with Osren Bubble and Wax
A quick rinse with water.... i am short hence the stool
You get clean car
Almost look decent enough to just pack up and go home
Wait a minute..... normally not washed area.....
Look at the corner of the picture and you know that part is cleaned..... with secret weapon as it has lots of tar stains
Even the rear wheel arch is cleaned
Ohh... how dirty this rim is...
Tyre at least looks clean.....
Or is it?..... see for yourself the amount of dirt brushed out of the tyres alone with OPC 1:3
Which side of the rims is cleaned and which side isn't....
LORRY SAMPAH DATANG.... this was when i took shelter inside the house as the garbage man takes my rubbish away
Lug nut area that is seldom to never clean ordinary.
Again OPC 1:3 + 1 inch nylon brush is enough
Clean......... or is it....
Time to bring out something i just got my hands on....
IronX which is said to remove all iron not cleaned from wherever you sprayed it.
TarX which is said to remove....... tar like magic
Even supposingly unseen tar
Sprayed on and...... nothing happen???? Did I just got conned by these two seemingly miracle product?
Okay, its working well..... the disc at the back is turning purplish which means it came in contact with iron. So this means..... I AM PRETTY GOOD AT CLEANING THE WHEELS!!!
Car was later OPC 1:5 to remove anything not washed away by Osren Bubble and Wax.
I skipped the photos for claying else this detailing would have more than 200 photos......
Time to inspect the paint....
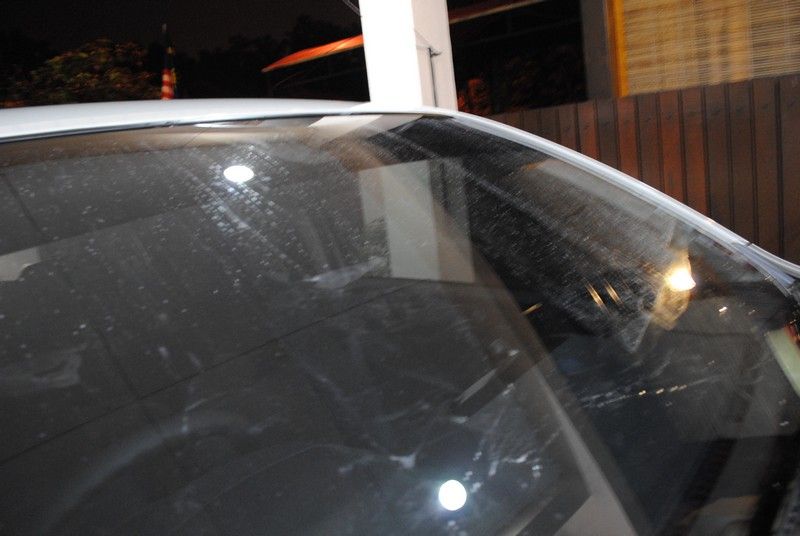
Some water mark
Some holograms..... wait a minute, why got hologram..... owner never sent the car for polishing at all...... factory issued holograms? It will remain a mystery
The front bonnet and fender has these little black dots that is not tar, cannot be clayed and cannot be felt by finger nail....
Wrapping up the car.... right side... checked
Left side checked
Prep the pad. Product used was Osren Perfect Cut 2.0 with CCS Orange Foam pad on a Ultramate Dual Action Polisher (always start with the less aggresive method)
Getting ready for some stamping
After one pass..... looks decent...
Or is it?
RIDS all over the car that I dun even call them random anymore
Lots of water and weird stains
Etching by bird poo or tree sap?
Try again with another pass on the bonnet...
Color looks ok but the swirls and rids and everything else refuses to come out
So I bring in the big guns. Makita with Optimum Double Sided Wool Pad + Optimum Hyper Compound.
Went two long passes and manage to create..... hologram haven
Then went with Ultramate Dual Action Polisher + Osren Crystal Cut 3.0 + CCS Orange Pad to remove the hologram.
After refining with Ultramate Dual Action Polisher + Osren Perfect Cut 2.0 and LC White polishing pad... you get sweetness...
Then I clean the pad.... after each pass.... OKAY wert, not much removed.....
Or was it just "a bit"?
Oh yeah, that white thingy that looks like milk is the single stage paint being polished off..... so when people tell you that a car should be polished once a year... tell them to go fly kite OK.
http://i1197.photobucket.com/albums/aa436/DarkAccoon/Myvi56.jpg
My lovely assistant decided to give me a helping hand as the Ultramate Dual Action vibrates decent but over long period of time, my hands were getting numb.
After the entire car was 90% corrected.... its time to remove the wrappings and see what kinda mess we created...
Messy indeed.....
Glue mark from the masking tape and polish/compound residue
Oh yeah, its everywhere
This picture makes my arm look big and muscular... in actual fact... i am a weakling
After giving the entire car an Osren bath again, its time to detail all the gaps to ensure nothing is left unclean
Is it ready for coating.... I said YES, after wiping off all the water lar.
Coating from the top.
If you see properly... its not evening night, but halogen light as its already 2am in the morning.... yes, it was FREAKING 2AM. Btw, I am posing as instructed by my photographer
Then its back to serious mode with the rims coating.
Fully coated..... have not cured
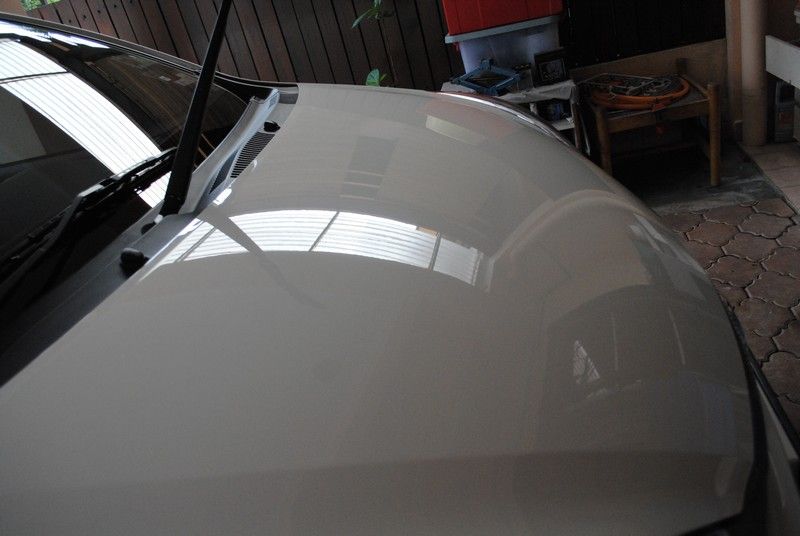
Looks pretty glossy already
No, your monitor is not broken, this is the hood.
Coated rims taken with flash = a galaxy of stars seem on the rims.
yet look classy with halogen lights
Myvi 1.5 SE.... the dream of all Myvi 1.3 owners.
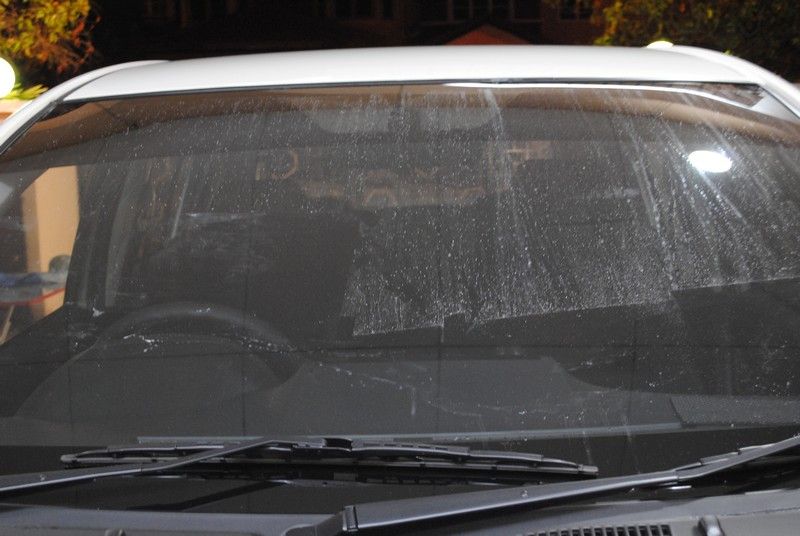
Coating done.... not close shop and sleep ka? Of course not, its now time to Opti Seal the Windscreen and all glass surface (Opti Coat 2.0 cannot be used on glass... or so I been told)
Some final night shots
After Opti Coating and Opti Sealing
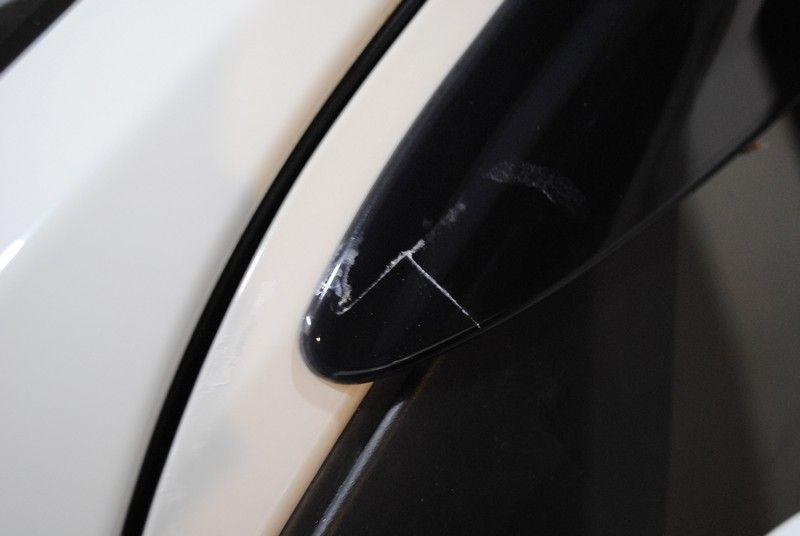
Final touch up
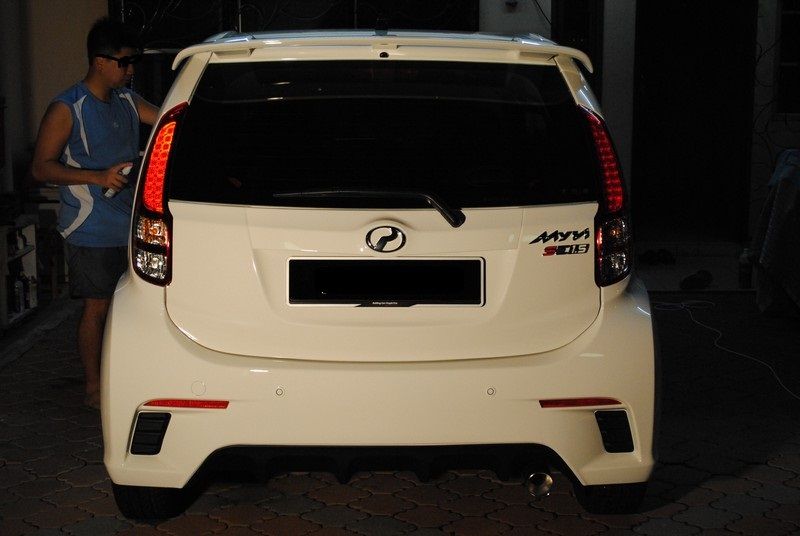
Next morning...... this greeted me at my porch
Sweet gloosyness
Rear view.... actually the rear cannot be fully corrected.... to be explain on the Notes after this
Not fully corrected but still looking awesome.....
Spoiler has clear coat..... weird....
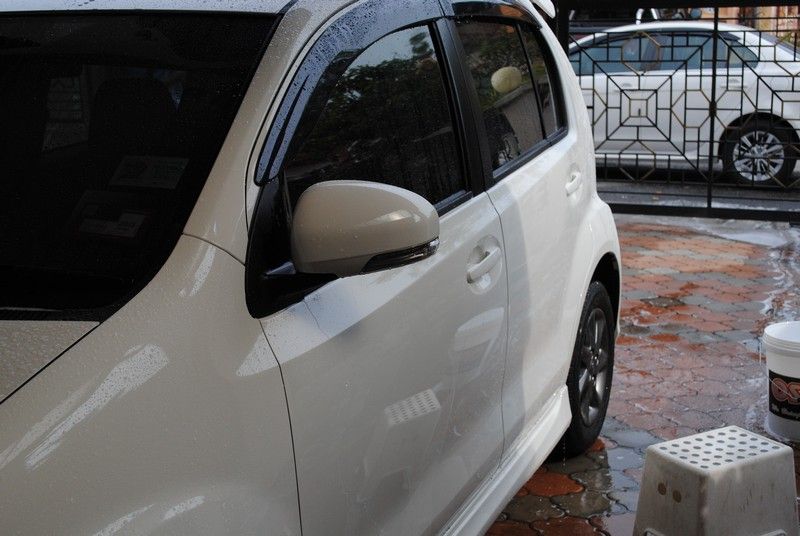
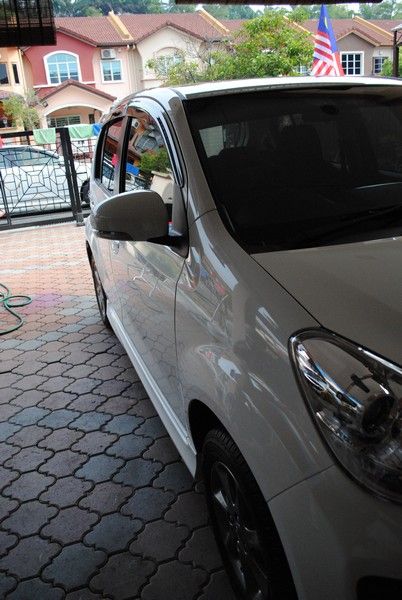
Side mirror is awesomeness
Somehow this picture makes me think of the car giving the "Internationally Recognized Hand Gesture"
Now for some water beading test after 7 hours of curing
Rims... awesomeness
Coated rims = easier clean up in the future and less contaminant sticking to it.
Door... CLEAN
Door hinge.... cleaned
Fuel cap area... CLEANED
Earlier seen hologram... GONE
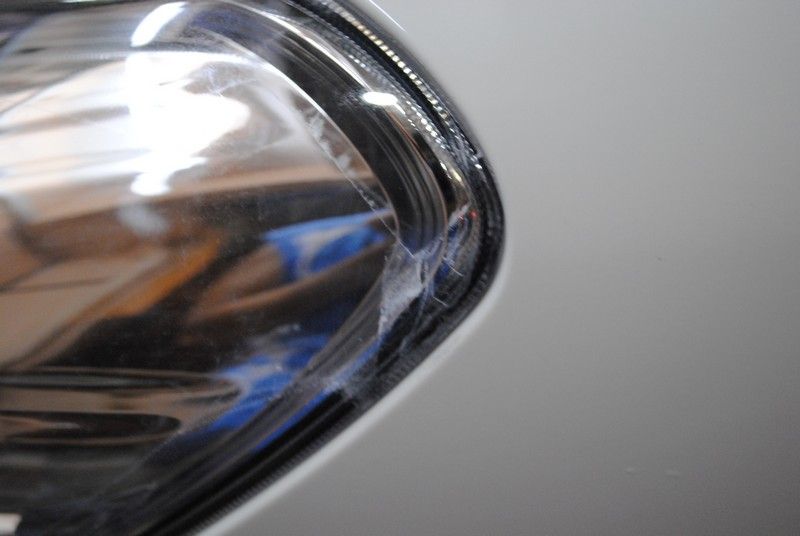
Exhaust tip... sorta given a quick detail
So... sometime ago someone asked me, how many pieces of cloth I use per detailing.....
Answer.... depending on what needs to be done and achieved.... but for this detailing... i used
AND THIS
Notes:
- Please inspect your car paint properly during delivery.
- According to the owner, this car has never been polished and only hand waxed by the owner using some off the counter spray on wax (sorry, i forgot the brand)
- However, when put under the halogen, there were a lot of swirls and RIDS. Some of them especially the rear was so deep that it could not be removed 100% without risking over thinning the single stage paint.
- Most of the car was corrected by 2X Hyper Compound with Wool Pad, 2X compound with CCS Orange Foam Pad, 2X Polish with LC White Polishing Pad. Rear was given an additional 2X of the Wool Pad.
- Overall, a pretty decent amount of paint has been removed. As a detailer, we should know when we should stop instead of continue towards perfection and risk the owner's new ride's paint. Think long term. But for those with paint thickness gauge.... its better as they know how much more they can continue removing.
- Wear gloves when Opti-Coating a car..... my hands were feeling weird... my mistake.
- TarX smells nice
- IronX smells like crap.
- After the car is coated, it does not mean its Godlike.... you still gotta maintain it.
Total hours spend: 16 hours non-stop detailing.
Satisfaction level: Awesomeness level Godlike.
Products used: Optimum Power Clean, Opti-Coat 2.0. Optimum Hyper Compound, Optimum Double Sided Wool Pad, Optimum Car Wax, Osren Bubble and Wax, Osren Perfect Cut 2.0, Osren Crystal Cut 3.0, LC CCS Orange Cutting Pad, LC White Polishing Pad, Makita 9227C, Ultramate Dual Action Polisher and etc....
Please leave your comments (good, bad, gibberish) as it is much appreciated.