

- Mar 3, 2005
- 8,180
- 3,678
- 5,213
This DIY is for car with dashboard lightning using T8 tungsten bulbs which I think most cars are using except those Optitron meter...
2 days back 1 of my bulb for the dashboard meter burnt out so I went to get a T8 bulb and it cost about MYR3/piece. The price is not expensive but then I think I can make a replacement bulb of my own with less than 3 bucks...so I went and ransack my drawer to look for some white LEDs and get some resistor to replace most of my dashboard bulb into LED because LED as we know last longer, brighter and consumes less power.
Below I will post a guide on how to make a replacement LED for your T8 bulbs.
Tools:
1. Wire cutter & Plier
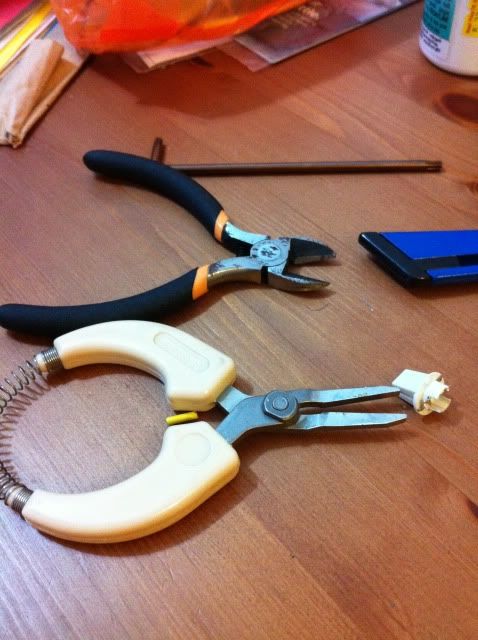
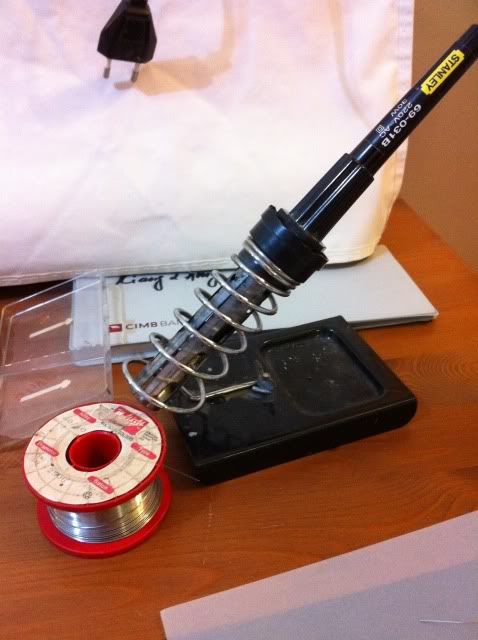
2. Soldering Gun & tin
3. Precision set screwdriver
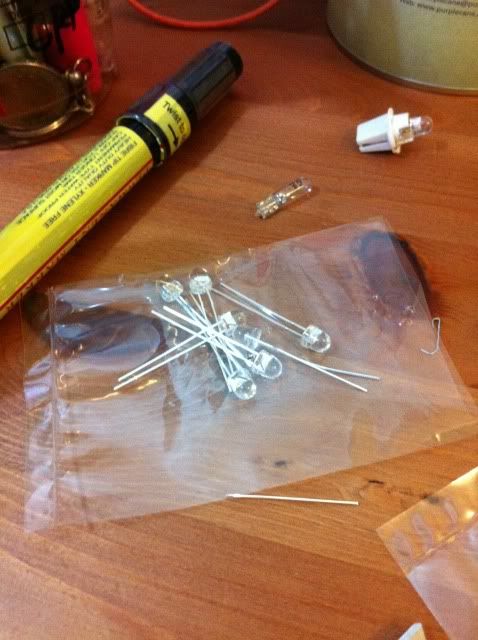
4. LEDs rated at 3V
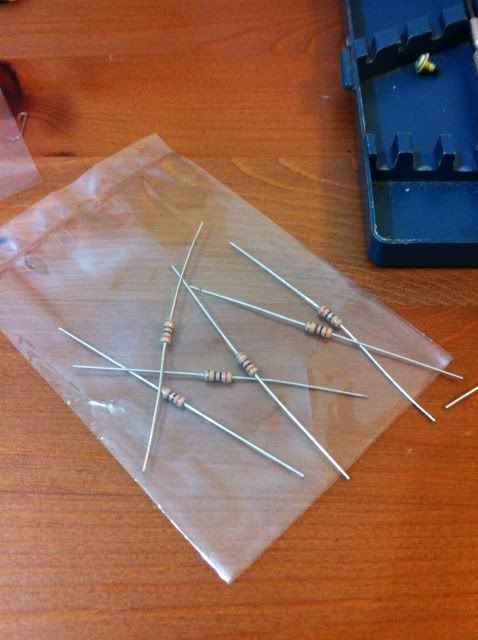
5. Resistor rated at 600 Ohm
I'm not going to show how to remove your dash meter as each car is different but removing a dash meter is pretty simple and straight forward.
*1st thing, don't try to plug ur LED into the power source without a resistor. It will burnt out immediately.
Step1. Cut the positive leg of the LED leave about 1.5cm of leg from the LED. Then cut 1 end of the resistor leg and also leave about the same 1.5cm from its end. Then use your soldering gun to solder the resistor to the positive leg of the led. After that, you cut the remaining legs off the LED after the resistor. Leaving about 2 to 2.5cm
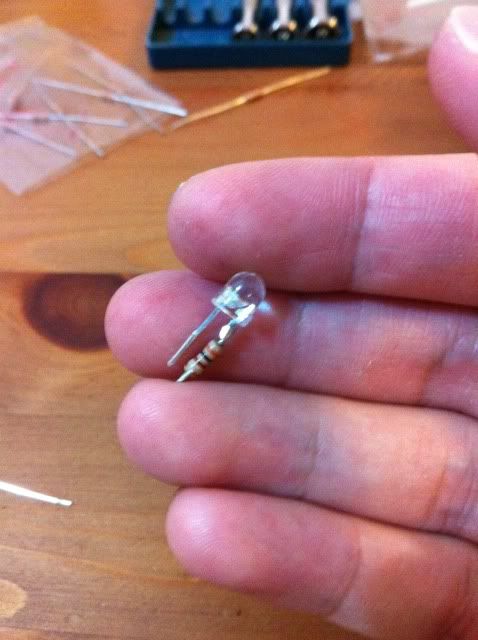
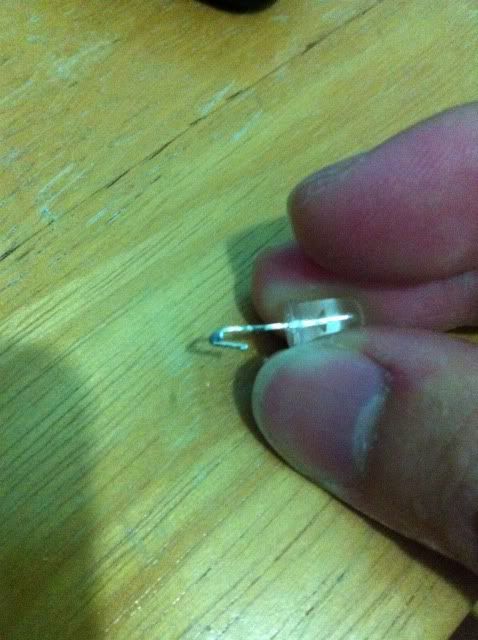
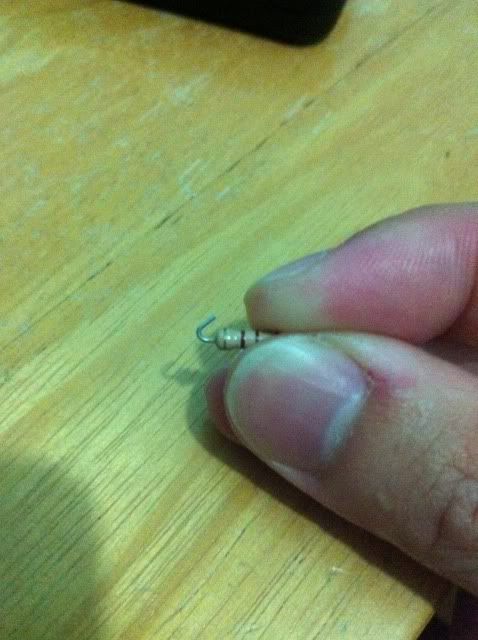
Step2. Then you bent both the positive and negative legs of the LED to about 120 degrees with your plier. Like this
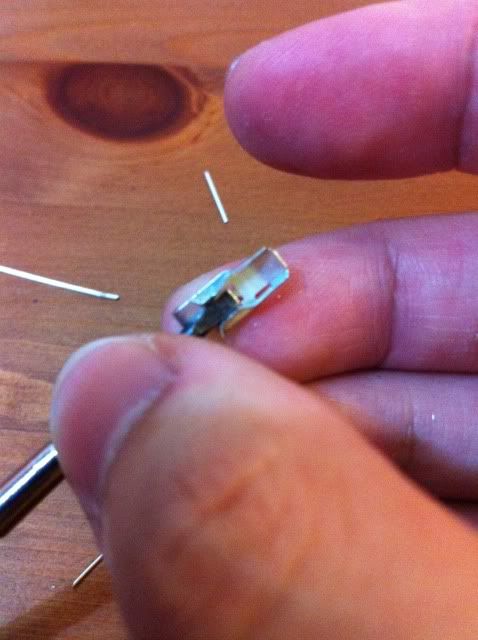
Step3. Now you can remove the old bulbs from the light mount. Then with a precision flat head scewdriver pry and remove the contact points off the mounts.

Step4. Then you proceed to use the plier to make the contact gap larger so that it can accommodate the resistor and hold on firmly to the resistor when you install the LED.
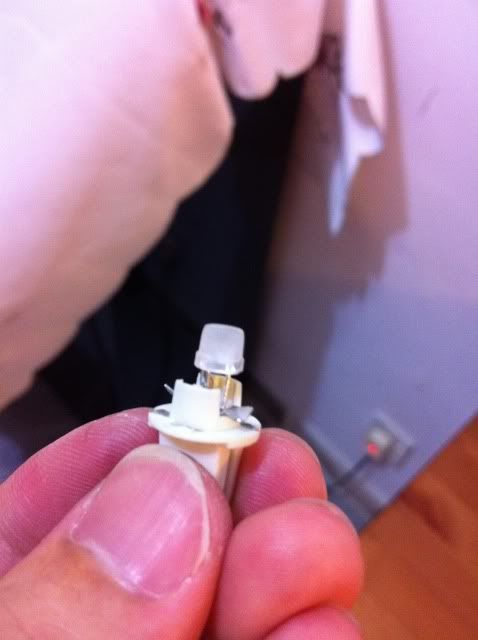
Step5. Then you put back the contact points into the light mounts and install the LED into the light mount. At 1st it was not easy to get a good idea on how to mount the LED nicely close to the base so that the light coverage will be more broader.
1st LED...LED position is a bit high. Not satisfy but I use this for the clock since it's not that important.
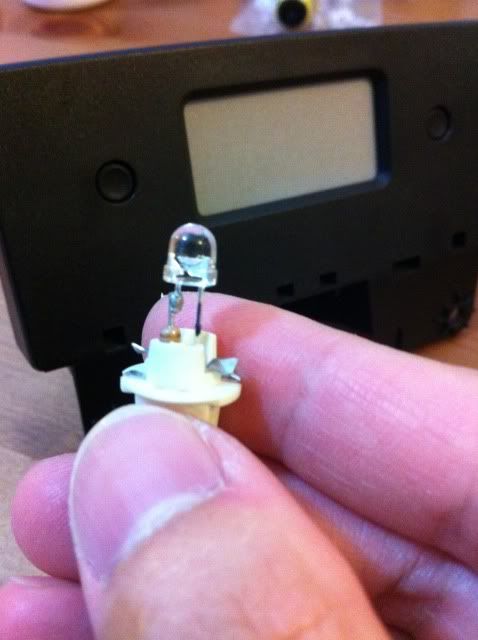
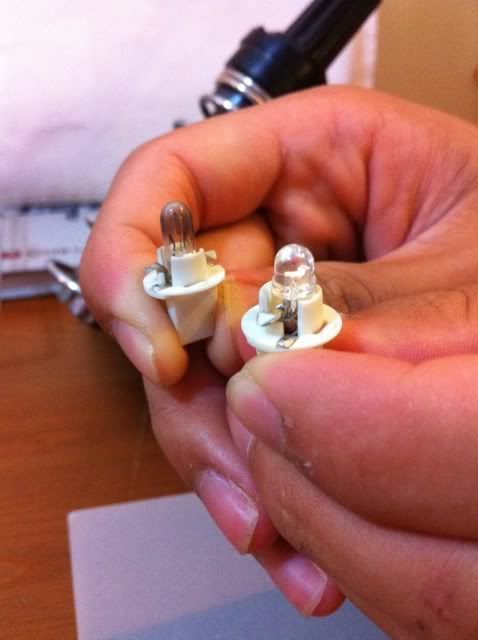
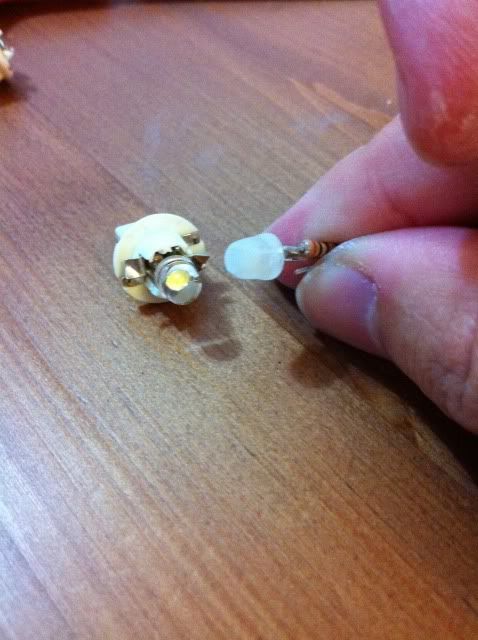
Then on the 2nd LED, I made some more changes and give it a more precision soldering job. LED sits closely to the mounting base compare it side by side to the T8 bulb but I have to be honest is that LEDs that we find on the market are mostly having narrow angle about 80 degrees or so. perhaps.. and the light output is only on the front.
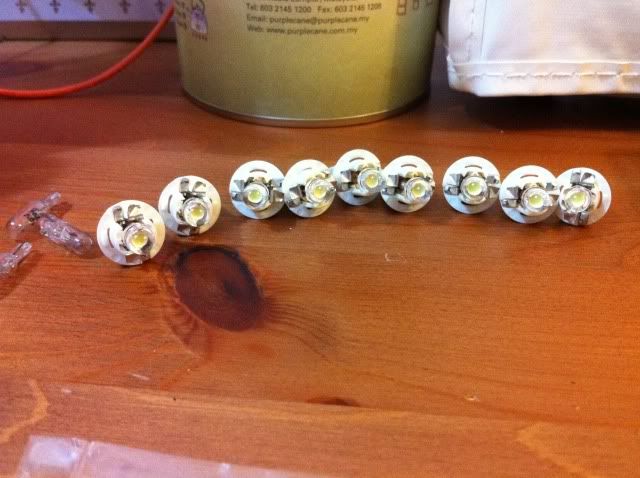
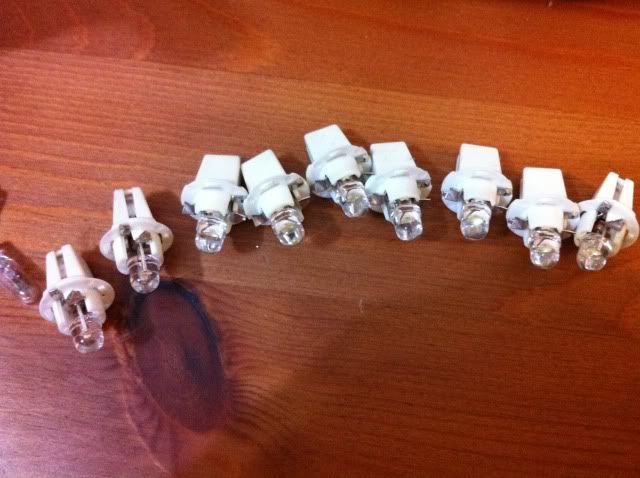
I proceed to make more.....but I ran out of LEDs and resistors in my stock..so I need to get them at the electrical shop again.
Step6. Testing. After you have made you LED you need to test it. To check whether it's working or have a good contact with the light mount. During testing phase there bound to be a few LED that will not light up due to contact problems which could be fix with adjusting the LED legs that you have bent. It happen to me so no worries. Another cause that will make the LED not light up is polarity so you need to switch the polarity during testing.
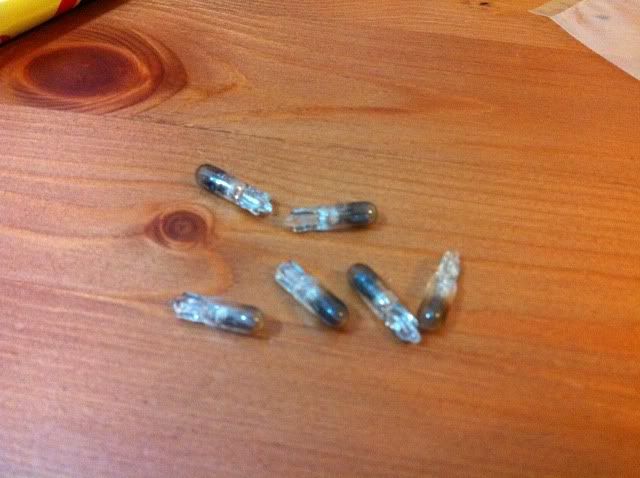
These T8s are dead...they are rated at 12V 2W
Step7. Proceed to install the newly make LEDs into your dash meter. Then begin a 2nd time testing of the LED. I encounter about 2 LEDs not lightning up due to the LEDs was having not a good contact with the light mount so I took them out again and keep adjusting until the bent legs give a good contact with the light mount.
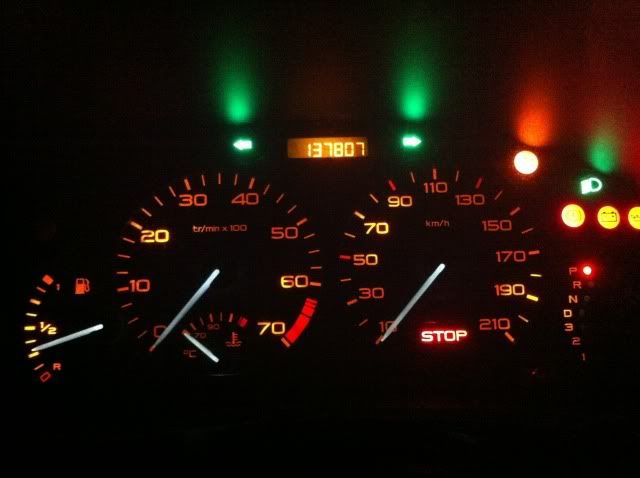
Wala.....after all the adjustment and it work....I've change all the dash background bulbs to LED. The signal indicators, the low beam indicator, the mileage indicator, the clock..etc...I still have a few which is still not change yet as I ran out of LEDs. You can see from the pictures there were some areas very bright and some dimmer. This is due to eh light angle of the LEDs some might not like it but overall the dash now appears much brighter than it was on T8 bulbs and before this the pointers were also in orange colour so it was a mono colour dash and now it has some different shades which makes it looks more refreshing..since I've been looking at the all orange dash for 10 years already...
This DIY is pretty easy and fun to kill some time....enjoy...
Update 7 Sept 2011
Today I got some feedback from a few friends saying that the LED output was not even making the part of the dashmeter bright and dim at different areas so I make some quick changes just now. I diffused the light output of the LED by sanding the clear lends of the LED making it opaque. This is make the lights from the LED spread out more even and I sand off the round top of the LED to make it become a flat top which gives a wider spread of lights.
To make this minor changes, you need to get some 360 grid or 400 grid sandpaper and sand the clear lens on the LED until it become opaque.
LED after sanding and the top being sanded flat..
A comparison of before sanding and after sanding.
Then This is the result. After making the LED opaque, the light spread is more wider and even as you can compare the picture below to the 1st trial. Although its still not perfect but there's improvements. I believe if i sand off more on the top of the LED, the light spread will increase further.
After making the LED opaque...less obvious light spot and more wider light spread.
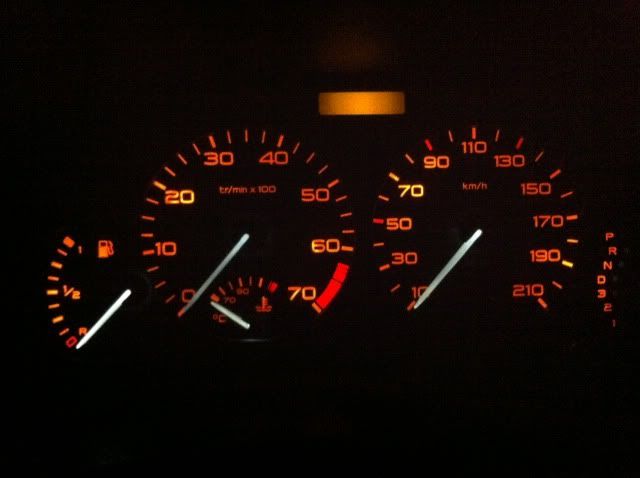
Before making the LED opaque...You can see clearly all those light spot at the dash..
2 days back 1 of my bulb for the dashboard meter burnt out so I went to get a T8 bulb and it cost about MYR3/piece. The price is not expensive but then I think I can make a replacement bulb of my own with less than 3 bucks...so I went and ransack my drawer to look for some white LEDs and get some resistor to replace most of my dashboard bulb into LED because LED as we know last longer, brighter and consumes less power.
Below I will post a guide on how to make a replacement LED for your T8 bulbs.
Tools:
1. Wire cutter & Plier
2. Soldering Gun & tin
3. Precision set screwdriver
4. LEDs rated at 3V
5. Resistor rated at 600 Ohm
I'm not going to show how to remove your dash meter as each car is different but removing a dash meter is pretty simple and straight forward.
*1st thing, don't try to plug ur LED into the power source without a resistor. It will burnt out immediately.
Step1. Cut the positive leg of the LED leave about 1.5cm of leg from the LED. Then cut 1 end of the resistor leg and also leave about the same 1.5cm from its end. Then use your soldering gun to solder the resistor to the positive leg of the led. After that, you cut the remaining legs off the LED after the resistor. Leaving about 2 to 2.5cm
Step2. Then you bent both the positive and negative legs of the LED to about 120 degrees with your plier. Like this
Step3. Now you can remove the old bulbs from the light mount. Then with a precision flat head scewdriver pry and remove the contact points off the mounts.
Step4. Then you proceed to use the plier to make the contact gap larger so that it can accommodate the resistor and hold on firmly to the resistor when you install the LED.
Step5. Then you put back the contact points into the light mounts and install the LED into the light mount. At 1st it was not easy to get a good idea on how to mount the LED nicely close to the base so that the light coverage will be more broader.
1st LED...LED position is a bit high. Not satisfy but I use this for the clock since it's not that important.
Then on the 2nd LED, I made some more changes and give it a more precision soldering job. LED sits closely to the mounting base compare it side by side to the T8 bulb but I have to be honest is that LEDs that we find on the market are mostly having narrow angle about 80 degrees or so. perhaps.. and the light output is only on the front.
I proceed to make more.....but I ran out of LEDs and resistors in my stock..so I need to get them at the electrical shop again.
Step6. Testing. After you have made you LED you need to test it. To check whether it's working or have a good contact with the light mount. During testing phase there bound to be a few LED that will not light up due to contact problems which could be fix with adjusting the LED legs that you have bent. It happen to me so no worries. Another cause that will make the LED not light up is polarity so you need to switch the polarity during testing.
These T8s are dead...they are rated at 12V 2W
Step7. Proceed to install the newly make LEDs into your dash meter. Then begin a 2nd time testing of the LED. I encounter about 2 LEDs not lightning up due to the LEDs was having not a good contact with the light mount so I took them out again and keep adjusting until the bent legs give a good contact with the light mount.
Wala.....after all the adjustment and it work....I've change all the dash background bulbs to LED. The signal indicators, the low beam indicator, the mileage indicator, the clock..etc...I still have a few which is still not change yet as I ran out of LEDs. You can see from the pictures there were some areas very bright and some dimmer. This is due to eh light angle of the LEDs some might not like it but overall the dash now appears much brighter than it was on T8 bulbs and before this the pointers were also in orange colour so it was a mono colour dash and now it has some different shades which makes it looks more refreshing..since I've been looking at the all orange dash for 10 years already...
This DIY is pretty easy and fun to kill some time....enjoy...
Update 7 Sept 2011
Today I got some feedback from a few friends saying that the LED output was not even making the part of the dashmeter bright and dim at different areas so I make some quick changes just now. I diffused the light output of the LED by sanding the clear lends of the LED making it opaque. This is make the lights from the LED spread out more even and I sand off the round top of the LED to make it become a flat top which gives a wider spread of lights.
To make this minor changes, you need to get some 360 grid or 400 grid sandpaper and sand the clear lens on the LED until it become opaque.
LED after sanding and the top being sanded flat..
A comparison of before sanding and after sanding.
Then This is the result. After making the LED opaque, the light spread is more wider and even as you can compare the picture below to the 1st trial. Although its still not perfect but there's improvements. I believe if i sand off more on the top of the LED, the light spread will increase further.
After making the LED opaque...less obvious light spot and more wider light spread.
Before making the LED opaque...You can see clearly all those light spot at the dash..
Last edited: