Just wanna share my lazy DIY project a last month. Yeah, last month. LOL.
So, I found these cheap ass NOS taiwan Enkei replicas on mudah. I like the design but I don't like the color. Lime green is a No, No. So, time for some DIT session. I use cheap ol Anchor rattle can in Flat Black color coz it's easy to apply and I'm lazy. All the painting was done before noon around 1030am-11am.
The rims are not that light but at least it's lighter than my old rims.

Prepping 'em wheels
Look at the 'glow'.. I use 600 grit sandpaper and sand it the clear coat off until i reach the lime green coating.

Rattling time
Place your rims slanted on a wall or anywhere you can keep it slanted. Make sure you still can turn the rims around. Don't place it flat on the ground as the paint will drip and it'll look ugly.

Apply your first coat. Maintain a very light coating while trying to cover the old paint as much as you can without dripping. Rattle cans acrylic paint is very fast drying (4mins tops) when apply on a hot sunny day. Let it dry for 10-15mins.

Apply second coating. Start of with a light coat and continue onwards to cover all area.

1 rattle can is enough to cover the whole rim. I applied about 4 coats evenly. I didn't bother to paint the inside of the rims and the back. Let it dry under the sun and continue working on the other rims.


Final result


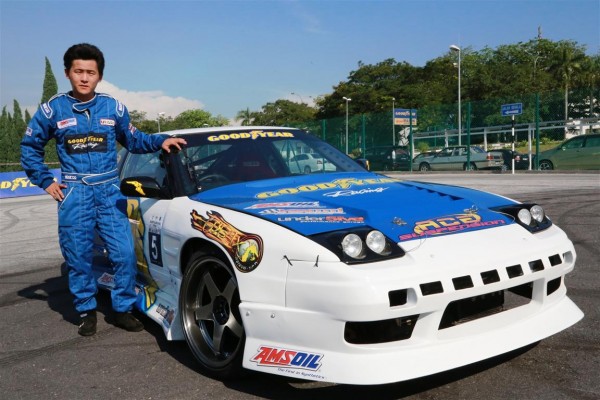
Installed!

But drove off from alignment shop and noticed a very nasty vibration. Then I checked the front wheels need centre cone but the alignment shop didn't bother to tell me and did the alignment.

Anyway, it's been a month now and the paint holds like glue. No chipping so far even after sending to car wash and drive through wash.
So, I found these cheap ass NOS taiwan Enkei replicas on mudah. I like the design but I don't like the color. Lime green is a No, No. So, time for some DIT session. I use cheap ol Anchor rattle can in Flat Black color coz it's easy to apply and I'm lazy. All the painting was done before noon around 1030am-11am.
The rims are not that light but at least it's lighter than my old rims.
Prepping 'em wheels
Look at the 'glow'.. I use 600 grit sandpaper and sand it the clear coat off until i reach the lime green coating.
Rattling time
Place your rims slanted on a wall or anywhere you can keep it slanted. Make sure you still can turn the rims around. Don't place it flat on the ground as the paint will drip and it'll look ugly.
Apply your first coat. Maintain a very light coating while trying to cover the old paint as much as you can without dripping. Rattle cans acrylic paint is very fast drying (4mins tops) when apply on a hot sunny day. Let it dry for 10-15mins.
Apply second coating. Start of with a light coat and continue onwards to cover all area.
1 rattle can is enough to cover the whole rim. I applied about 4 coats evenly. I didn't bother to paint the inside of the rims and the back. Let it dry under the sun and continue working on the other rims.
Final result
Installed!
But drove off from alignment shop and noticed a very nasty vibration. Then I checked the front wheels need centre cone but the alignment shop didn't bother to tell me and did the alignment.
Anyway, it's been a month now and the paint holds like glue. No chipping so far even after sending to car wash and drive through wash.

 :vroam: