

Engine bay:paint,shave,tuck...
- Thread starter virqai
- Start date
Holy tut. This is not detailing.I don't know what to call this! It's more like pressing the reset button! Nevertheless that is an awesome job. And I always thought that it is a brilliant idea to get your engine bay thoroughly cleaned and sprayed when rebuilding your engine.
One question bro... How on earth did you polish you gearbox and all those individual components like alternator???
One question bro... How on earth did you polish you gearbox and all those individual components like alternator???
Put back engine....


Std acc pipe line here...i will make its to another way....

Before...no clearance breket to mounting

After...

---------- Post added at 07:46 AM ---------- 6 hour anti-bump limit - Previous post was at 07:15 AM ----------


Std acc pipe line here...i will make its to another way....
Before...no clearance breket to mounting
After...
---------- Post added at 07:46 AM ---------- 6 hour anti-bump limit - Previous post was at 07:15 AM ----------
Sory for my late reply...i'm searching for this bottle..where i put..hu..hu..but to be honest after all..i did not buy its anymore..coz when i drop a little at floor its bubbles.its smell also same like acid battery that u can buy at motor shop.i will get the pure not dilute....apply its to rust part with brush and use sponge to wash its with soap...repeat till the rust all out...Btw, are you done with the car? If so, how many days did it take? Also interested to know what you did or going to do for those rusted parts. I've got a few of those on mine and would love to know how to best tackle the situation. But most probably won't be removing the parts like you though.....
This has got to be one of the best cleaning/restoration job ever.
Keep up the good work mate!
Thanks mate..:wavey: Update..what the heck... fainted after looking at the condition of the engine bay before the remake....
Change turbo to Garrett T3 GTR Pulsar...relocate fitting turbo...


Log type header...first weld

Second weld with filler...

Simple polishing...

Done..test fit...


Today...make reducer 1.8" to 2.3"...


Exs pipe..


Cut out old exs pipe...

wastegate pipe..

Here they looks...


Exs pipe..
Cut out old exs pipe...
wastegate pipe..
Here they looks...
Last edited:
ABitNuts
Junior Member
fcukin osem work there mate... really effin osem... keep it up... you truly has the know how, resource and most importantly patience... truly amazing job... keep it up...
Wow...damn nice!:canabis:
Thanks..fcukin osem work there mate... really effin osem... keep it up... you truly has the know how, resource and most importantly patience... truly amazing job... keep it up...
 Some update for today...
Polishing Exs pipe..

Hot side turbine work..

Cut pipe to make divider...exs/actuator waste gate pipe...

Weld and buff..,still have a bit uneven,need to add tig weld...

Buffing...done...just involve area after fin..if not


Polishing...

Refacing ...a bit more...


abunawas
Known Member
Very nice bro. U operating a shop? U know any shop doing this service?
Thinking of doing mine also
Thinking of doing mine also
blackcolour
Known Member
- Jan 4, 2008
- 309
- 2
- 1,518
Virqai how do we contact you? Your work is stunning! Can't wait to see the final product.:toilet:

PAINT WORK...time to relax ur eyes....:cool:


:ahhhhh::shot::ridinghorse::aetsch:


40 ringgit Gun, shoot done... their job..

ENGINE...detailing and paint....


Last edited:
To all,sorry coz my late updated this thread...been bz,lazy :sleep: to organize all the pics need to post here...i will start back...there will be a lot of pics till the finishing of this car... 
HEADER COVER PLATE


TURBINE 3 LAYER HEAT SHIELD PLATE


ROCKER COVER BREATHER OUTLET PIPE


---------- Post added at 01:01 AM ---------- 6 hour anti-bump limit - Previous post was at 12:13 AM ----------
AIR BREATHER TANK...OCT


---------- Post added at 01:15 AM ---------- 6 hour anti-bump limit - Previous post was at 01:01 AM ----------
---------- Post added at 02:11 AM ---------- 6 hour anti-bump limit - Previous post was at 01:15 AM ----------
BRACKET MOUNTING all the pics step by step how i redo the mounting bracket....
FITTING


After all weld job done, fitting back to see if there got ' lari' screw hole etc or not...

Grind..buff..sanding all the weld...for clean looks..


So jealous...to all detailing sifu here about 50/50..Haha..ha.coz there all have,me not..try to show my 50/50 by my way...Blasting mild steel before paint...its look like paint but not...


PAINT

REFLASH BACK-Look like hard way...easy to make

Look like easy...but hard way to make...

BEFORE-My friend say he need to kiaw with sub bar to install this..

AFTER


---------- Post added at 03:05 AM ---------- 6 hour anti-bump limit - Previous post was at 02:11 AM ----------
DUMP PIPE WRAPPING


Clearance pipe to engine block..


INTER COOLING PIPE WORK
Fitting-

Clearance where the pipe will go...


PIPING SET-i try to make more short and simple than past..sorry no pics set before.


Full ring type lock hose...and stopper insert hose..


But..this is not end looks like what i want....

---------- Post added at 03:37 AM ---------- 6 hour anti-bump limit - Previous post was at 03:05 AM ----------
PIPE HOOK-S.steel braided hose as a pipe hook..


Here sumore...


Enjoy for now...there have another 14 pages pics in my photobucket to upload in here...if have time i will try continued tomorrow..
if not next year pun blehhh
HEADER COVER PLATE
TURBINE 3 LAYER HEAT SHIELD PLATE
ROCKER COVER BREATHER OUTLET PIPE
---------- Post added at 01:01 AM ---------- 6 hour anti-bump limit - Previous post was at 12:13 AM ----------
AIR BREATHER TANK...OCT
---------- Post added at 01:15 AM ---------- 6 hour anti-bump limit - Previous post was at 01:01 AM ----------
yup.. same.. i soaked my engine head with Daia.. Bling..Bling...
keep up the good work virqai
i do believe what i see but believe meit's unbelievable
Superb job, u r not a detailer, i'd say more a transformer
Holy tut. This is not detailing.I don't know what to call this! It's more like pressing the reset button! Nevertheless that is an awesome job. And I always thought that it is a brilliant idea to get your engine bay thoroughly cleaned and sprayed when rebuilding your engine.
One question bro... How on earth did you polish you gearbox and all those individual components like alternator???
Ok. Thanks for the info. Looks like it's some sort of a rust converter. Will have a look out for it.
what the heck... fainted after looking at the condition of the engine bay before the remake....
This has got to be one of the best cleaning/restoration job ever.
Keep up the good work mate!
Wow...damn nice!:canabis:
fcukin osem work there mate... really effin osem... keep it up... you truly has the know how, resource and most importantly patience... truly amazing job... keep it up...
Yup...and thanks allVery nice bro. U operating a shop? U know any shop doing this service?
Thinking of doing mine also
---------- Post added at 02:11 AM ---------- 6 hour anti-bump limit - Previous post was at 01:15 AM ----------
BRACKET MOUNTING all the pics step by step how i redo the mounting bracket....
FITTING
After all weld job done, fitting back to see if there got ' lari' screw hole etc or not...
Grind..buff..sanding all the weld...for clean looks..
So jealous...to all detailing sifu here about 50/50..Haha..ha.coz there all have,me not..try to show my 50/50 by my way...Blasting mild steel before paint...its look like paint but not...
PAINT
REFLASH BACK-Look like hard way...easy to make
Look like easy...but hard way to make...
BEFORE-My friend say he need to kiaw with sub bar to install this..
AFTER
---------- Post added at 03:05 AM ---------- 6 hour anti-bump limit - Previous post was at 02:11 AM ----------
DUMP PIPE WRAPPING
Clearance pipe to engine block..
INTER COOLING PIPE WORK
Fitting-
Clearance where the pipe will go...
PIPING SET-i try to make more short and simple than past..sorry no pics set before.
Full ring type lock hose...and stopper insert hose..
But..this is not end looks like what i want....
---------- Post added at 03:37 AM ---------- 6 hour anti-bump limit - Previous post was at 03:05 AM ----------
PIPE HOOK-S.steel braided hose as a pipe hook..
Here sumore...
Enjoy for now...there have another 14 pages pics in my photobucket to upload in here...if have time i will try continued tomorrow..
if not next year pun blehhh
Last edited:
The Marketplace Latest
The Marketplace Top Posts
-
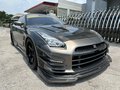
Top Secret Nissan R35 GTR GTR35
- Started by aycy
- Cars for sale
Recent Posts
-
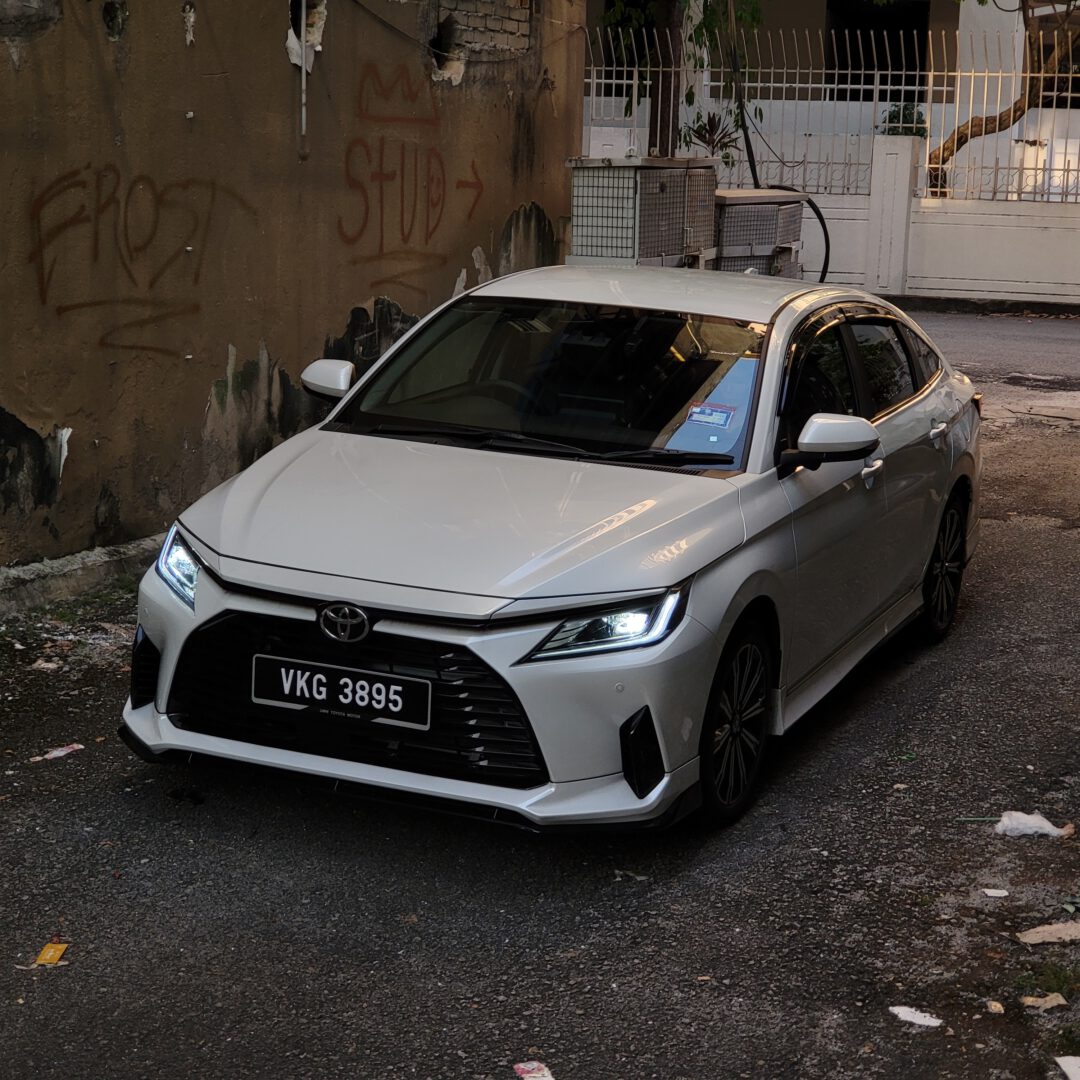
Review: 2023 Toyota Vios 1.5G
- Started by Tom
- News and Features
-

Satria GTI or Normal Satria
- Started by deveshwhat
- Car Talk
-
Honda civic fd2 with k20z2 engine...
- Started by Soroosh-ab
- Honda
Random Post Every 5 Minutes
Dear detailing sifus,
Mind to guide me on what product / material to use for cleaning car floor mat (fabric type)
My car cabin has result some odour which I think it comes from those mat.
U know, our shoe step on anything on everywhere and sometimes water are soaked when raining days.
appreciate your inputs.
many thanks.
Ask a question, start a discussion or post something for sale!
Post thread
Enjoying Zerotohundred?
Log-in for an ad-less experience