

- Sep 17, 2008
- 20,685
- 3,998
- 1,713
Well, another Simple DIY tryout from me. A lot of us, if we really care for our car's outlook or
how clean is our car. We are extra particular when it comes to perfection of our car. Can't stand the
sight of our car covered with dust or being dirty kind of feeling. Is just naturally in our blood.
Which is why some would say we love our cars more than our wife or we spend more money on cars more than spending on our wife? Well, kinda more to wife nowadays no matter how much we spend our money on cars.
Okay enough being off topic
So, we can see lots of cars on the road, some headlamps are real bad. So bad that we can't even see through the headlamps with such thick oxidation. Is like the car is having some kind of cataract... Well those are people's car, we only feel the pain for the unfortunate car to be neglected on till that condition.
What about ours?
Back to what I'm trying to show here. I have tried other products before on Headlamps Restoration
or oxidation remover. After a month it came back, so back on try and error. Bought another
one but this one comes with extra Headlamp Protector.
So, here are some photos before Headlamp Polish.
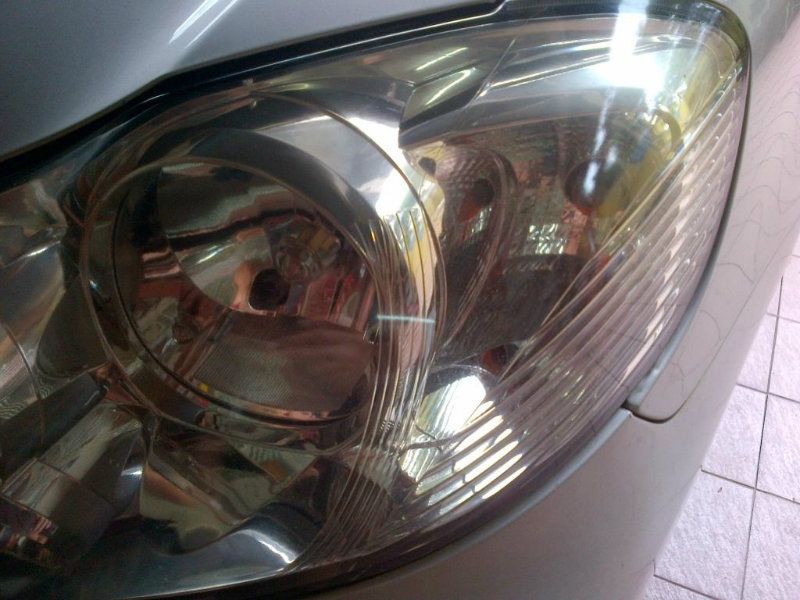
BEFORE HEADLAMP POLISH
Left Headlamp -
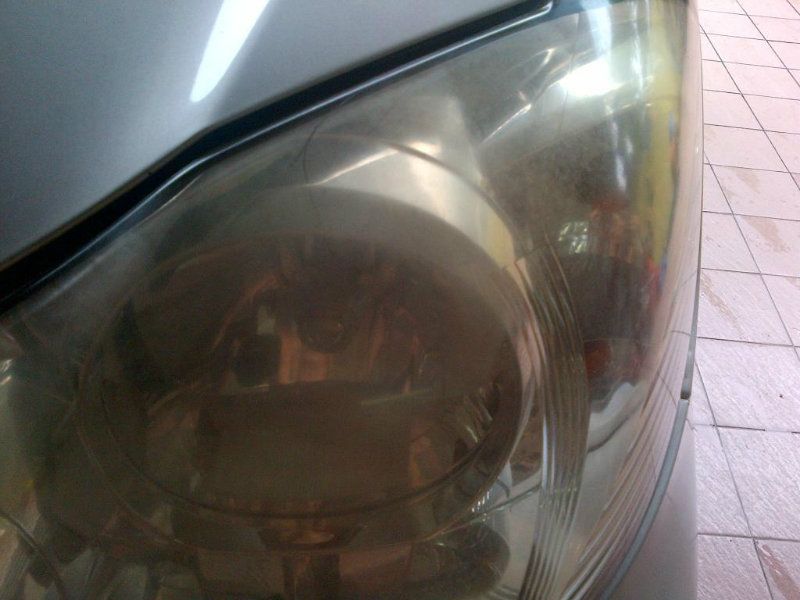
Maybe my car need a new pair of eyes? :hmmmm: Not that serious yet I guess...
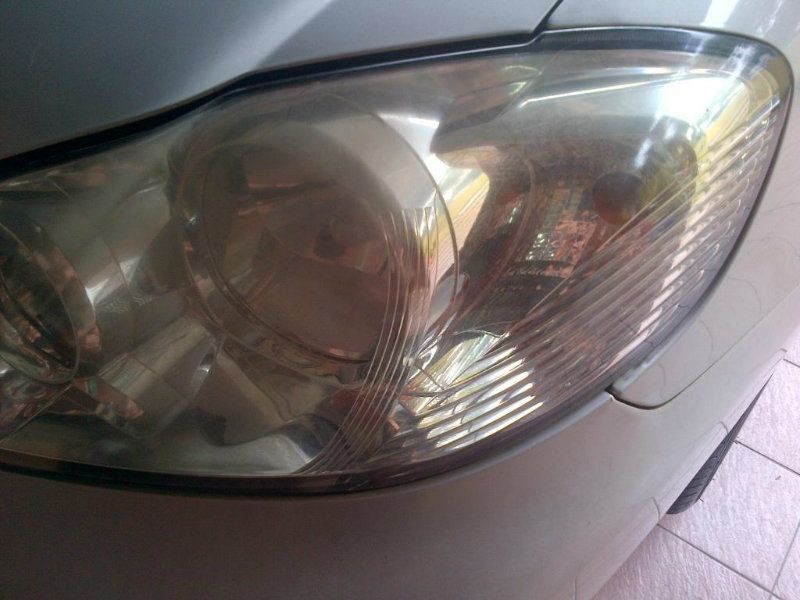
Right Headlamp -

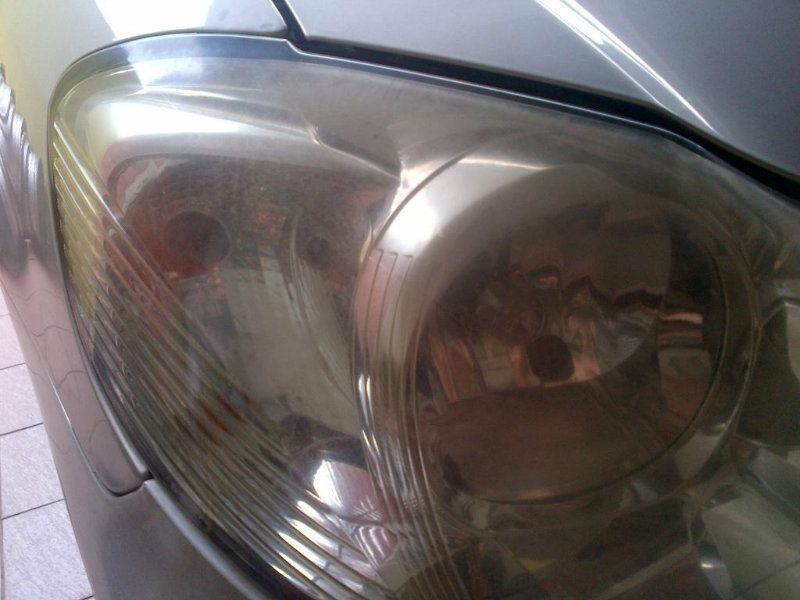
Can see some oxidation, but not clear enough to see due to not enough light during a gloomy evening...also using my phone camera once again. Hope is clear enough for everyone...
-----------------------------------------------------------------------------------
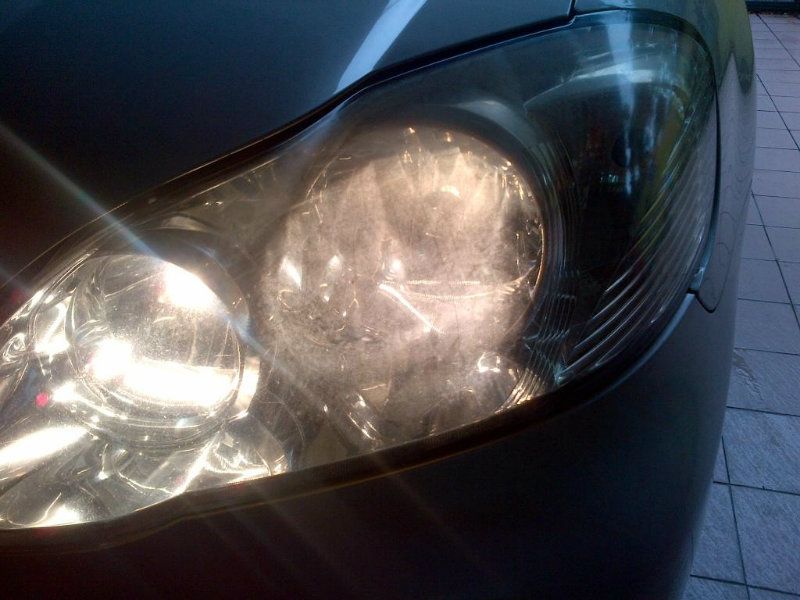
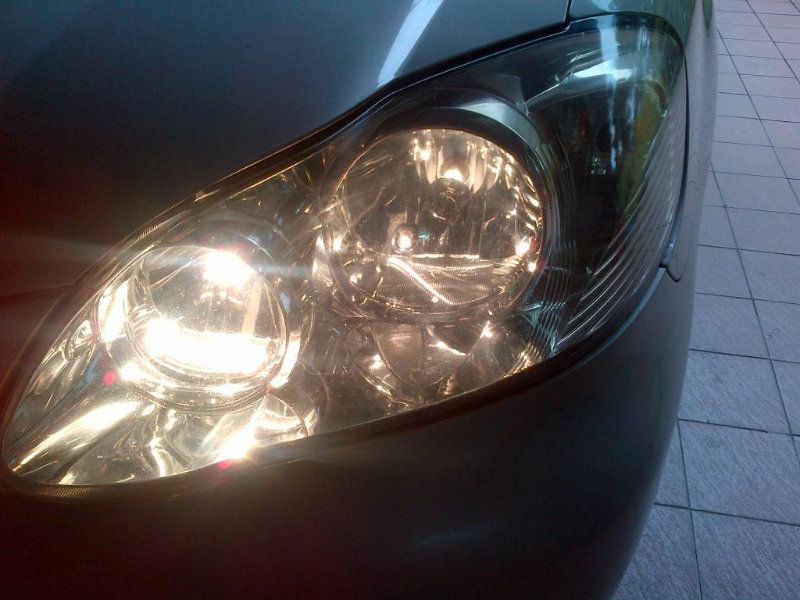
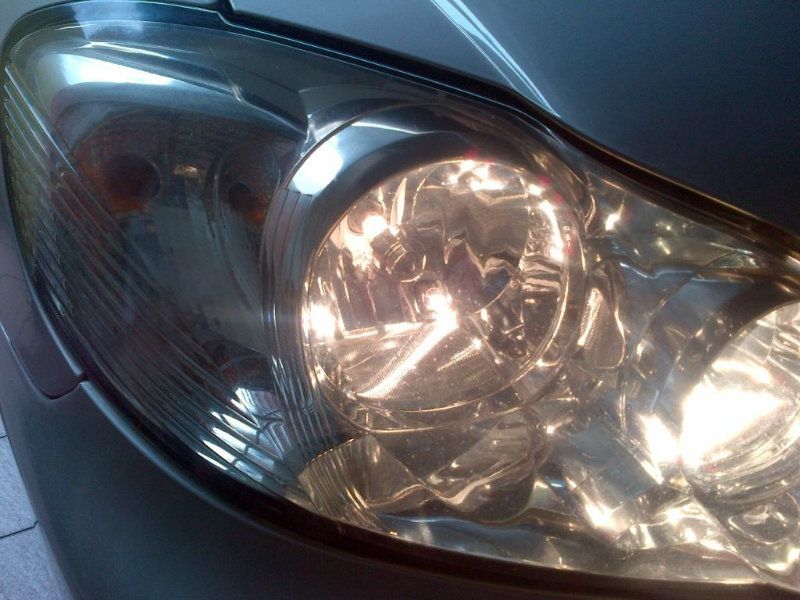
BEFORE HEADLAMP POLISH with Lights On
Left Headlamp
Right Headlamp
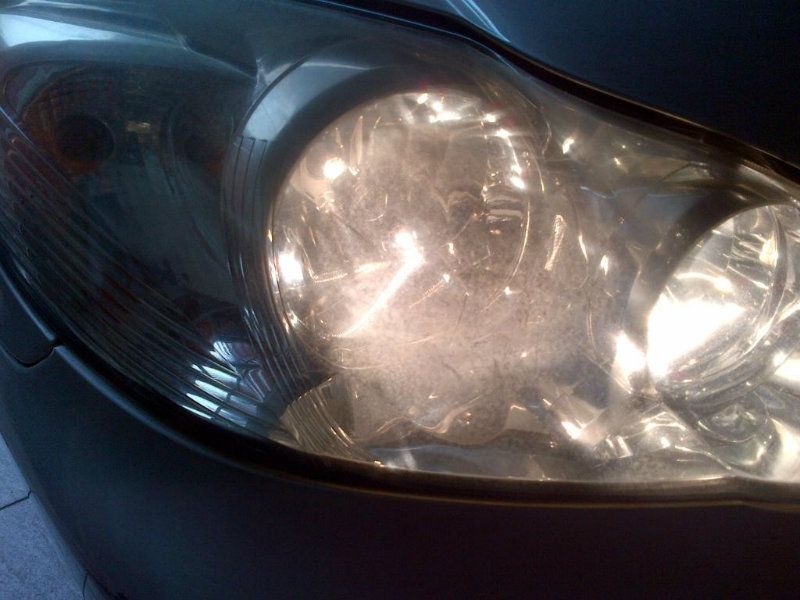
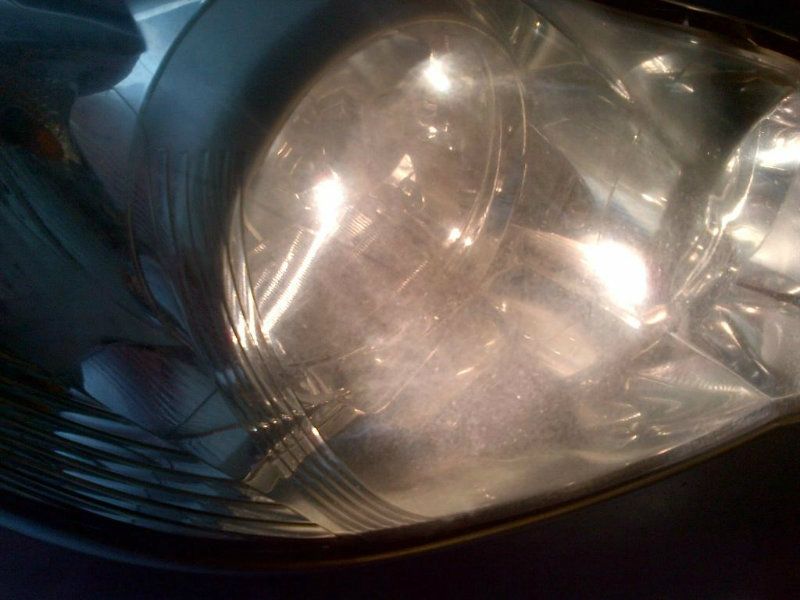
Now we are having a clearer photo of why My Baby is having blurred vision, her eyes are oxidized or infected due to our weather...time to wash her eyes...
---------------------------------------------------------------------------------------
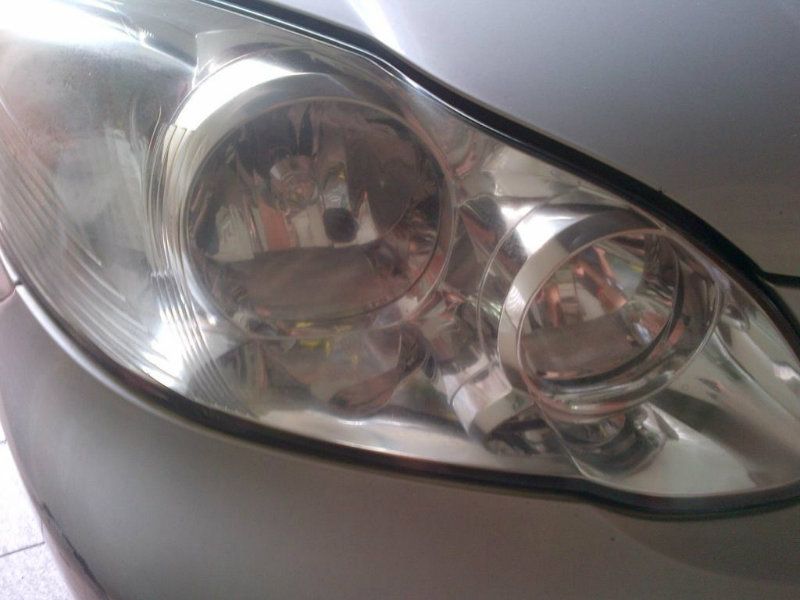
AFTER POLISH With Headlamp Polish
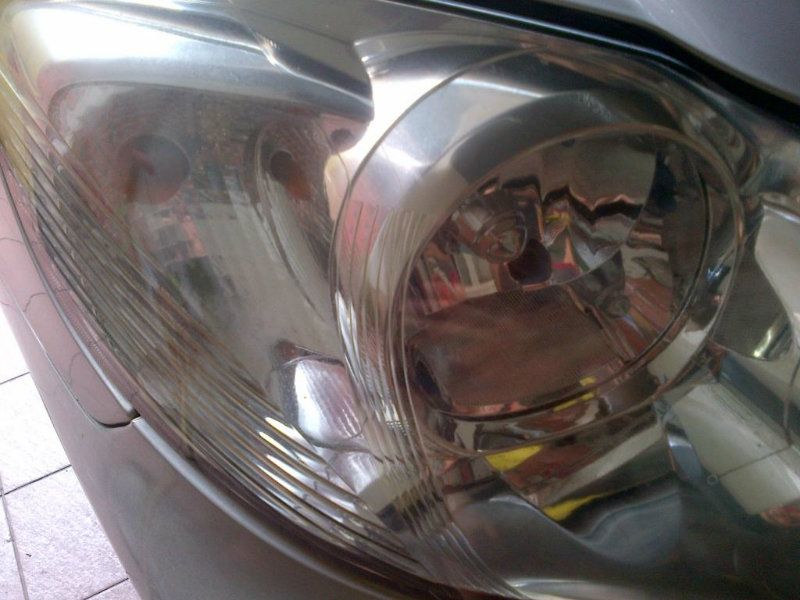
Looks Good? Yeah, for a simple DIY, it does look good enough.
Let's Have a look at how it looks like with the lights on to have a better look at the results.
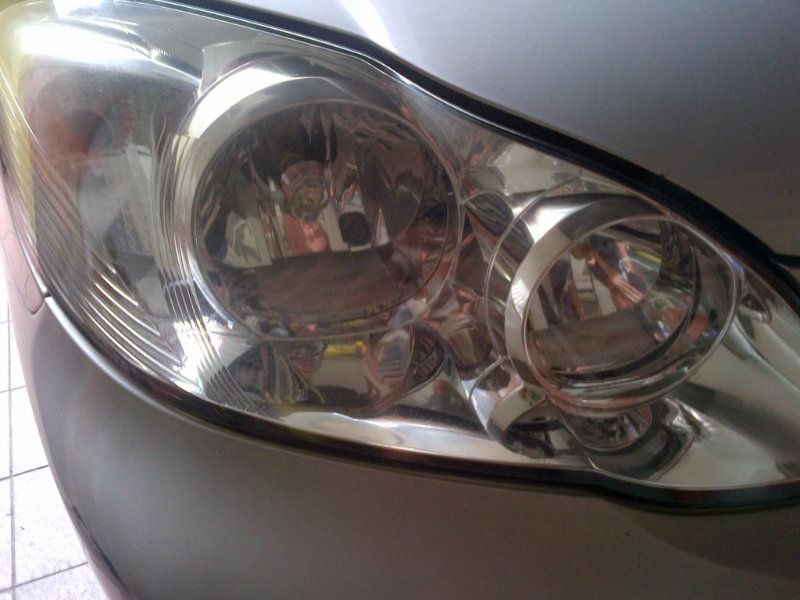
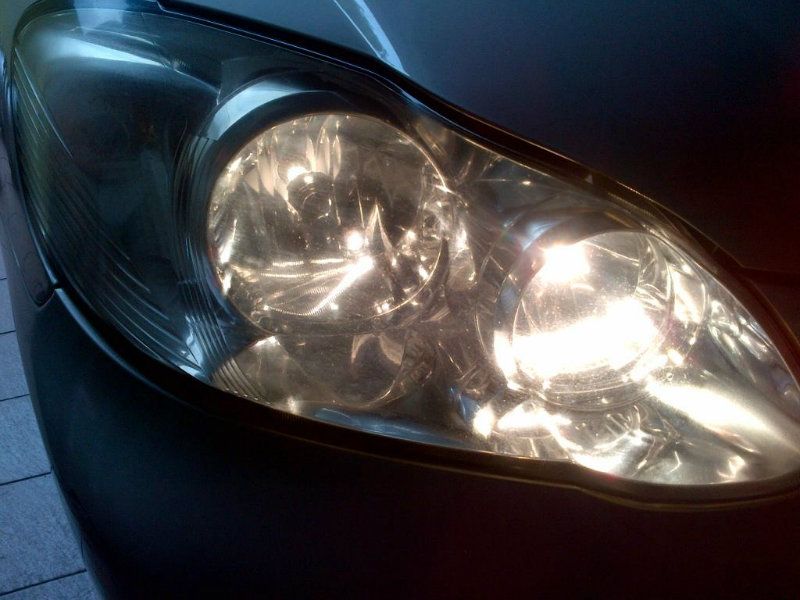
AFTER HEADLAMP POLISH with Lights On
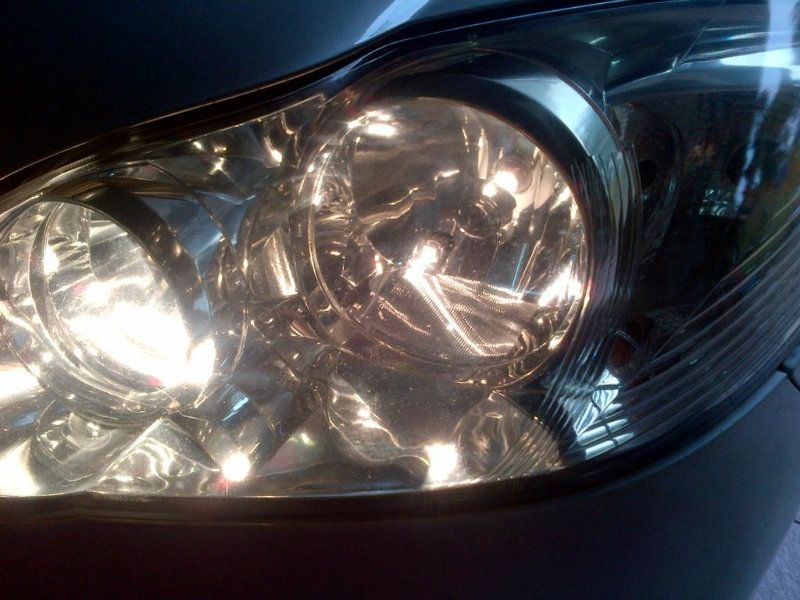
Overall looks good, but can see some dots on the headlamp but most important of all, it manage
to remove the yellowish oxidation layer on my headlamps.
After that, according to the instructions, to apply a layer of Headlamp Protector. Is in
liquid form just to apply evenly on the surface.
-----------------------------------------------------------------------------
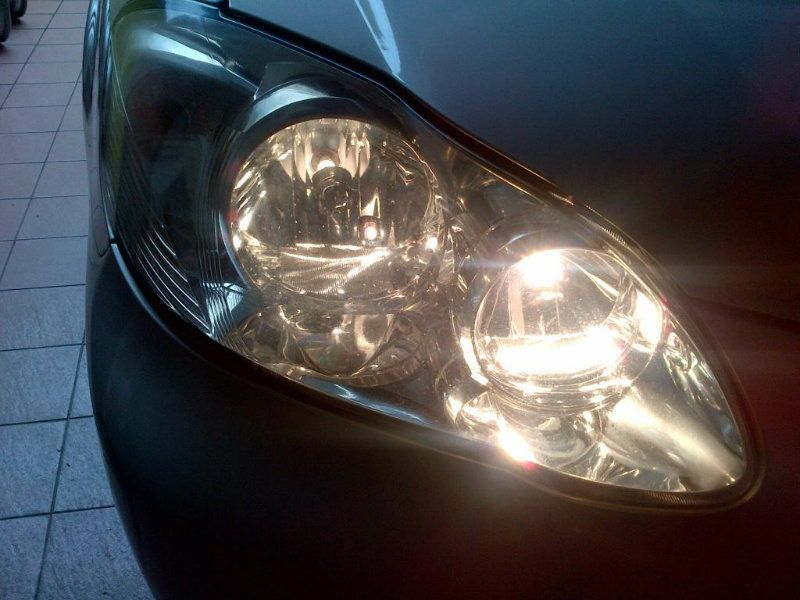
AFTER HEADLAMP PROTECTOR APPLICATION
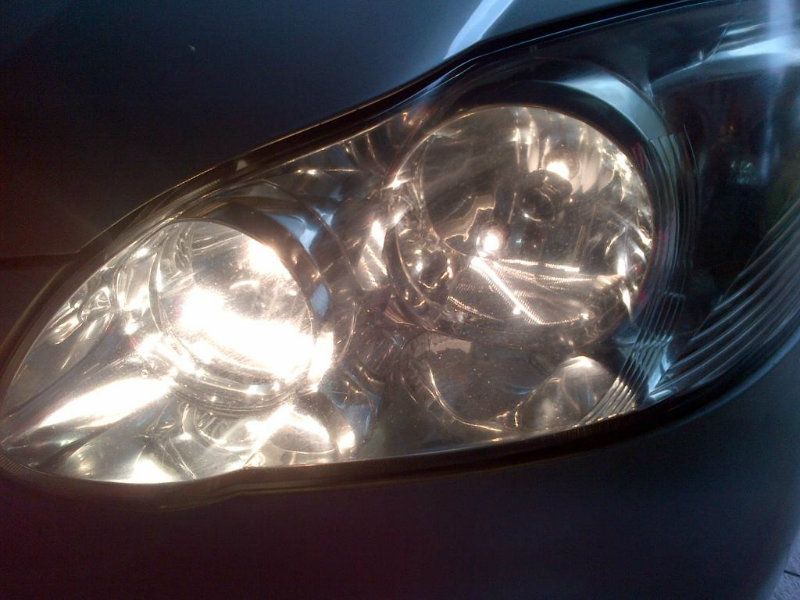
After applying, realised is the clearness of the headlamp is slightly reduce, but after it drys, seems
got a thin layer on the headlamp. Still, satisfy with the results.
Okay let's do a BEFORE and AFTER Comparison for a better view on the results of this product.
--------------------------------------------------------------------------------------
BEFORE & AFTER
Comparison 1
----------------------------------------------------------------------------------
Comparison 2
--------------------------------------------------------------------------------
Comparison 3
---------------------------------------------------------------------------------
Comparison 4
----------------------------------------------------------------------------------
AFTER HEADLAMP PROTECTOR - BEFORE&AFTER
Comparison 1
Slightly blurred, due to one layer of protection coat? Maybe
------------------------------------------------------------------------------------
Comparison 2
------------------------------------------------------------------------------------
Comparison 3
As we can see, after Headlamp Protector applied, without lights on we can see some differences...and not that much of a crystal look, maybe due to one layer of protection. But when we turn on the lights to do some comparison, is just almost the same and to say not much of a difference.
PRODUCTS USED:
TOTAL COST: RM17.90
TIME USED: 10 Mins (not including time used in taking photos)
There are lots of products out there for headlamp Polisher, just a matter of try and error if u like.
if not, just look for something that someone had tried and it works.
Note that this way are just for minor oxidation. Serious Oxidation will need some real polish with
rotary and some sanding to be done by professionals.
Is one of the good way to prevent serious oxidation or at least enhance the lifespan of your headlamps.
Sanding off and Polishing your headlamps may restore back to its brand new look, but bear in mind that there is only a number of times you can do that before the thickness of your headlamp become thinner and I cant guarantee if it will crack if any small stones hit against your headlamp after number of times sanding down and polish.
Happy DIY-ing guys. Just a simple way to care for our headlamps. Any further advice or suggestions are always welcome. Sharing is just Caring for others. We work together to find the best solution.
*IMPORTANT NOTE: IF You Intend to take photos with lights on, please do not take too long in taking photos, headlamp are suppose to be in Cool Condition and to be done in shaded area as per the instructions on how and when is suitable to get the job done. Headlamps have to be cool.*
Thanks for reading...
how clean is our car. We are extra particular when it comes to perfection of our car. Can't stand the
sight of our car covered with dust or being dirty kind of feeling. Is just naturally in our blood.
Which is why some would say we love our cars more than our wife or we spend more money on cars more than spending on our wife? Well, kinda more to wife nowadays no matter how much we spend our money on cars.
Okay enough being off topic
So, we can see lots of cars on the road, some headlamps are real bad. So bad that we can't even see through the headlamps with such thick oxidation. Is like the car is having some kind of cataract...
Well those are people's car, we only feel the pain for the unfortunate car to be neglected on till that condition.What about ours?
Back to what I'm trying to show here. I have tried other products before on Headlamps Restoration
or oxidation remover. After a month it came back, so back on try and error. Bought another
one but this one comes with extra Headlamp Protector.
So, here are some photos before Headlamp Polish.
BEFORE HEADLAMP POLISH
Left Headlamp -
Maybe my car need a new pair of eyes? :hmmmm: Not that serious yet I guess...
Right Headlamp -
Can see some oxidation, but not clear enough to see due to not enough light during a gloomy evening...also using my phone camera once again. Hope is clear enough for everyone...
-----------------------------------------------------------------------------------
BEFORE HEADLAMP POLISH with Lights On
Left Headlamp
Right Headlamp
Now we are having a clearer photo of why My Baby is having blurred vision, her eyes are oxidized or infected due to our weather...time to wash her eyes...
---------------------------------------------------------------------------------------
AFTER POLISH With Headlamp Polish
Looks Good? Yeah, for a simple DIY, it does look good enough.
Let's Have a look at how it looks like with the lights on to have a better look at the results.
AFTER HEADLAMP POLISH with Lights On
Overall looks good, but can see some dots on the headlamp but most important of all, it manage
to remove the yellowish oxidation layer on my headlamps.
After that, according to the instructions, to apply a layer of Headlamp Protector. Is in
liquid form just to apply evenly on the surface.
-----------------------------------------------------------------------------
AFTER HEADLAMP PROTECTOR APPLICATION
After applying, realised is the clearness of the headlamp is slightly reduce, but after it drys, seems
got a thin layer on the headlamp. Still, satisfy with the results.
Okay let's do a BEFORE and AFTER Comparison for a better view on the results of this product.
--------------------------------------------------------------------------------------
BEFORE & AFTER
Comparison 1
----------------------------------------------------------------------------------
Comparison 2
--------------------------------------------------------------------------------
Comparison 3
---------------------------------------------------------------------------------
Comparison 4
----------------------------------------------------------------------------------
AFTER HEADLAMP PROTECTOR - BEFORE&AFTER
Comparison 1
Slightly blurred, due to one layer of protection coat? Maybe
------------------------------------------------------------------------------------
Comparison 2
------------------------------------------------------------------------------------
Comparison 3
As we can see, after Headlamp Protector applied, without lights on we can see some differences...and not that much of a crystal look, maybe due to one layer of protection. But when we turn on the lights to do some comparison, is just almost the same and to say not much of a difference.
PRODUCTS USED:
- GetF1 Headlamp Polisher
- GetF1 Cloth (Provided)
- GetF1 Headlamp Protector
- GetF1 Sponge (Provided)
TOTAL COST: RM17.90
TIME USED: 10 Mins (not including time used in taking photos)
There are lots of products out there for headlamp Polisher, just a matter of try and error if u like.
if not, just look for something that someone had tried and it works.
Note that this way are just for minor oxidation. Serious Oxidation will need some real polish with
rotary and some sanding to be done by professionals.
Is one of the good way to prevent serious oxidation or at least enhance the lifespan of your headlamps.
Sanding off and Polishing your headlamps may restore back to its brand new look, but bear in mind that there is only a number of times you can do that before the thickness of your headlamp become thinner and I cant guarantee if it will crack if any small stones hit against your headlamp after number of times sanding down and polish.
Happy DIY-ing guys. Just a simple way to care for our headlamps. Any further advice or suggestions are always welcome. Sharing is just Caring for others. We work together to find the best solution.
*IMPORTANT NOTE: IF You Intend to take photos with lights on, please do not take too long in taking photos, headlamp are suppose to be in Cool Condition and to be done in shaded area as per the instructions on how and when is suitable to get the job done. Headlamps have to be cool.*
Thanks for reading...
Last edited:


