

Hi friends 
greetings to all of you!
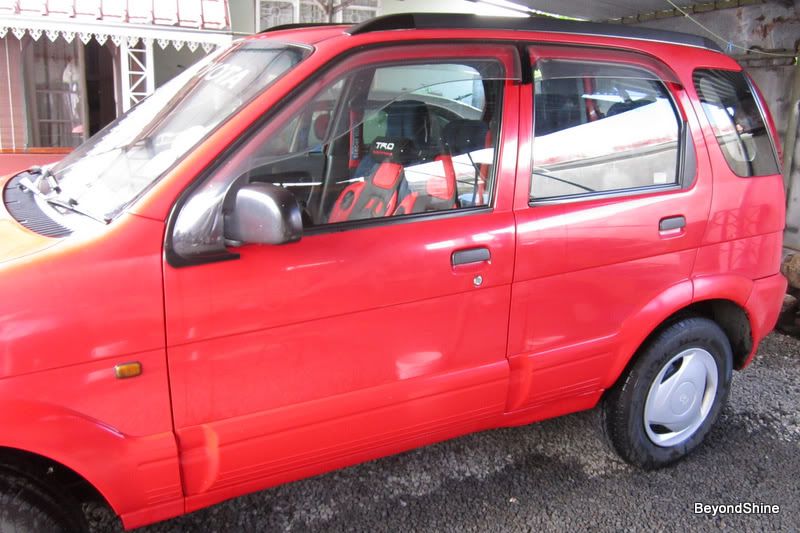
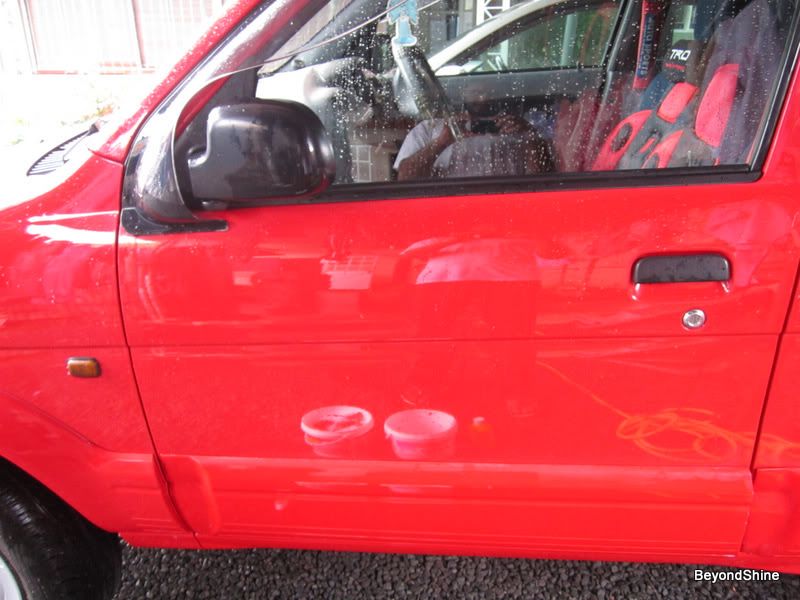
This is my friend’s Toyota Camy, the one I partly detailed 8 months ago. My friend was on tour to Reunion Island, and it was the opportunity to work with his ride.
The passenger’s side remained to be polished. But ultimately the whole car got detailed.
So here we are:
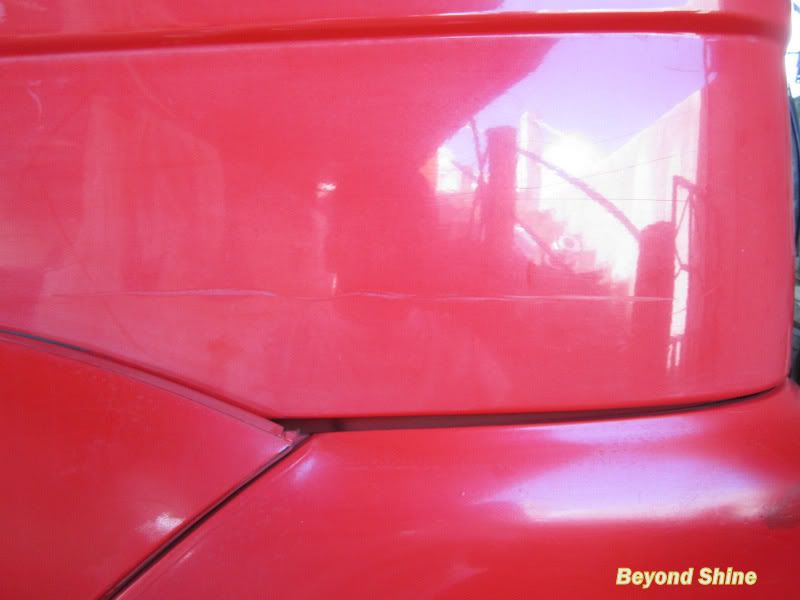
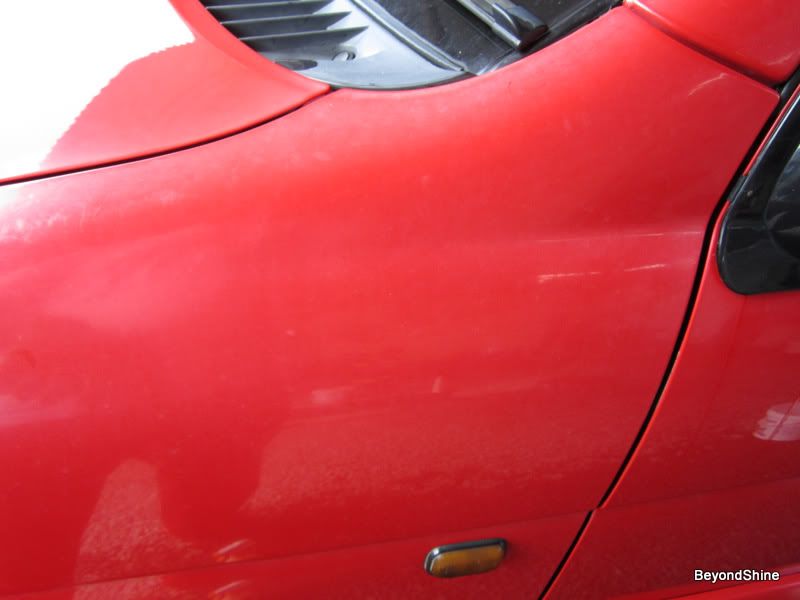
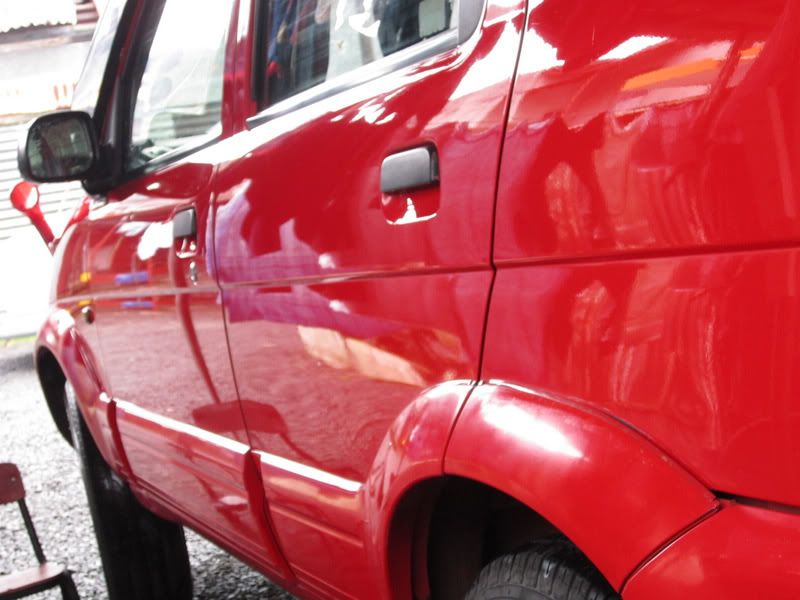
The unpolished passenger’s side
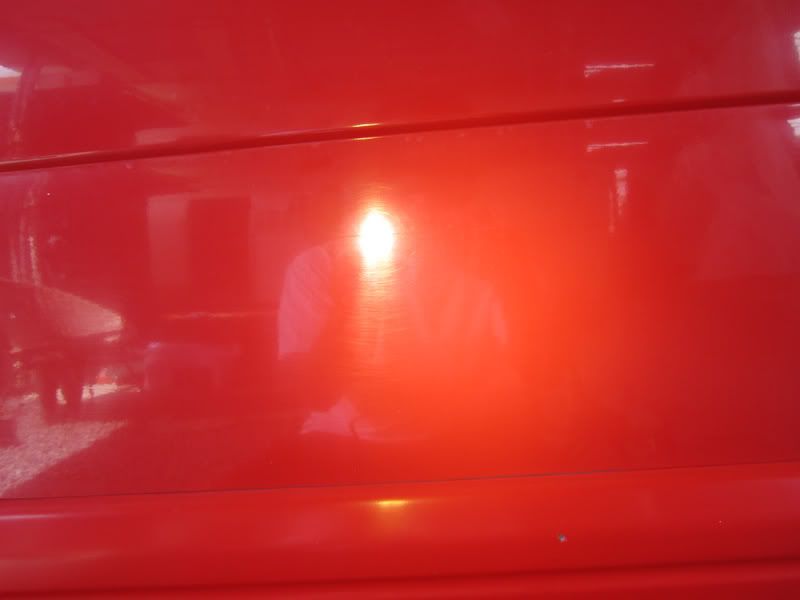
The True Color
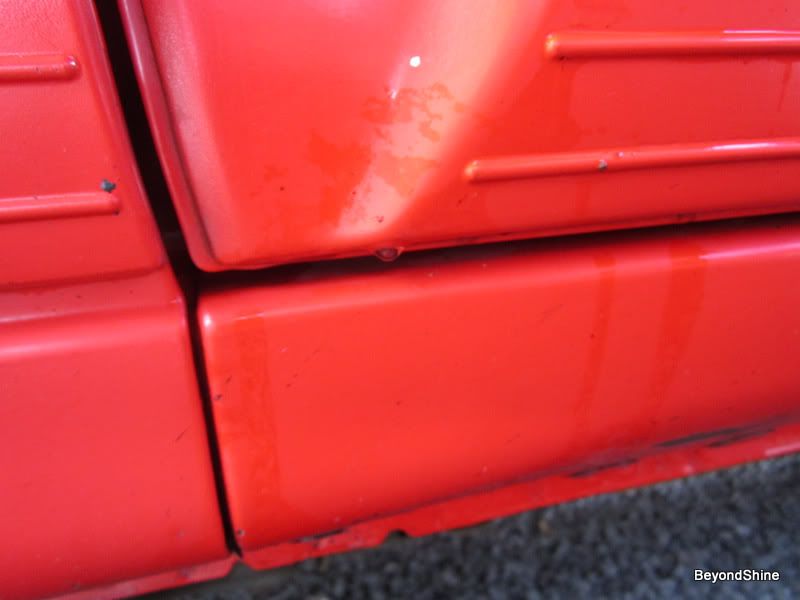
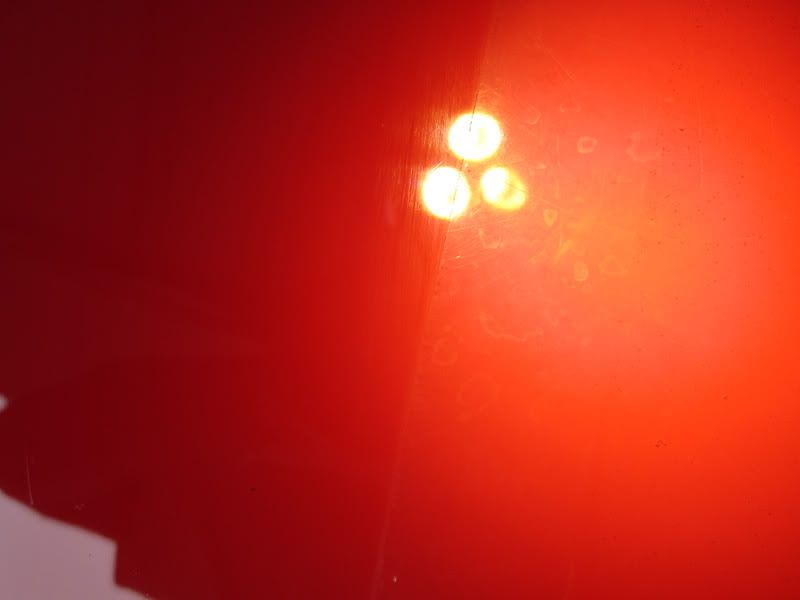
Close-up pics
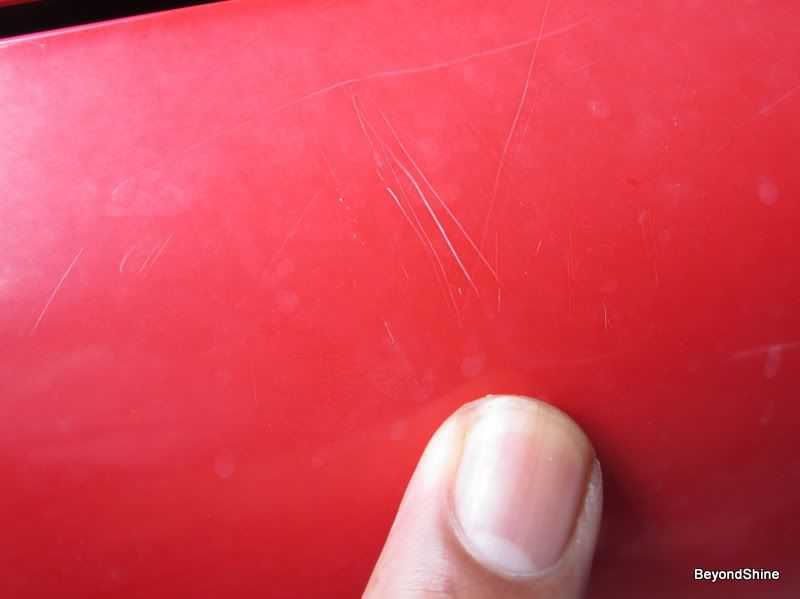
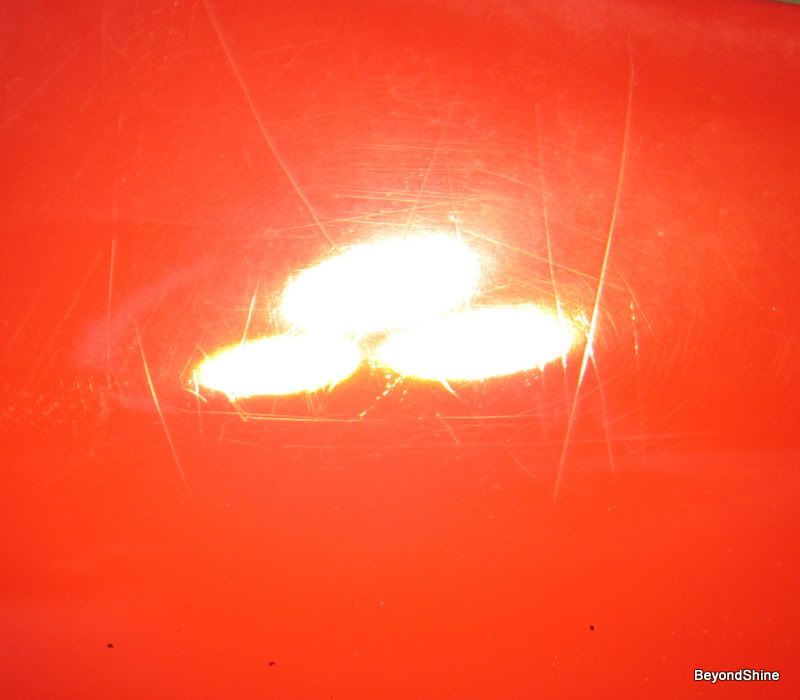
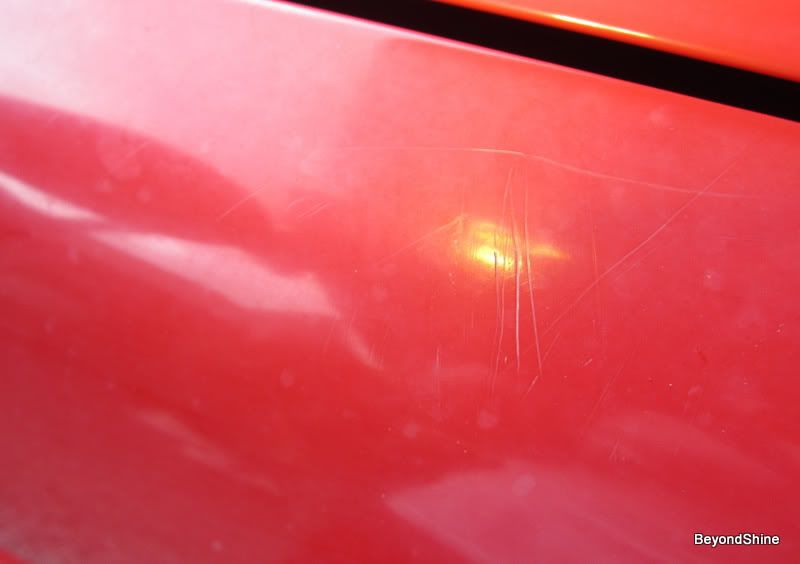
It hurts
It’s not easy to be a Camy!
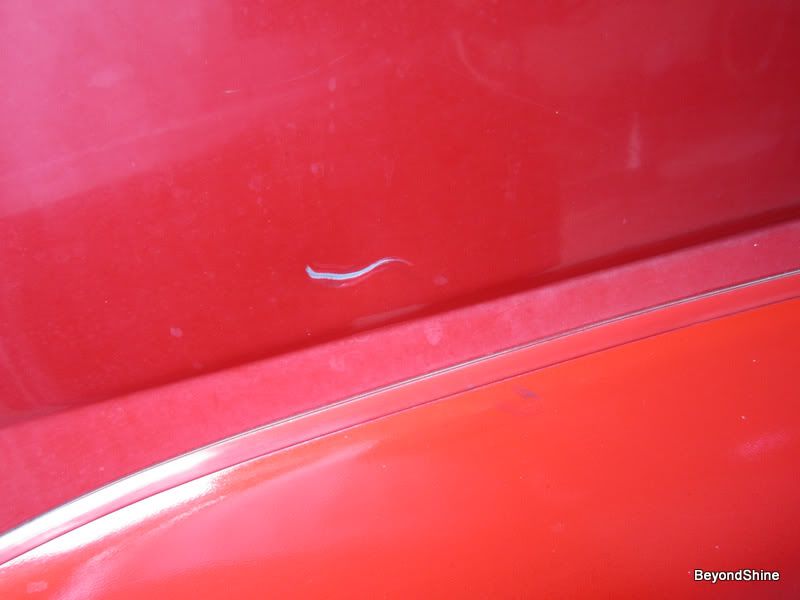
Road Tar
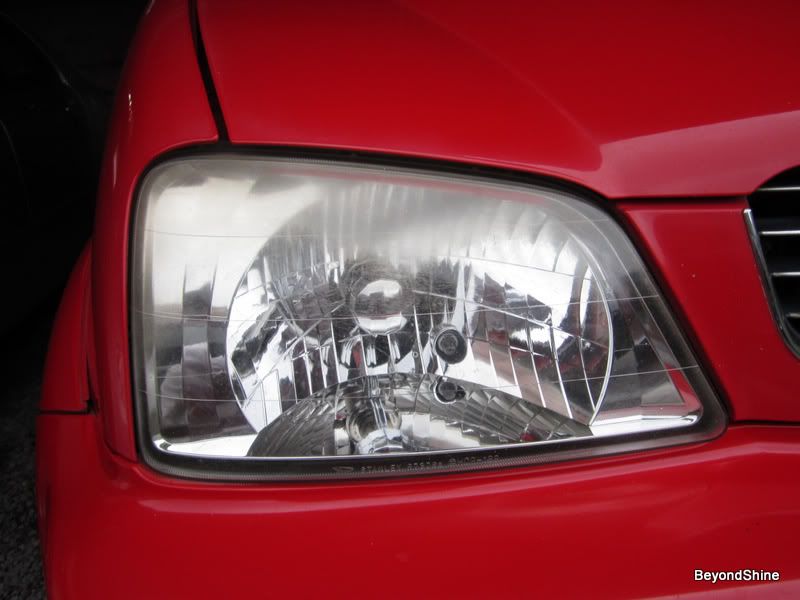
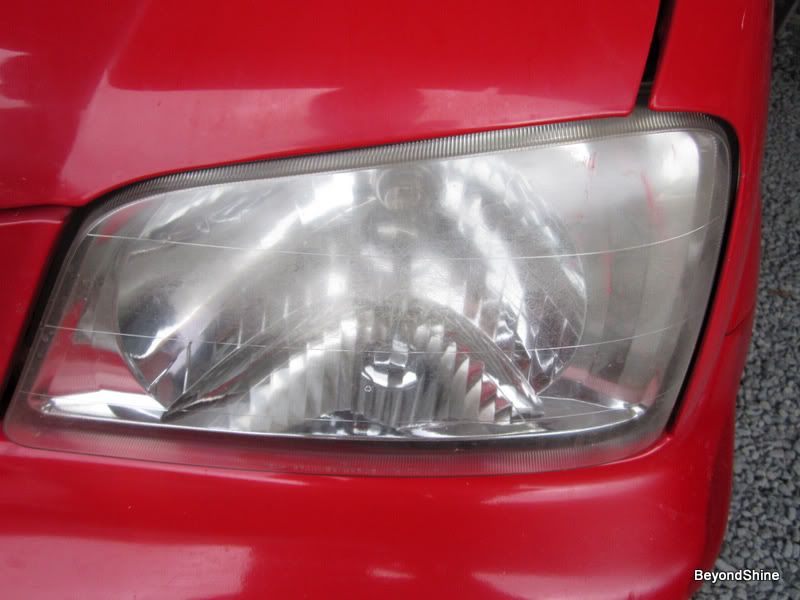
The headlights
The other side was worse
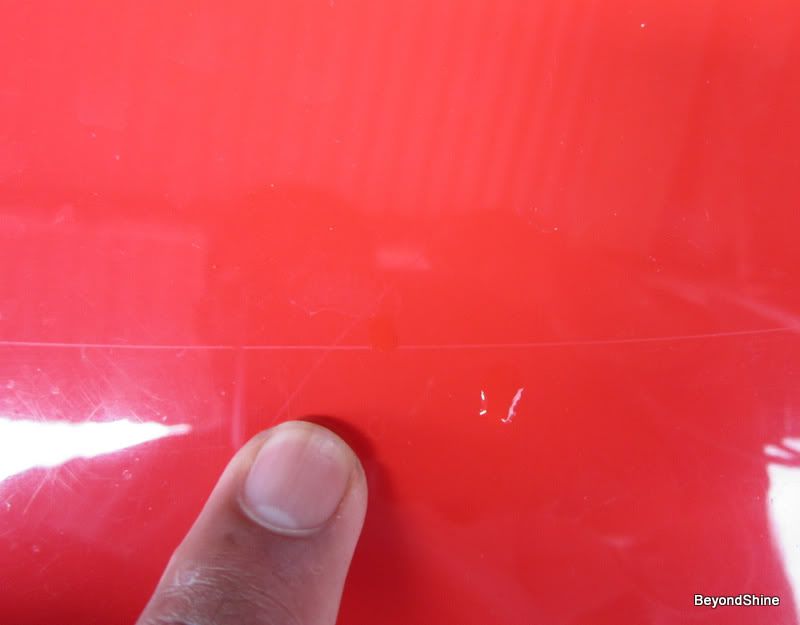
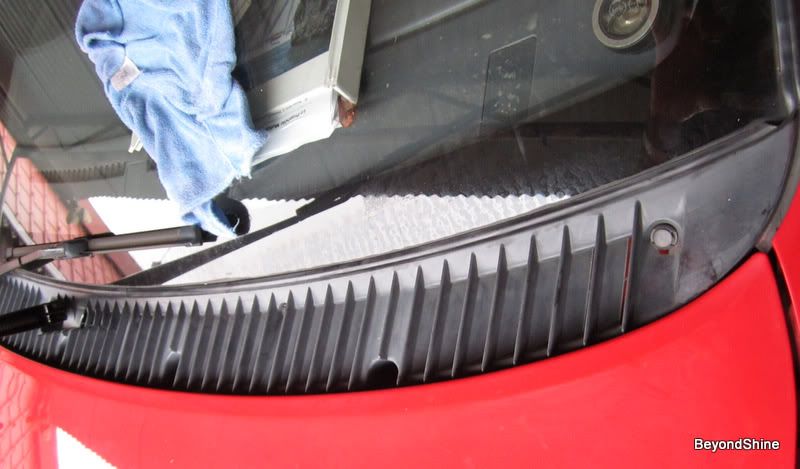
Water spots on glass
My tools:
Washing & claying:
Local car shampoo and APC mix,
Uber clay + ONR
Paintwork:
Makita rotary
Menz Power Gloss 34A, 203s
Meguiars M80
LC pads: Orange, White, Black
Menz PowerLock Sealant
Glass:
Menz PG and LC orange pad
Stoner Invisible glass
Plastics:
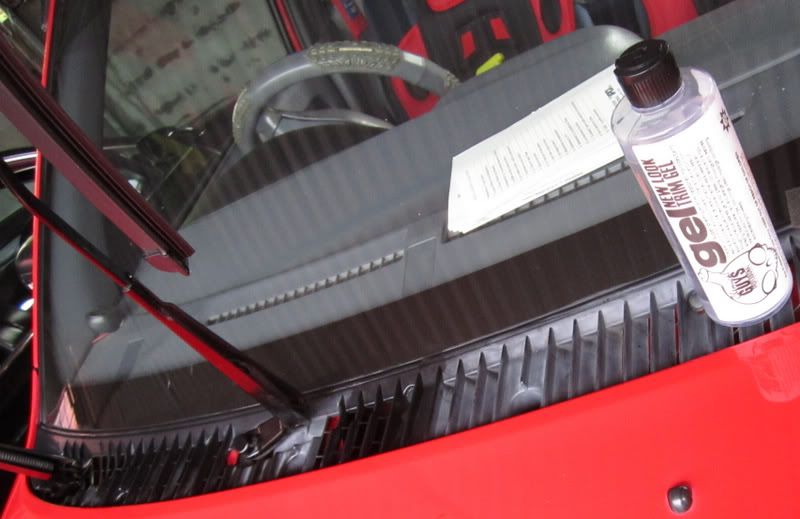
CG New look trim gel
Some cotton swabs and a dressing applicator
Headlights:
Menz PG and LC orange pad
Menz PowerLock Sealant
Washed and Clayed:
Polishing:
I started off with Menz PG on LC orange pad, followed by Menz 203s on LC white pad. Actually, I stopped this combination shortly.
I simply jumped to 203s on LC white pad then got a little more aggressive as needed. The change paid.
For the deeper RIDS, I resorted to wet sanding. But it proved very dangerous. The paint came out as powder paint, like the one used by kids in schools. So I stopped. I did want to correct all defects (RIDS) as I would unnecessarily remove paint. Remember there’s no clear coat on this paint.
Even my wife (though she’s against me detailing cars) remarked: “Are you not removing his paint?”
I spot buffed the RIDS using PG on LC orange, significantly reducing my section. I just rounded the majority of the RIDS. They are hardly noticeable. The parts I detailed months ago got a touch of Megs M80 and LC white pad followed by same polish and LC black.
Let the pictures do the talking:
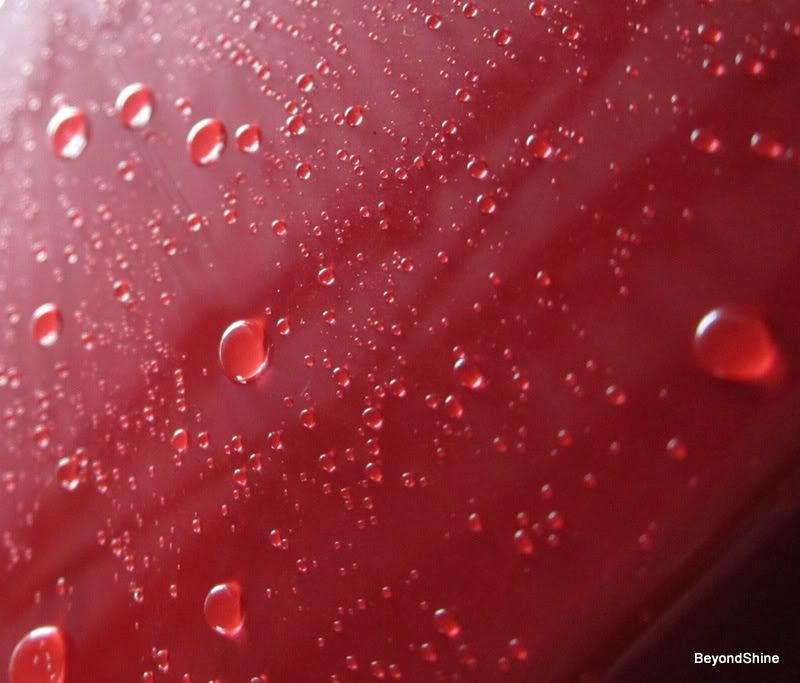
Blood Bath
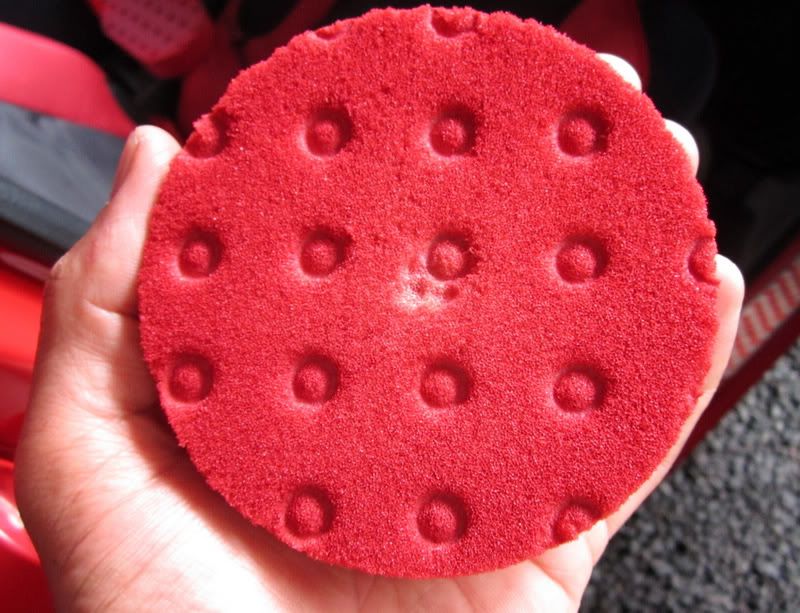
This is my white pad
I don’t have IPA here. So, I used a wet towel to wipe over the polished areas followed by a complete wash.
Then I proceeded to the final steps:
Plastics were treated with CG new look trim gel.
This was one the most time consuming part. I didn’t want to leave any spot untouched. I was wondering how it could be done, how others do it. And thanks God, I got an idea: “Use cotton swabs”. It was time consuming but at last I was happy with the outcome.
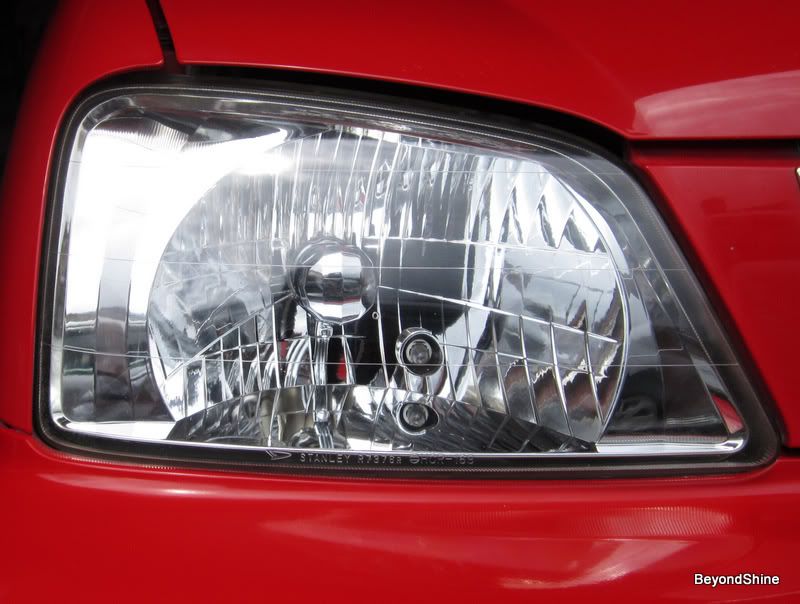
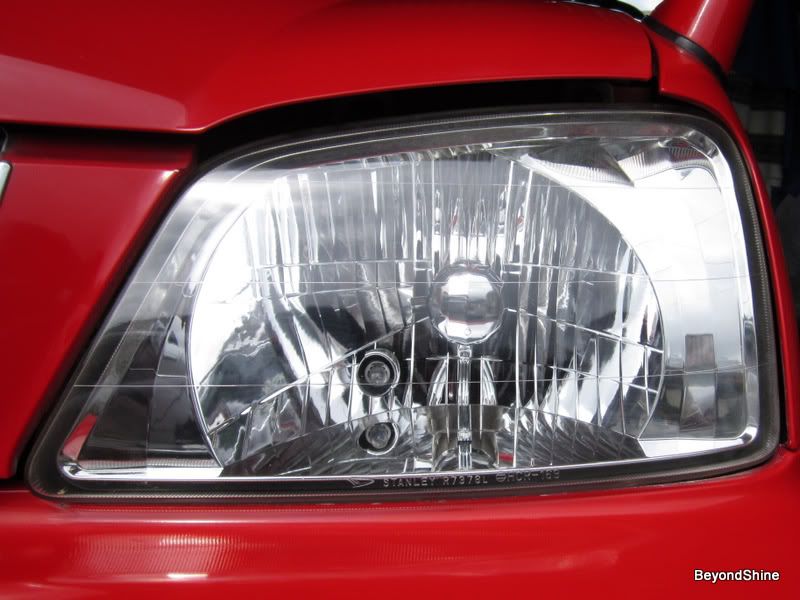
Menz sealant was applied to the paint with a CCS red applicator. Too big IMO for sealant application. Headlights got their share too.
Headlights
Before
After
Before
After
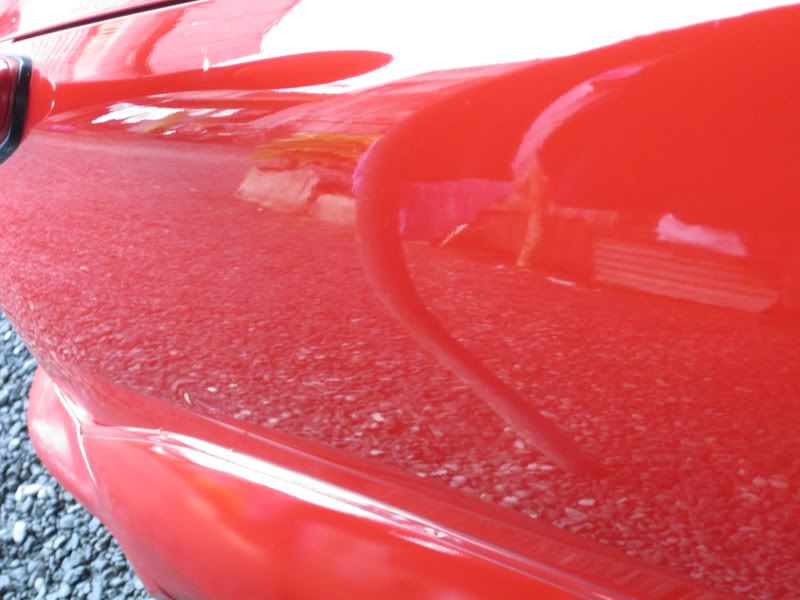
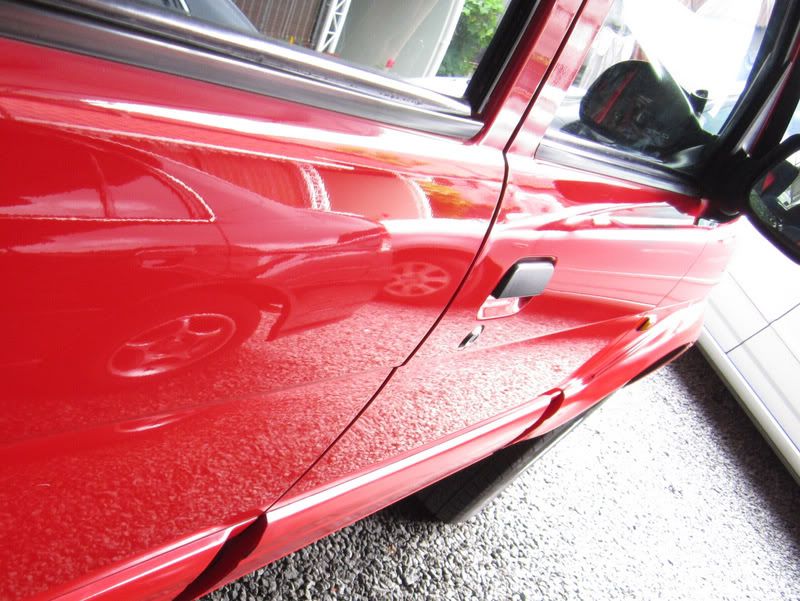
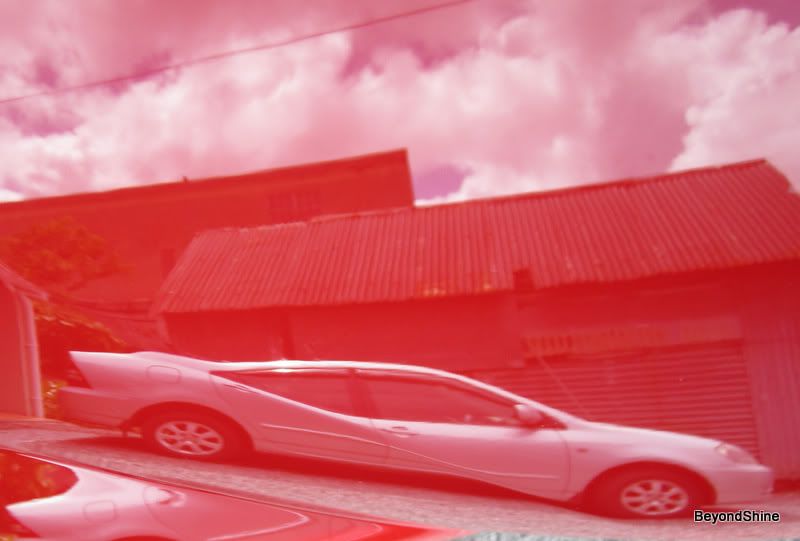
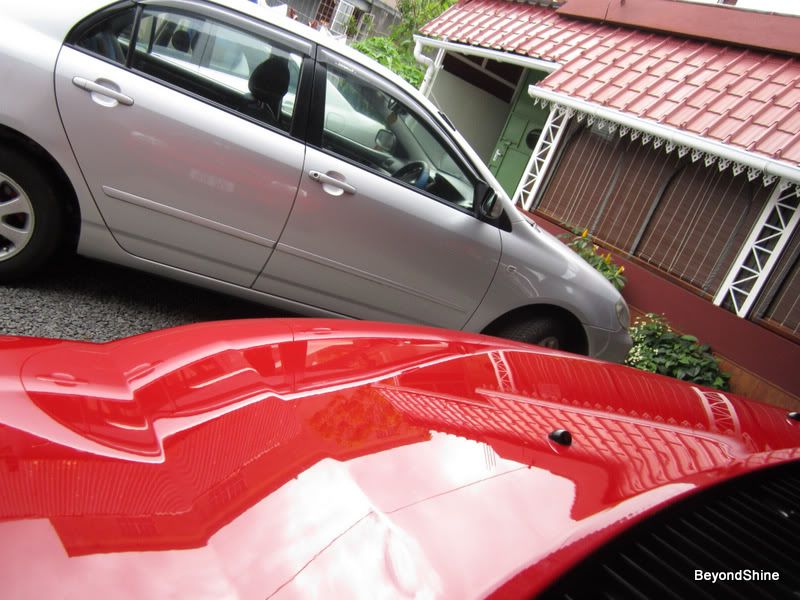
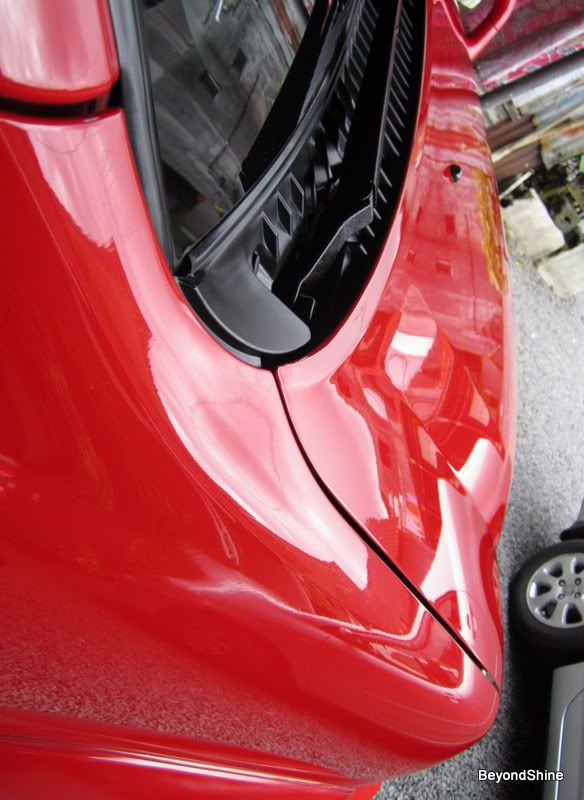
Some reflection pics
A new style Toyota Corolla, Needs refining of course.
Now look at this pic very well.
Toyota versus Honda

Cartoonized
Woody Woodpecker vs Dapper Denver Dooley
It’s the effect of watching cartoons with my kids
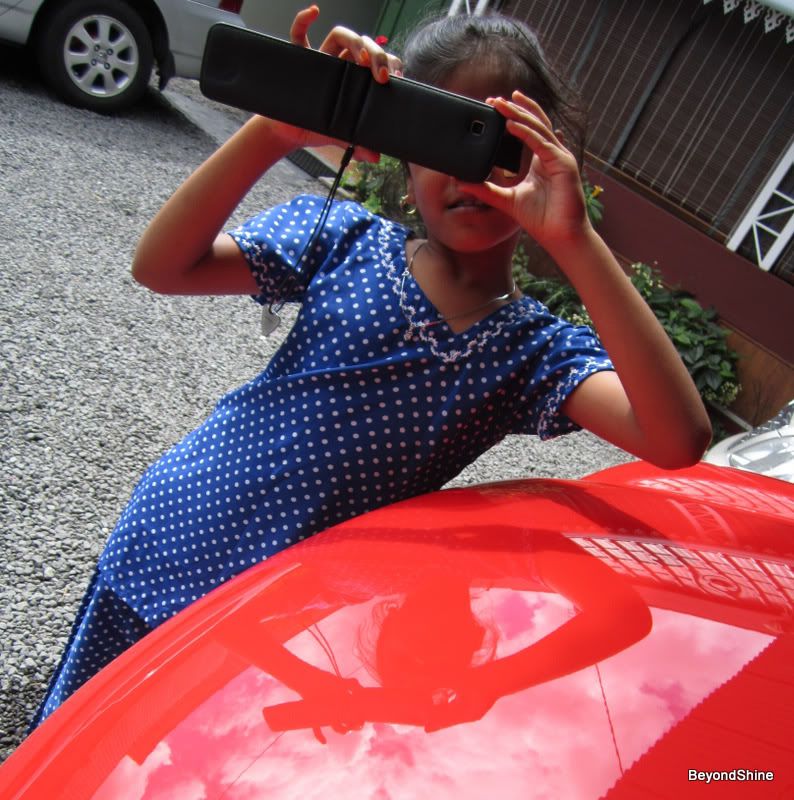
The photographer photographed
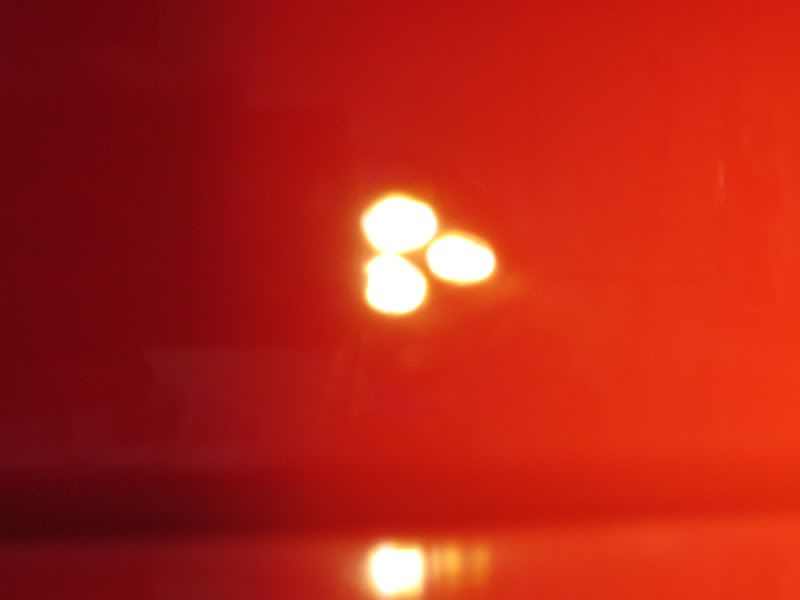
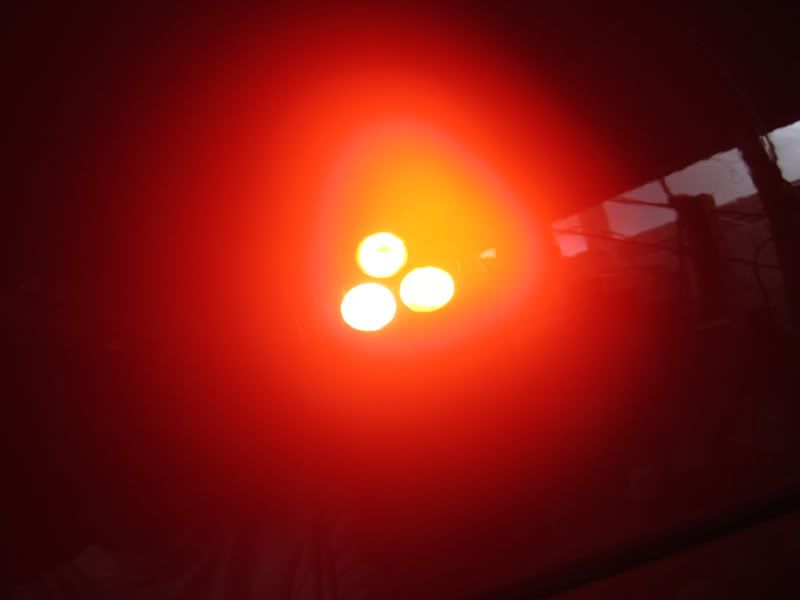
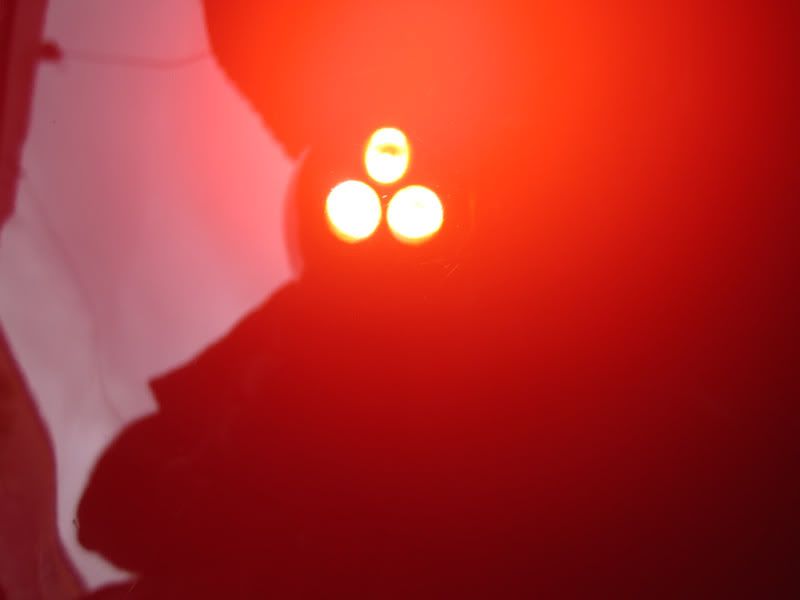
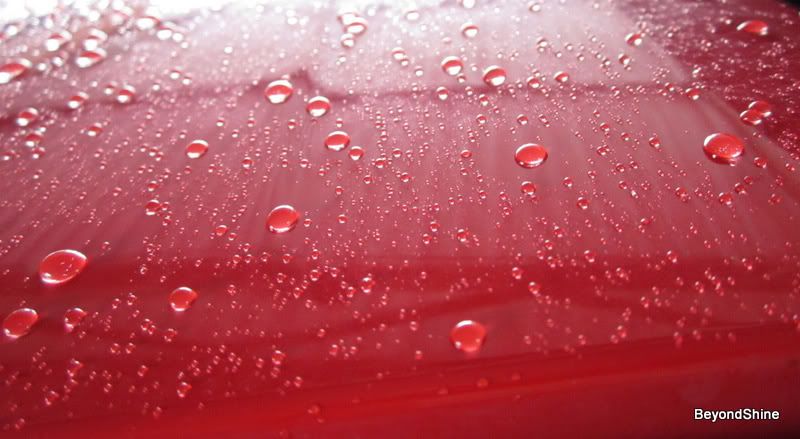
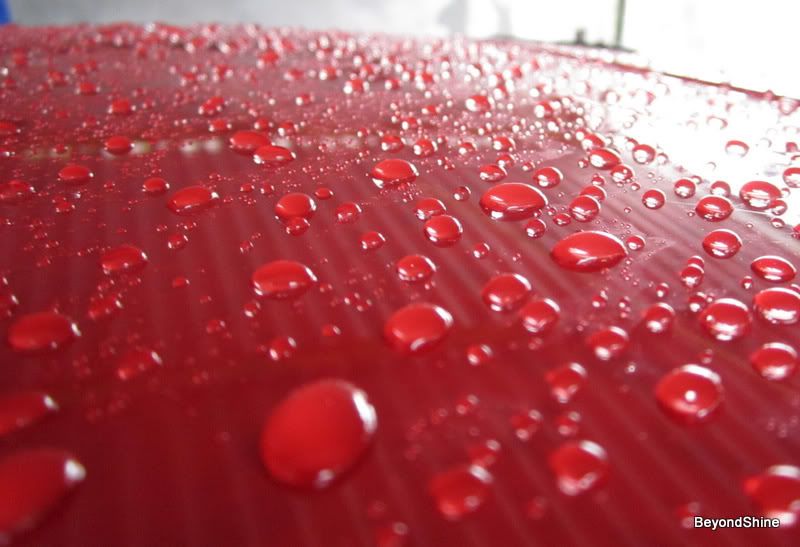
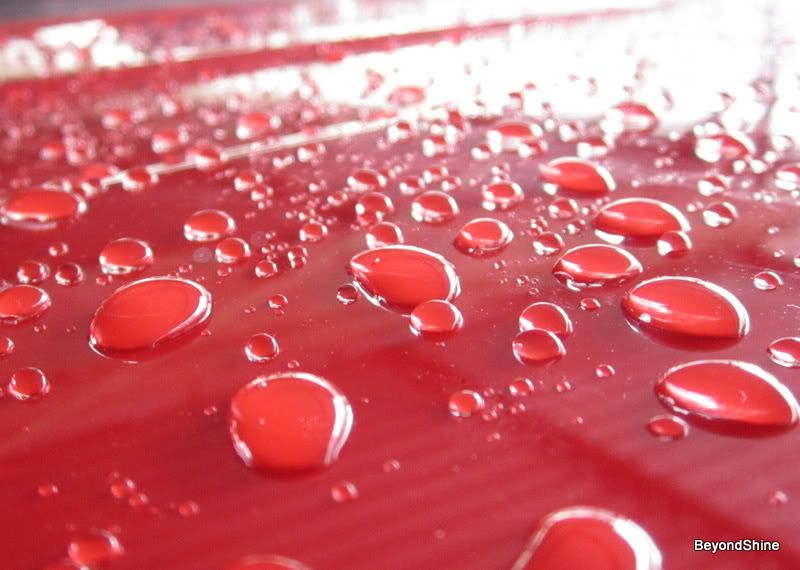
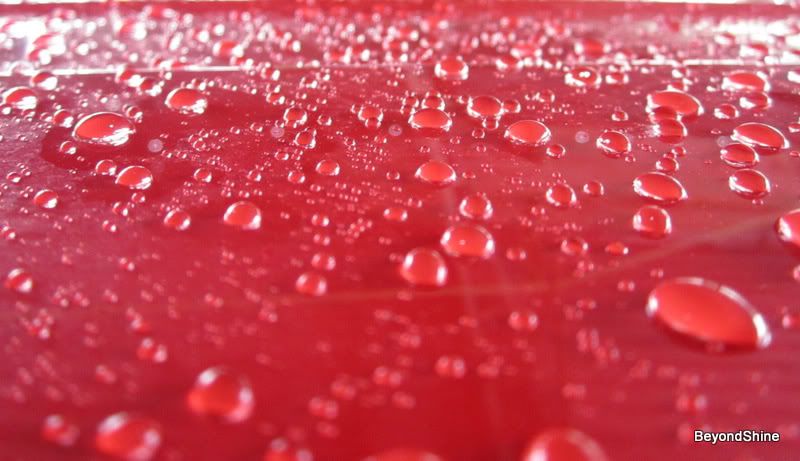
The work was completed early morning on the 26th following Xmas last year, my first major detail after i met KC, Seech, Daniel, Chris (Car Nanny) . All I got was beads. So I named these Santa beads.
And I dedicate the Santa beads to all those who share their skills and abilities in the nicest way, and from whom I learn so much (everybody’s included for sure) and above all, my heartfelt thanks to God Almighty for making this possible.
Your thoughts and advice are most welcome.
Wish you all a very happy detailing
Zaid
greetings to all of you!
This is my friend’s Toyota Camy, the one I partly detailed 8 months ago. My friend was on tour to Reunion Island, and it was the opportunity to work with his ride.
The passenger’s side remained to be polished. But ultimately the whole car got detailed.
So here we are:
The unpolished passenger’s side
The True Color
Close-up pics
It hurts
It’s not easy to be a Camy!
Road Tar
The headlights
The other side was worse
Water spots on glass
My tools:
Washing & claying:
Local car shampoo and APC mix,
Uber clay + ONR
Paintwork:
Makita rotary
Menz Power Gloss 34A, 203s
Meguiars M80
LC pads: Orange, White, Black
Menz PowerLock Sealant
Glass:
Menz PG and LC orange pad
Stoner Invisible glass
Plastics:
CG New look trim gel
Some cotton swabs and a dressing applicator
Headlights:
Menz PG and LC orange pad
Menz PowerLock Sealant
Washed and Clayed:
Polishing:
I started off with Menz PG on LC orange pad, followed by Menz 203s on LC white pad. Actually, I stopped this combination shortly.
I simply jumped to 203s on LC white pad then got a little more aggressive as needed. The change paid.
For the deeper RIDS, I resorted to wet sanding. But it proved very dangerous. The paint came out as powder paint, like the one used by kids in schools. So I stopped. I did want to correct all defects (RIDS) as I would unnecessarily remove paint. Remember there’s no clear coat on this paint.
Even my wife (though she’s against me detailing cars) remarked: “Are you not removing his paint?”
I spot buffed the RIDS using PG on LC orange, significantly reducing my section. I just rounded the majority of the RIDS. They are hardly noticeable. The parts I detailed months ago got a touch of Megs M80 and LC white pad followed by same polish and LC black.
Let the pictures do the talking:
Blood Bath
This is my white pad
I don’t have IPA here. So, I used a wet towel to wipe over the polished areas followed by a complete wash.
Then I proceeded to the final steps:
Plastics were treated with CG new look trim gel.
This was one the most time consuming part. I didn’t want to leave any spot untouched. I was wondering how it could be done, how others do it. And thanks God, I got an idea: “Use cotton swabs”. It was time consuming but at last I was happy with the outcome.
Menz sealant was applied to the paint with a CCS red applicator. Too big IMO for sealant application. Headlights got their share too.
Headlights
Before
After
Before
After
Some reflection pics
A new style Toyota Corolla, Needs refining of course.
Now look at this pic very well.
Toyota versus Honda
Cartoonized
Woody Woodpecker vs Dapper Denver Dooley
It’s the effect of watching cartoons with my kids
The photographer photographed
The work was completed early morning on the 26th following Xmas last year, my first major detail after i met KC, Seech, Daniel, Chris (Car Nanny) . All I got was beads. So I named these Santa beads.
And I dedicate the Santa beads to all those who share their skills and abilities in the nicest way, and from whom I learn so much (everybody’s included for sure) and above all, my heartfelt thanks to God Almighty for making this possible.
Your thoughts and advice are most welcome.
Wish you all a very happy detailing
Zaid
 working on a silver honda civic. complete wetsand: 3 days
  i'm tired.