

I looked on how to change the bulbs in my gauge on the internet for several weeks but no success and some of the workshops were charging really high to replace the bulbs.. So i decided to venture into changing the bulbs my self and decided instead of using those dull yellowish bulbs, i switched it up with led's n now they have the old skool look with new skool lighting. this thread is to help those who have the same prob as me.... so here we go.................
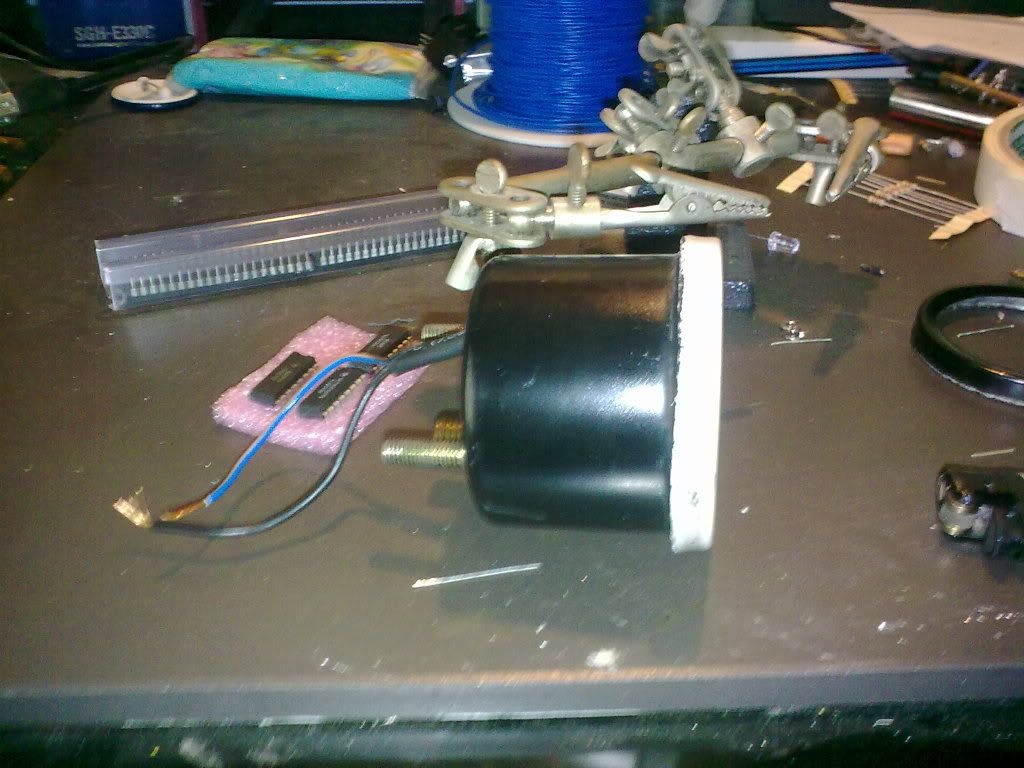
step 1: remove all connections from your gauge and you should end up wit something like this
step 2: disassemble the whole gauge; here's how :
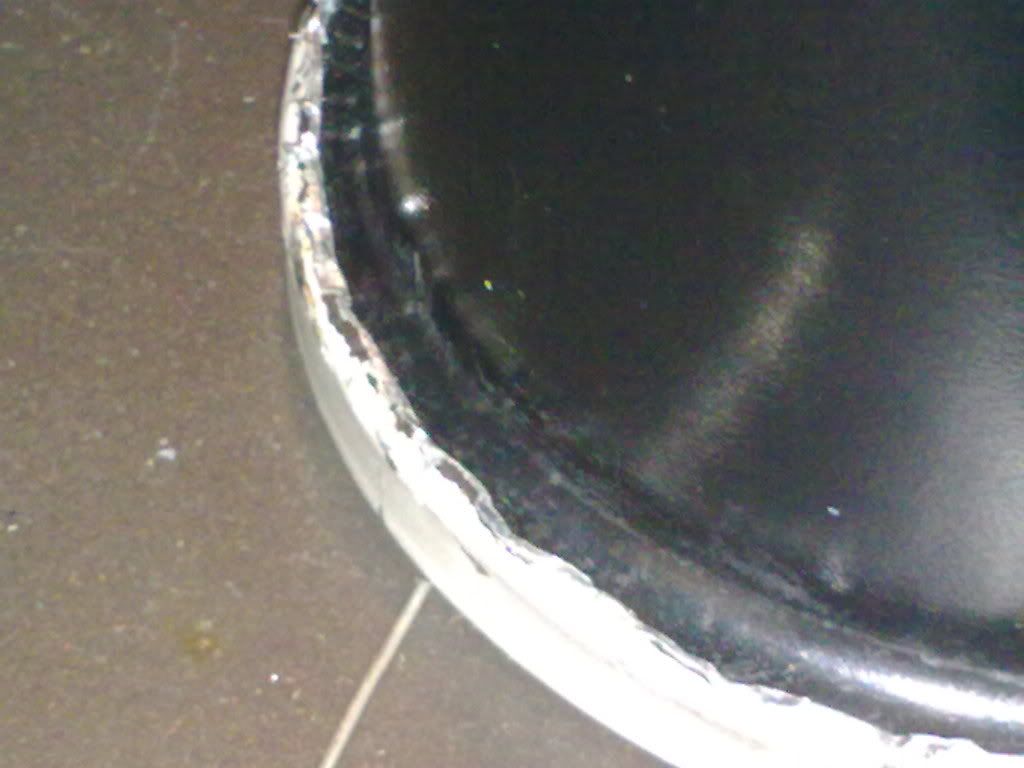
-you'll notice tht there's no screw at the back to remove the bulb or disassemble the gauge from the back. so what you've to do is use a flat-head screwdriver and slowly push into the part where the front cover sort of overlaps the gauge's body. go through the whole edge and you should end up with something like this
-repeat it until you can completely remove the cover and here's how it should look disassembled:
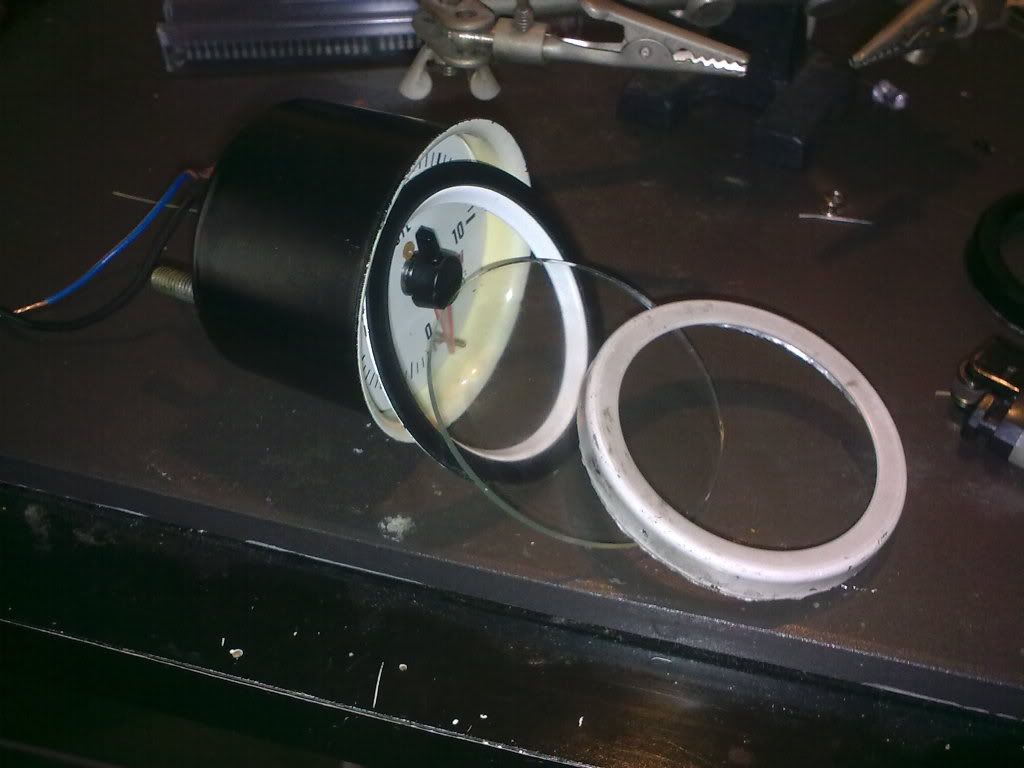
(brim - glass - glass seal & inner brim(nt sure wat it called- its the one wit the white rim and black edge) - body of the gauge)
-remove the nut at the nipple at the inlet with a size 14mm wrench; be extremely gentle and do not apply too much of force

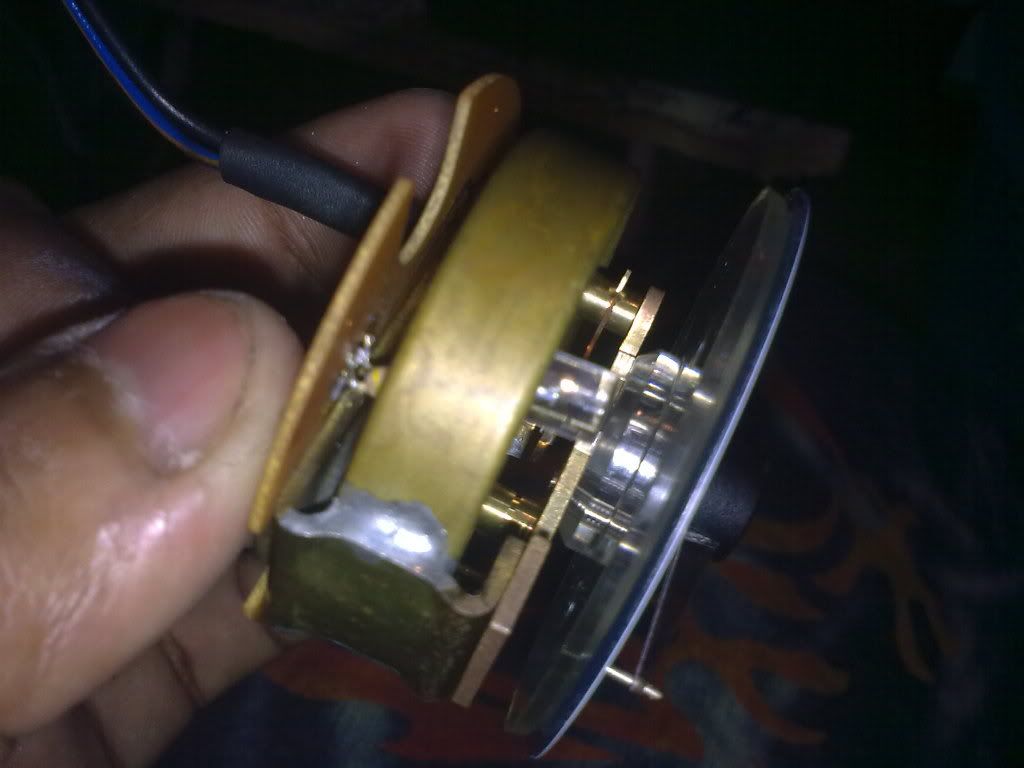
-once all the above is done, the whole mechanism will pop out. WARNING: be very careful with the mechanism or else the calibration will run out; the same happened to me and i had a though time recalibrating it... this is how it should look like once the mechanism is out.


those are the bulbs you need to replace, finding a replacement for these is pretty hard
step 3: is preparing the led. i used a clear LED(flat) with 420 ohm resistor

step 4: is removing the old bulbs and cleaning the board to place the new led's. using a soldering iron, melt off the lead and remove it with a suction pump/solder sucker. further remove the excess lead with a solder wick and gently sand the spot down with a 100 grade sandpaper. you'll need a clean surface so that the new led can function prop. this is how it should look like once you're done:

step 5: is mounting the led's on. it can be a little tricky so wat i did was melt some solder onto the 2 spots for the led, held the led in place with a helper hand and soldered it on. before that, i made a L shaped leg for the led because there's no holes for the legs to be placed in. this is how it looks like after the led's are in place:


i tried to get the led's to sit in place as much as possible to the position of the original bulbs and bent the legs a bit so that it'll be the same height as well. next would be to test fit into the mechanism to make sure it doesn't touch any of the moving parts( this is also the most important step ) and once again, be extremely careful when handling the mechanism, dont press the circular part of the mechanism too hard. :
step 6: is testing out the led's. use a 12v supply if possible. after that put everything back in the reverse order that you took it out of and tighten the nut at the nipple carefully and put back the cover. i would suggest you use gloves so that you do not get prints on the inner side of the glass.... while everything was open, i took the liberty to clean it inside and paint the brim too. after you put everything back, then its time to seal it up.


when it came to sealing it up, i put very little silicone on the inner and placed masking tape over the whole brim. this to prevent it from getting scratches when sealing it. use a player plier, gently bend back the brim into place. when you're done, plug it back into place and enjoy the fruits of your labour.

notice how there are dull spots on the gauge.... i'm planning to fix it next time by adding in 2 more 3mm led's to add more brightness... and another thing is make sure of the polarity when fixing the led or else it'll screw up your led. i hope this helps for those of you who have a the same prob as me... enjoy DIYing and happy modding...........
this DIY is just to guide you. any damages done is not my responsibility
step 1: remove all connections from your gauge and you should end up wit something like this
step 2: disassemble the whole gauge; here's how :
-you'll notice tht there's no screw at the back to remove the bulb or disassemble the gauge from the back. so what you've to do is use a flat-head screwdriver and slowly push into the part where the front cover sort of overlaps the gauge's body. go through the whole edge and you should end up with something like this
-repeat it until you can completely remove the cover and here's how it should look disassembled:
(brim - glass - glass seal & inner brim(nt sure wat it called- its the one wit the white rim and black edge) - body of the gauge)
-remove the nut at the nipple at the inlet with a size 14mm wrench; be extremely gentle and do not apply too much of force
-once all the above is done, the whole mechanism will pop out. WARNING: be very careful with the mechanism or else the calibration will run out; the same happened to me and i had a though time recalibrating it... this is how it should look like once the mechanism is out.
those are the bulbs you need to replace, finding a replacement for these is pretty hard
step 3: is preparing the led. i used a clear LED(flat) with 420 ohm resistor
step 4: is removing the old bulbs and cleaning the board to place the new led's. using a soldering iron, melt off the lead and remove it with a suction pump/solder sucker. further remove the excess lead with a solder wick and gently sand the spot down with a 100 grade sandpaper. you'll need a clean surface so that the new led can function prop. this is how it should look like once you're done:
step 5: is mounting the led's on. it can be a little tricky so wat i did was melt some solder onto the 2 spots for the led, held the led in place with a helper hand and soldered it on. before that, i made a L shaped leg for the led because there's no holes for the legs to be placed in. this is how it looks like after the led's are in place:
i tried to get the led's to sit in place as much as possible to the position of the original bulbs and bent the legs a bit so that it'll be the same height as well. next would be to test fit into the mechanism to make sure it doesn't touch any of the moving parts( this is also the most important step ) and once again, be extremely careful when handling the mechanism, dont press the circular part of the mechanism too hard. :
step 6: is testing out the led's. use a 12v supply if possible. after that put everything back in the reverse order that you took it out of and tighten the nut at the nipple carefully and put back the cover. i would suggest you use gloves so that you do not get prints on the inner side of the glass.... while everything was open, i took the liberty to clean it inside and paint the brim too. after you put everything back, then its time to seal it up.
when it came to sealing it up, i put very little silicone on the inner and placed masking tape over the whole brim. this to prevent it from getting scratches when sealing it. use a player plier, gently bend back the brim into place. when you're done, plug it back into place and enjoy the fruits of your labour.
notice how there are dull spots on the gauge.... i'm planning to fix it next time by adding in 2 more 3mm led's to add more brightness... and another thing is make sure of the polarity when fixing the led or else it'll screw up your led. i hope this helps for those of you who have a the same prob as me... enjoy DIYing and happy modding...........
this DIY is just to guide you. any damages done is not my responsibility
Last edited: